

Active Knitting & Crochet Posts


How To: Convert a Pattern for Crochet into a Knitting Pattern
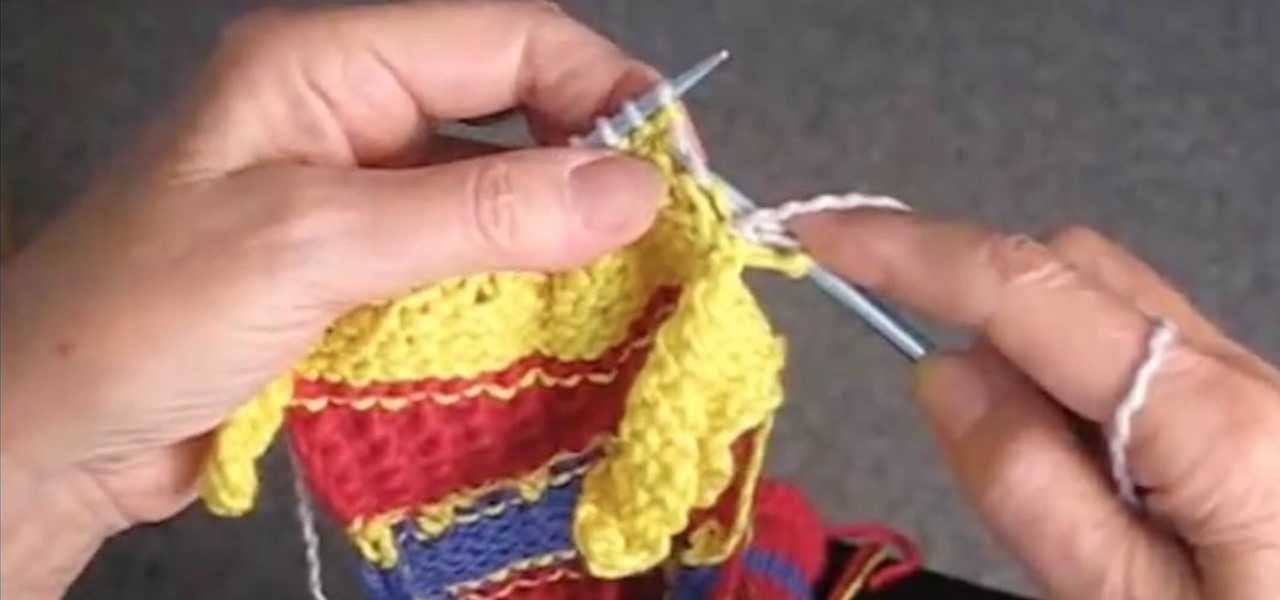
Crocheting and knitting are similar but different enough that the same patterns will not work for both. If you've found a crochet pattern you like and would rather knit it, watch this video to learn how to convert your pattern into the kind you want.
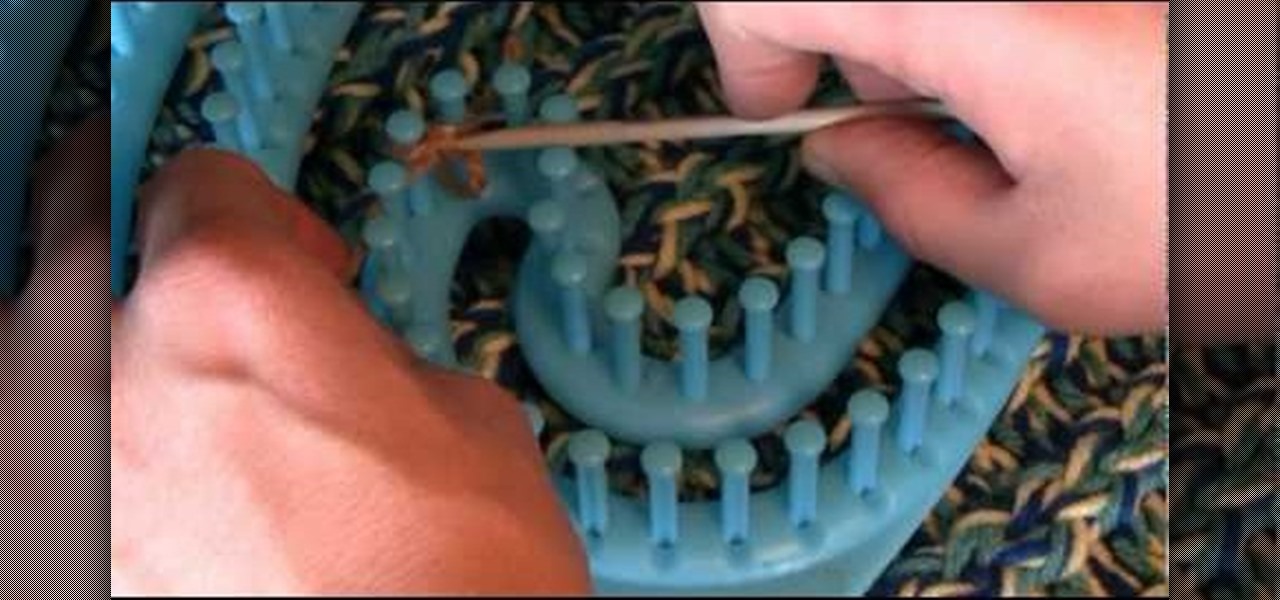
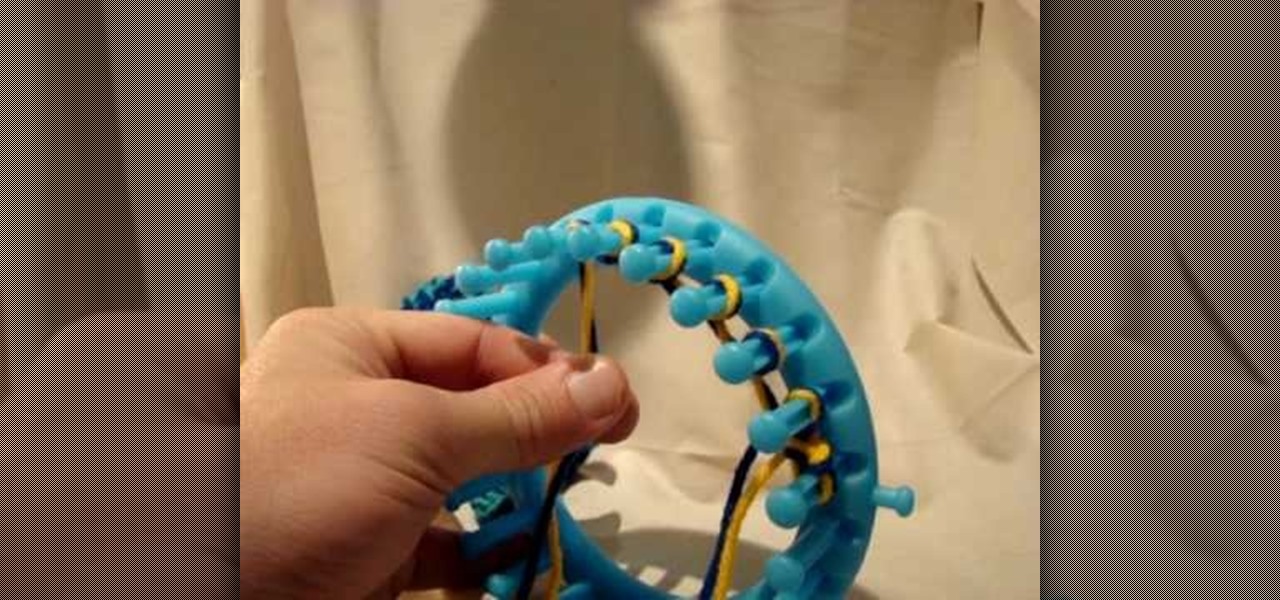
How To: Cast on When Using a Serenity Loom
In this video, the author teaches us how to cast on with serenity: wrap your material around twice, grab the back and then up (around your fingers) forming a slipknot. To start off, we will focus on the inside of the loom, pulling the material towards the outside (using a grochet hook). Take needle between two pegs, pulling material through and put the needle down and pull up (rotating towards you) and repeat. This forms a tier duct and if this is done properly, you should be able to do this ...
How To: Loom Knit Newborn Baby Mittens
When making these knit newborn mittens use 2 strings at the same time for warmth. Wrap the string around your finger twice to create a slip knot (back loop over the forward, and then pull it down to leave the loop). Use only 7 pegs from the 24 peg loom. Use the anchor as the starting point. Put the slip knot over the first peg. If you're right-handed, work towards the left; and likewise, if you're left-handed, work towards the right. Now, wrap over and back down the peg beside your first peg....

How To: Tie a Rope Helix for Bondage and BDSM Play
Strings of DNA aren't the only things that contain helixes. With a bit of skill and practice, you can make your own rope helix for fun or bondage and BDSM play by watching this video by Two Knotty Boys.
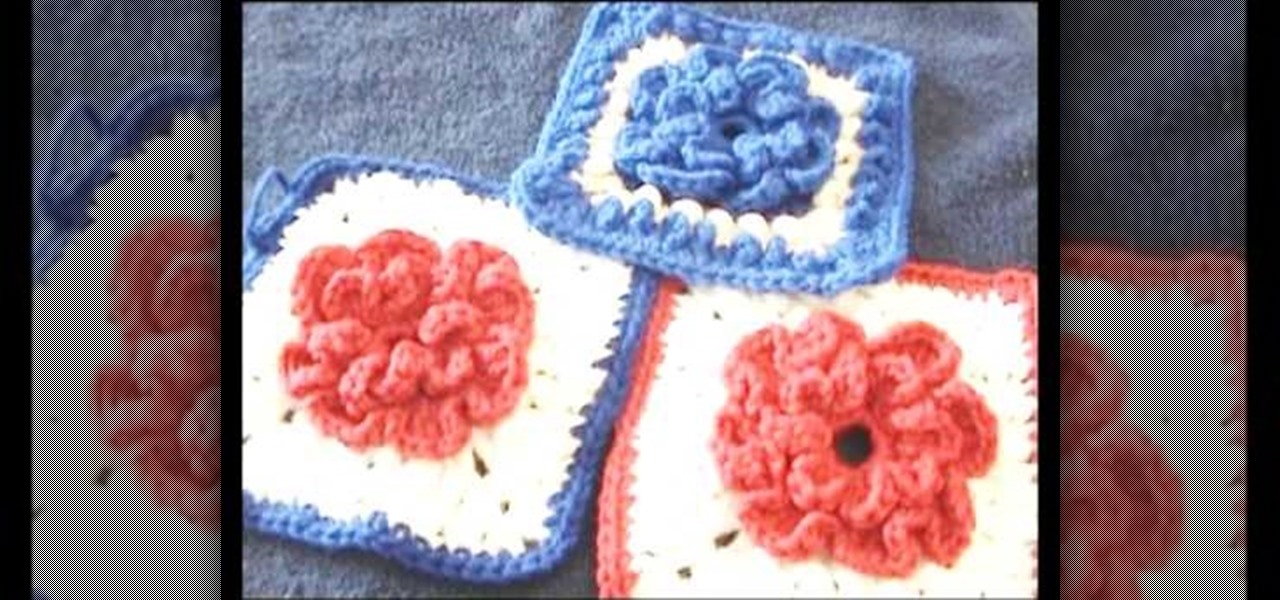
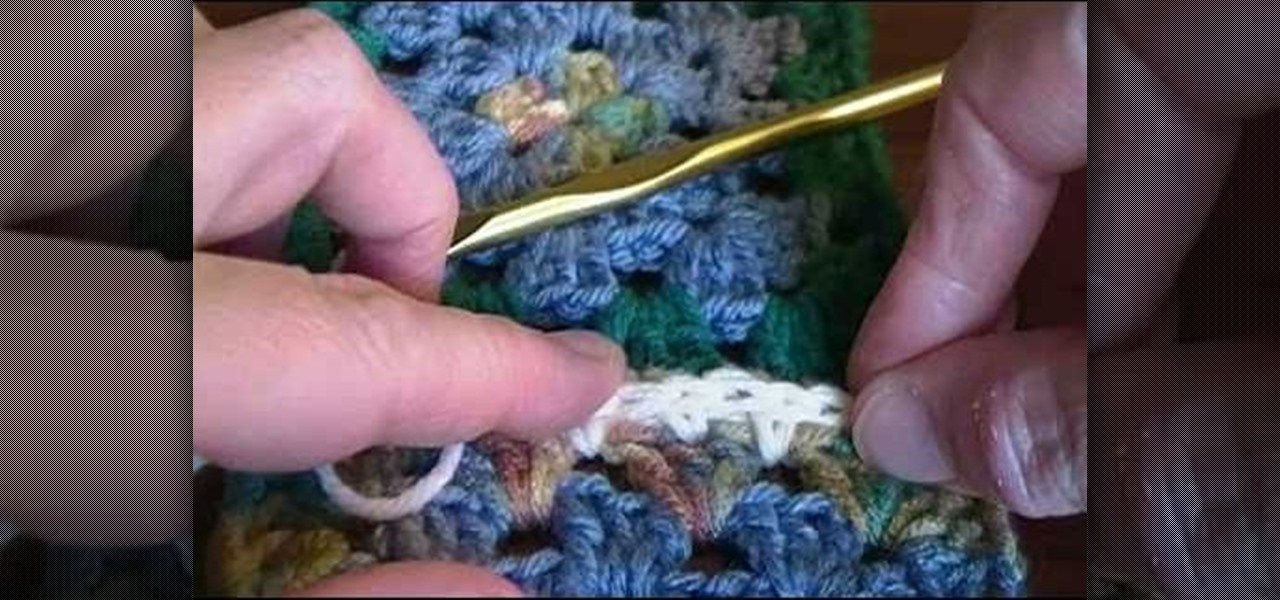
How To: Crochet a loopy granny square with a flower motif
Crochet loopy granny squares will indeed remind you a little bit of your Gran Gran's favorite knitted coasters that she collected en masse throughout her lifetime. But the snuggly, historical and vintage quality of these granny squares is exactly what makes them so delightful.

News: DIY LED Carpet-Light
For the craftsters & LED lovers, great idea by Johanna Hyrkas. The LED carpet-light: a simple, yet novel DIY project. A single strand of LEDs is encased in a knit tube; the knit tube is wound together to form a carpet. Brush up on your knitting skills, and get creative.

How To: Join granny squares with crochet flat brain joining
These crochet how-to videos demonstrate how to do flat braid joining to join granny squares. Start by crocheting a border on the first square. Then proceed to join the first and second granny squares with the flat braid joining technique. Watch and learn how simple it is to crochet with flat braiding. Follow along until you have joined all four granny squares.

How To: Crochet the start of a granny square
Watch this instructional crochet video to start your granny square pattern. Begin with three loops and a slip stitch. It's more complex than a standard open work stitch, but with a little practice, the granny square is a very comprehensible process. Once you can crochet a circle, you can use this granny square beginning on many other crochet projects.

How To: Cast on with Work in Progress When Knitting
Ever wonder how to cast on with work in progress when knitting? Well, wonder no more with this knitting demonstration video!

How To: Create a Flat Panel on Knitting Loom
Learn how to create a flat panel on a circular knitting loom. The flat panel demonstrated shows the use of a garter stitch to prevent the curling that occurs when knitting a stockinette panel. To learn how, watch the video on YouTube from user PurlingSprite.
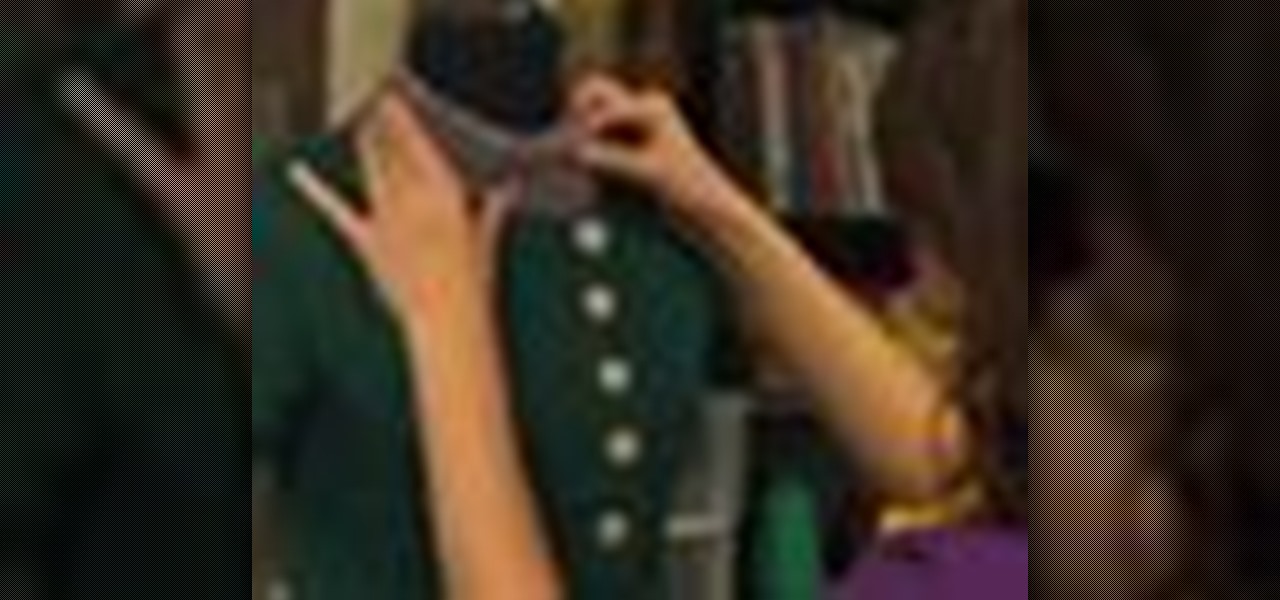
How To: Add Crochet Embellishments to Clothing
Un-dull your crocheted sweater with a little creativity. Adding some decorative details and features to your clothing will do wonders for fashion, and could hide unsightly holes! Embellishing with crochet can be a creative way to repair a piece of clothing, and it can add flair to a piece by inserting a neckline or a hem.
How To: Machine Knit a Baby Blanket with a Brother Garter Carriage
If you have been curious about how a Brother garter carriage works, this 2 part video will show some basic steps to casting on and knitting a baby blanket. The charity blanket pattern used is available free on the internet. This video machine-knitting tutorial also shows a trick to switch yarn without the joint showing. Follow along with this video and learn how to knit a baby blanket using the Brother Garter Carriage knitting machine.
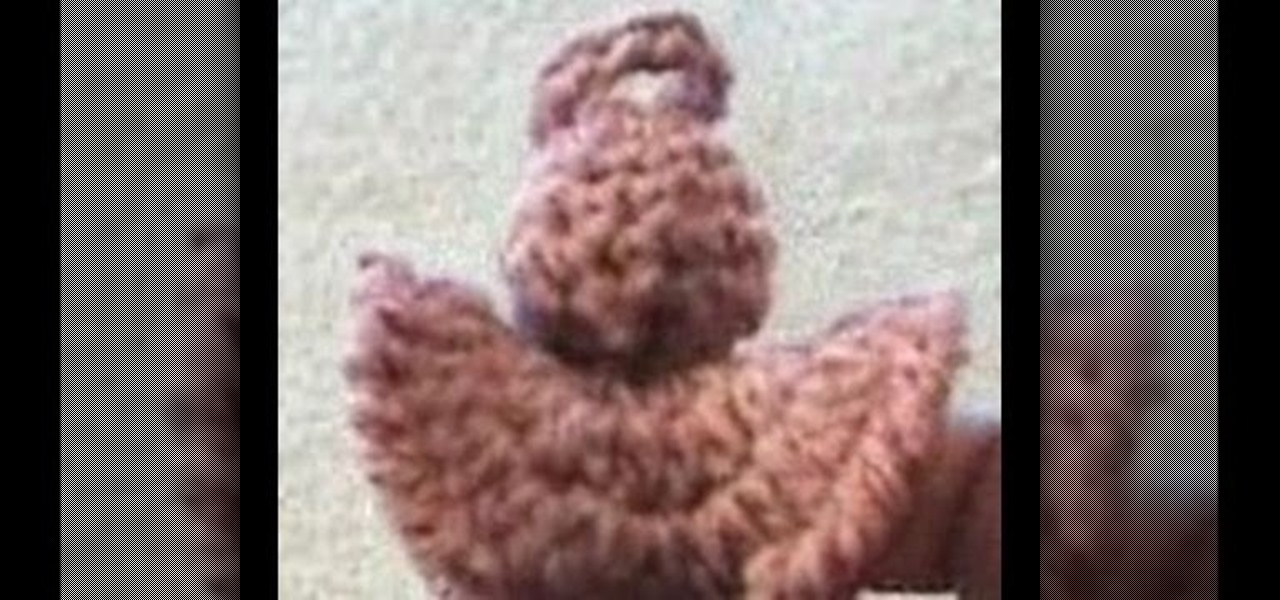
How To: Crochet an Angel Halo
Improve your crocheting skills by creating fun holiday shapes. This how-to video is a tutorial that will show you how to crochet an angel halo. Crochet several angels and halos to decorate your house during the holidays.

How To: Tie off the end of your crochet project so it does not unravel
You've finished your very first crochet project! Congratulations! But now how do you tie off the yarn in such a way as to keep the whole thing from unraveling? This video demonstrates a simple and easy technique to finish your project and keep it together.

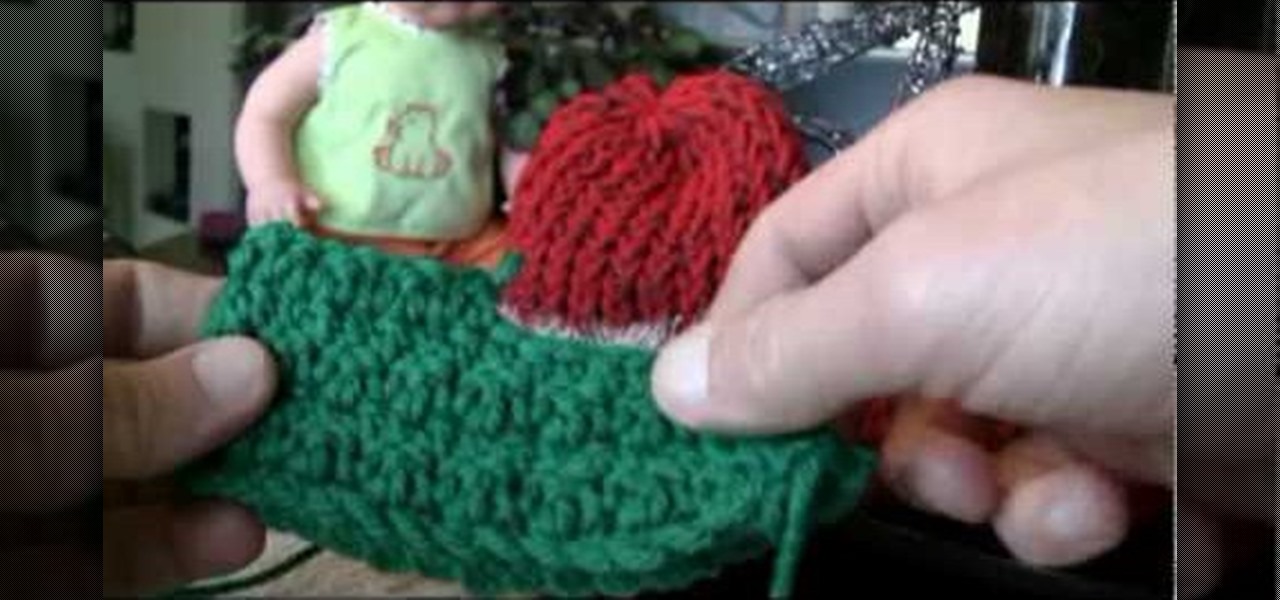
How To: Make a Fourth of July American Baby Hat
If your little youngster is celebrity his first Fourth of July and you want to get him decked out for the occasion without posing any potential choking hazard with beaded necklaces or bracelets, then this fuzzy hat is the perfect way to get him in the spirit.

How To: Sew and join the edges on a crochet ribbing
The Art of Crochet by Teresa explains how to sew together crochet ribbing. Thread a tapestry needle and align the edges of the crocheting project. Sew the first stitch together and secure with a knot. Sewing through the top of the stitch on the edge will help prevent distortion and create a neater look for the ribbing. Pick up the back loop and align it with the stitch on the opposite side. Continue all the way across, sewing through the same stitch. It will push the top of the stitches up, c...
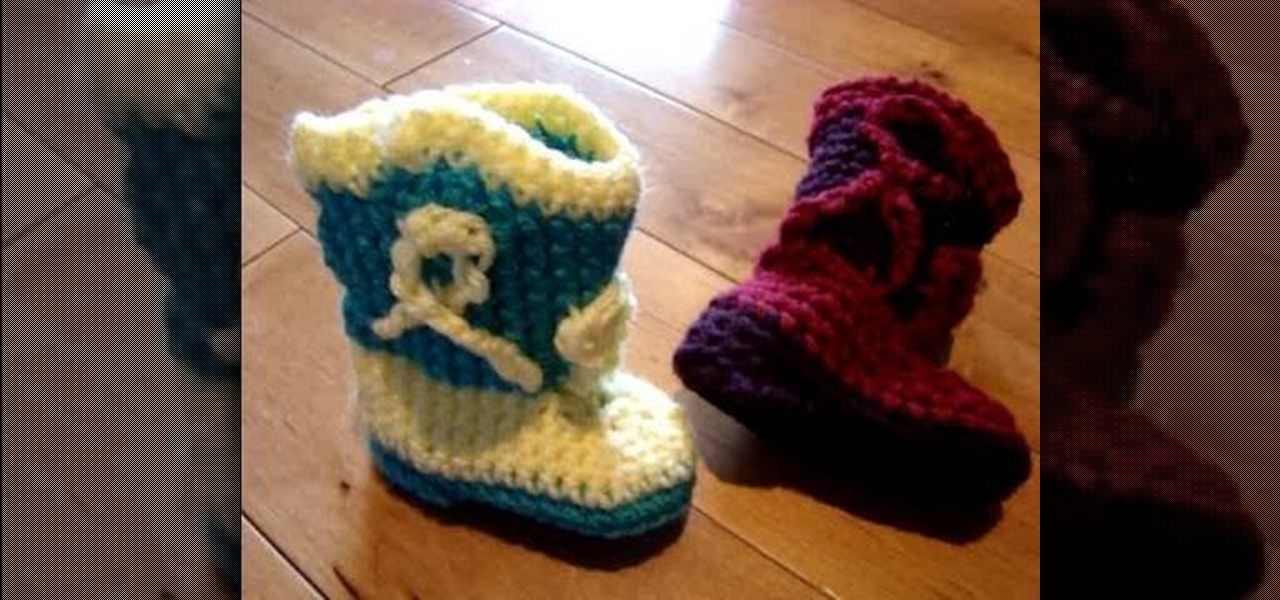
How To: Crochet baby cowboy booties
This extensive and great tutorial is great for any crochet expert, or the advanced student. Step by step you'll walk through each technique in creating a pair of crochet baby cowboy booties. Perfect booties for your doll or even a new born baby.
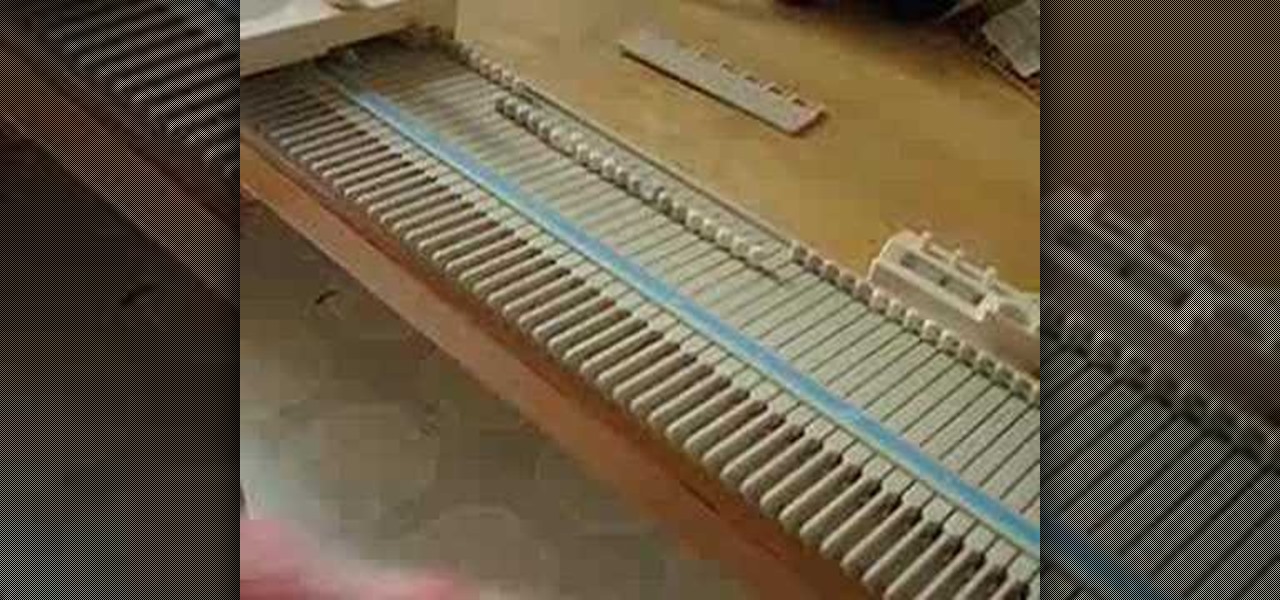
How To: Set up a Singer LK 100 knitting machine
Hand-knitting can be so time consumptive. Knitting machines are great for simple projects that don't require a lot of detail. Watch this video knitting tutorial and learn how to set up and use a Singer LK 100 knitting machine.
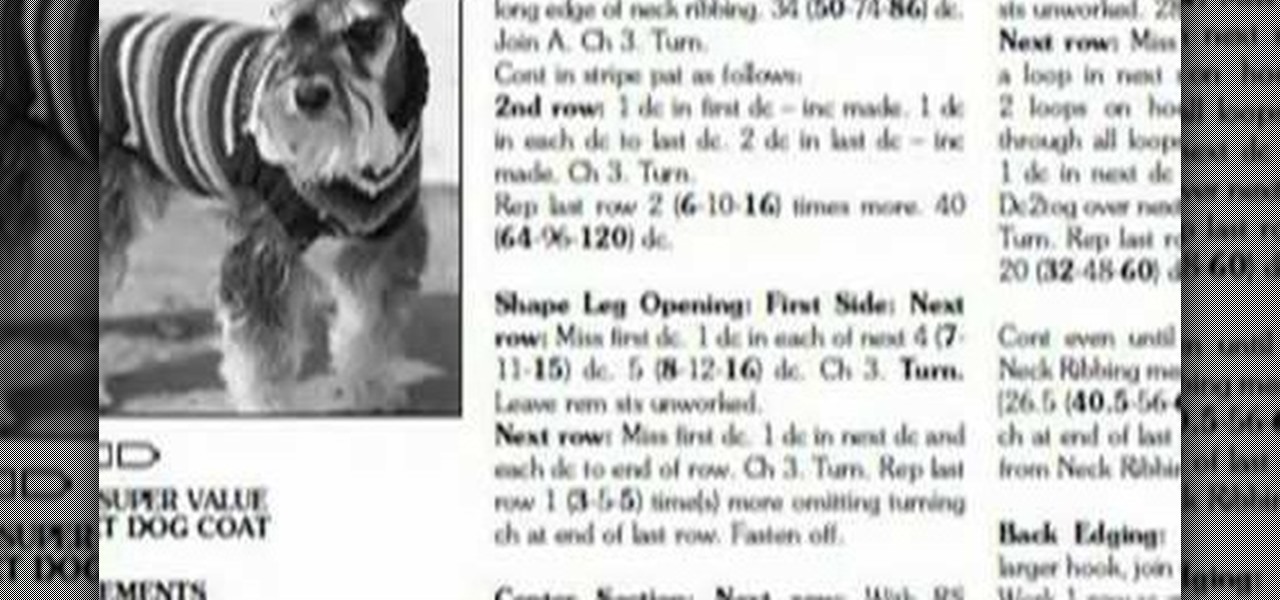
How To: Crochet a Bernat dog coat for your pet
Keep your favorite pet cozy this winter season by making them a dog coat! This tutorial shows you how to follow a crochet pattern for a Bernat dog coat that will fit a medium sized dog (like a terrier or beagle).

How To: Knit a Spiral Ruffle Scarf
These lovely scarves have different names. I call it the Spiral Ruffle Scarf. It's easy to make and looks great in either a fine or a medium weight yarn. I made mine with softball cotton yarn and size 8 needles. Here are the videos and written directions:
How To: Crochet Santa and elf booties for the holidays
There is perhaps no better a Christmas novelty (and spur-of-the-moment purchase at drugstores during the holidays) than Christmas baby booties. Bright and cuddly, they're both comfy and stylish, and keep little toes warm during Christmas celebrations.
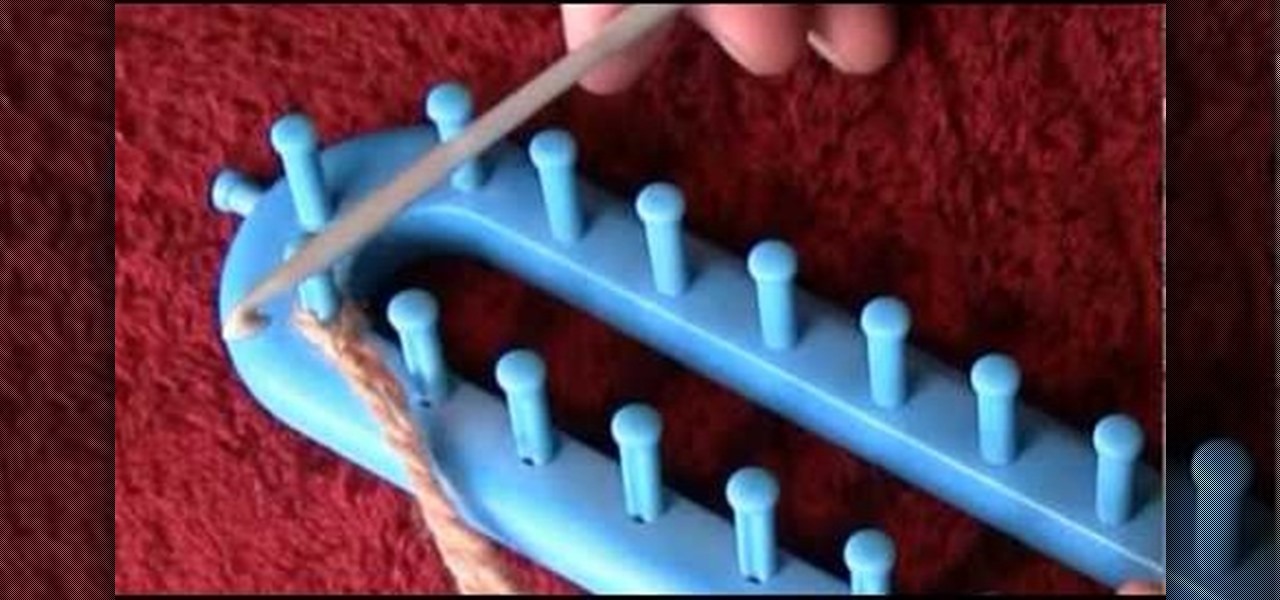
How To: Cast on when knitting on a rectangular loom
In this video, you'll learn how to cast on with the CHAIN ON method on a rectangular loom. It'll simplify your knitting process a lot! You can use this method for many different types of looms but this video specifically covers knitting on a rectangular loom.
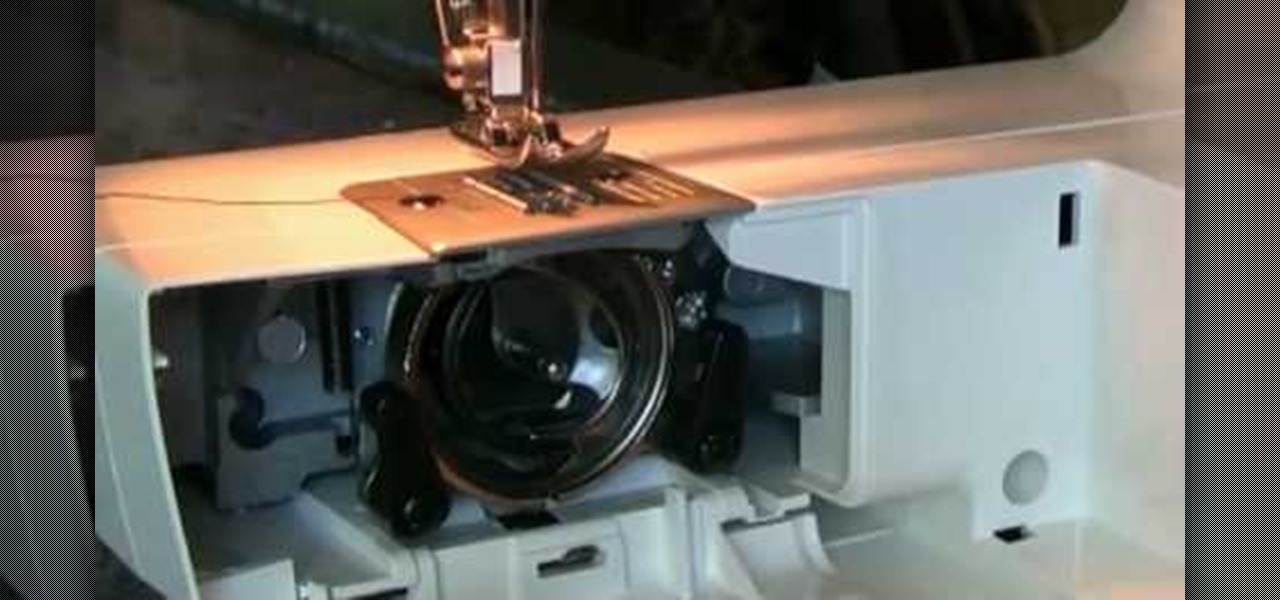
How To: Thread a bobbin on the Brother LS 2125 sewing machine
Many habitual sewers like to sew by hand if possible for smaller projects, since all it requires is some finger dexterity, a needle, and some form of thread. Sewing machines can create stitches and embellishments of great beauty, but as with all electronic devices sometimes their constituent parts have complications. The bobbin, which holds the thread beneath the machine, is one of those pesky things sewers have to deal with.
How To: Crochet arms or legs for amigurumi stuffed toys
If you can single crochet stitch, you're most of the way there to amigurumi. Amigurumi is a Japanese style of crochet of making tubes and spheres to create stuffed animals. Watch this video crocheting tutorial and learn how to crochet arms and legs for amigurumi stuffed toys.
How To: Increase Using the Purl Stitch in Knitting
In this video, we learn how to increase using the purl stitch in knitting. First, take the thread in between two stitches and twist it onto the left needle, then purl it off. Do this over and over again, then purling the next stitch. This is the easiest way to do this, and the most efficient in saving time. When you reach the end of a row, start a new row and do the same process over again. When you are finished, you will have a beautiful type of knitting that wasn't hard to learn and is easy...
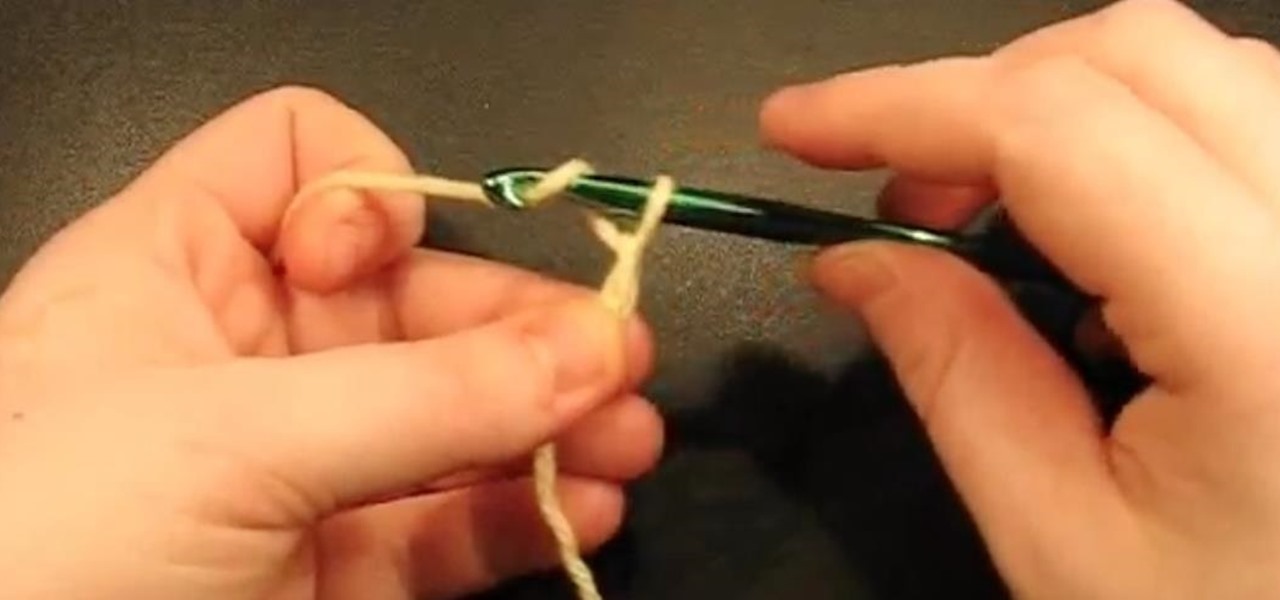
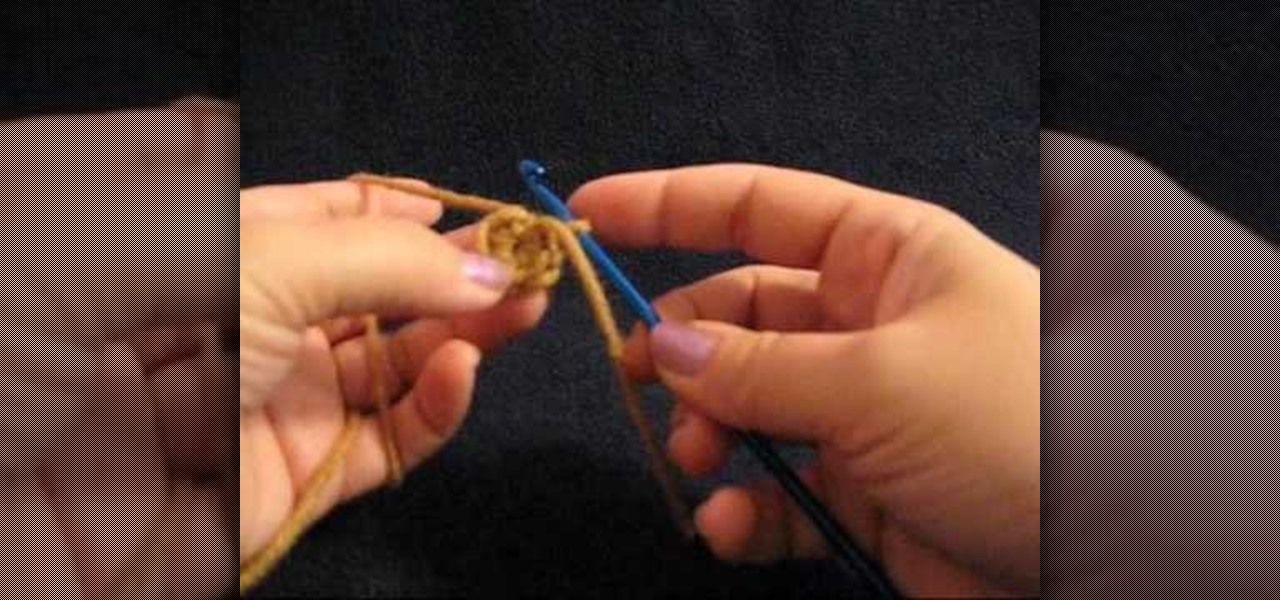
How To: Do the Slip Knot and the Chain Stitch
When you are getting started in crochet, one of the most important things to master is the chain stitch. This video will show you how to get started in crochet, with hook holding styles, how to create a slip knot and how to make a chain stitch.
How To: Crochet the Slip Stitch
In this tutorial, learn how to crochet a V shaped slip stitch. This clip will show you exactly how to do so.

How To: Make a swirled crochet Afghan for left handers
For those of you who are knitting beginners, an Afghan may sound difficult but it's actually just a fancy schmancy term for a crochet blanket. The blanket's texture varies according to your choosing, from thick wool yarn to light and airy summertime yarn.
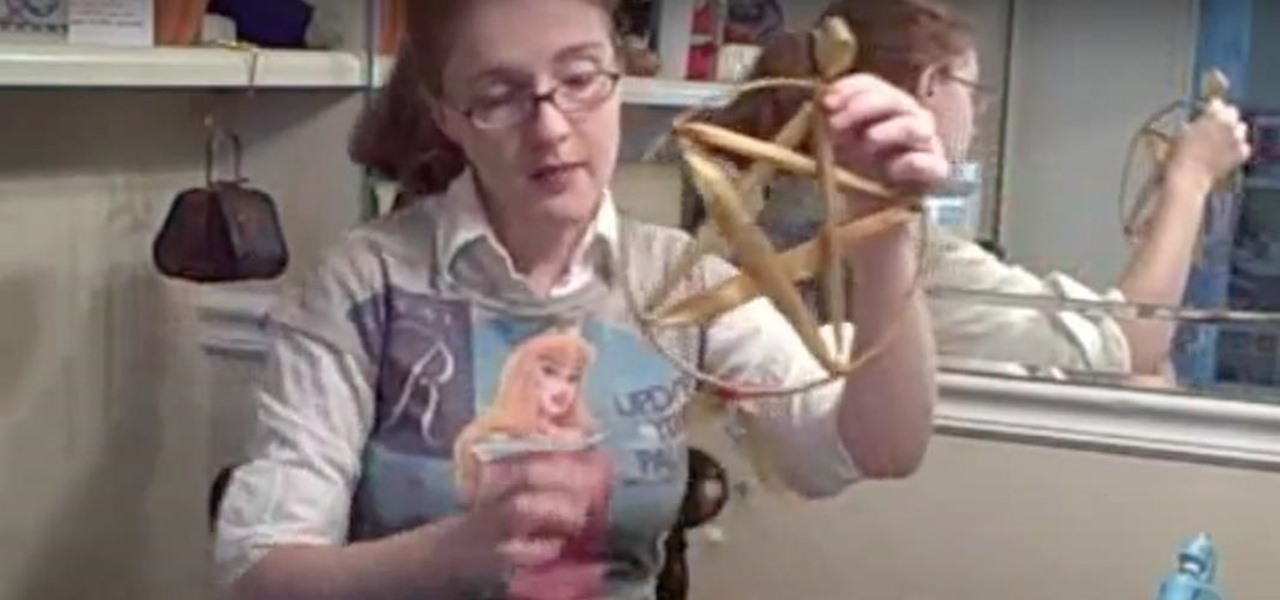
How To: Make a Pentacle Wreath Out of Ribbon
This is a perfect gift for the Wiccan or pagan on your holiday gift list - make a wall hanging or wreath shaped like a pentacle. A perfect blend of Christmas and Yule! You will need 16 gauge wire, along with your favorite ribbons and beads.

How To: Crochet a small decorative flower
Looking for a quick-and-easy crochet project (and happen to be right-handed)? Make a small decorative flower from yarn with this crafter's guide. While this tutorial is geared toward people already posessing some knowledge of crocheting, beginners should be able to follow along provided they understand the bare essentials.
How To: Knit with Beads
Knitting with beads is a lot like regular knitting, only you're attaching beads to your string in order to create a more pearlized look, or to add complexity to a knitted purse, flower, or hat. Adding beads is a wonderful way to switch up the old knitting routine at minimal cost and effort.

How To: Increase Stitches at the Beginning of a Row
When you make an actual garment you will have to know how to decrease and increase stitches. For this article we'll deal with just the increase.

How To: Crochet an infinity scarf with a chain stitch & half double crochet stitch
Want to make one of the hottest accessories of this season? The infinity scarf is a versatile addition to your winter wardrobe, and you can dress it up or dress it down. In this two-part video, you'll be shown how you can crochet your own infinity scarf.
How To: Crochet your granny squares together using the flat single stitch
This short crochet tutorial shows you a variation on the simple single stitch. If you want your project to have a relatively even surface, you can use the flat single stitch as taught in this video to join your granny squares together.
How To: Get perfect, jogless stripes in your knitting projects
Visible jogs become frequent when you don't know the secret to knitting the perfect stripe. But just because it's a secret, doesn't mean it isn't easy to do! In this video demonstration, Judy shows you the secret to knitting jogless stripes. Basically, you knit the first row of color the way you normally would, then slip the marker off when you get around to the end. Next, instead of knitting the next stitch how you normally would, you just slip it off and then start knitting all the way arou...
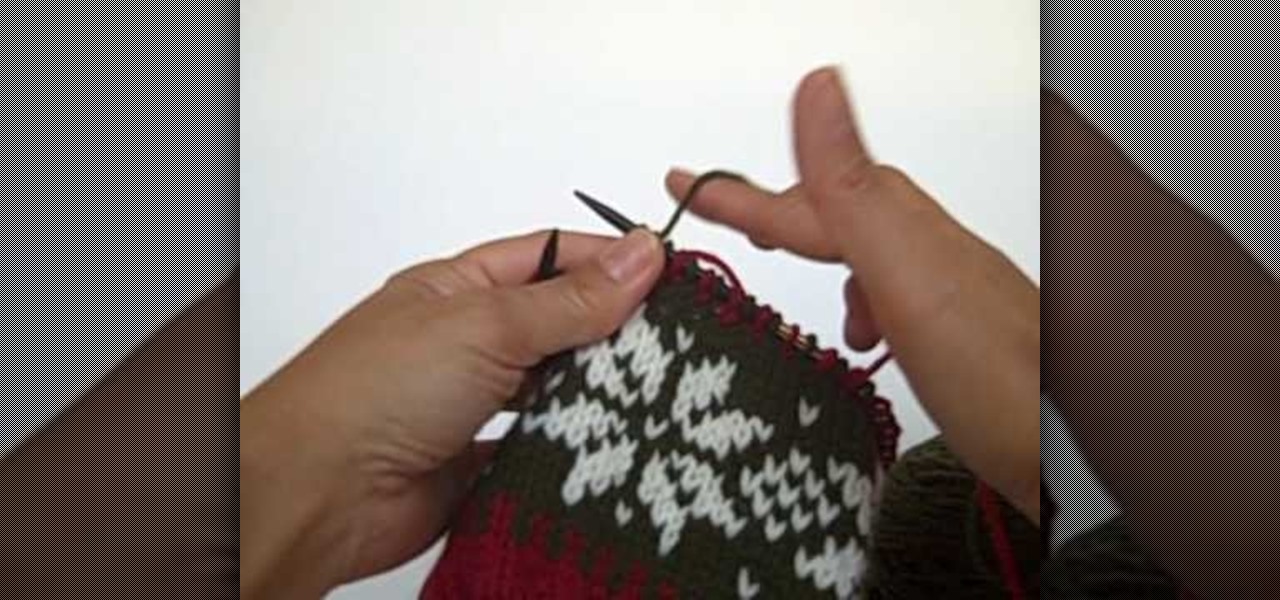
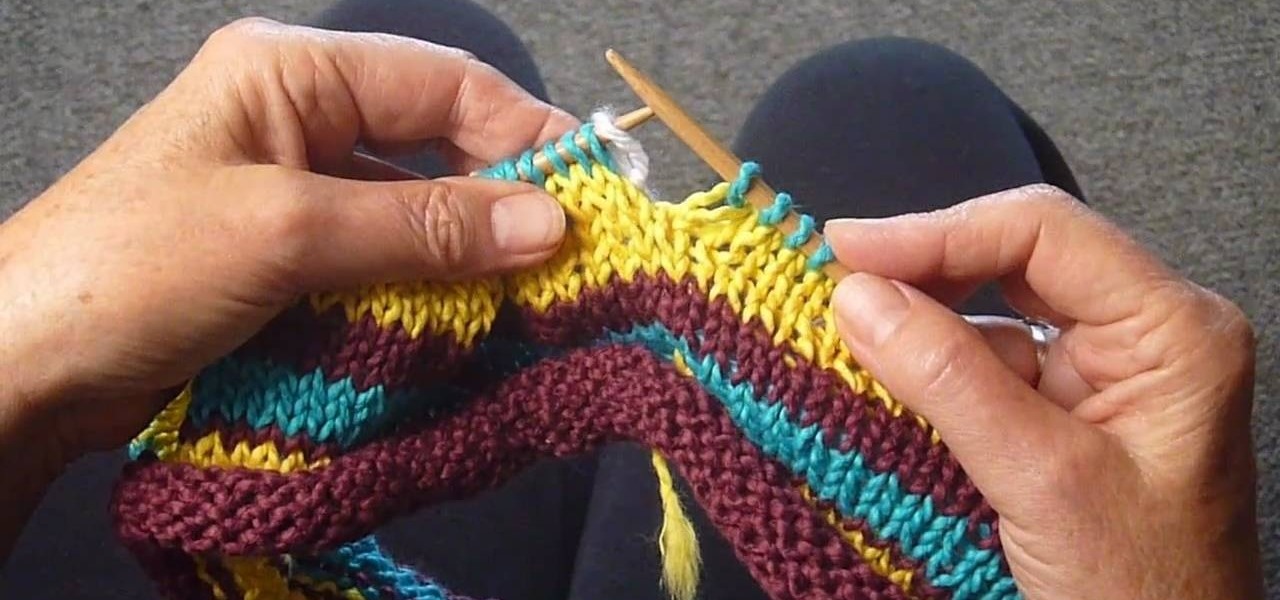
How To: Knit with two colors of yarn
In this video, we learn how to knit with two colors of yarn. Carry your yarn in the hand that you are most comfortable with. Then, don't tension it around your pinkie so you can control the yarn. Now, put your dominant color over your forefinger and the accent finger on the bottom of your forefinger. This way, you will be able to turn your hands to decide which color is going to go up and over the needle. Once you have this technique down, you will be able to continue to knit until you have t...

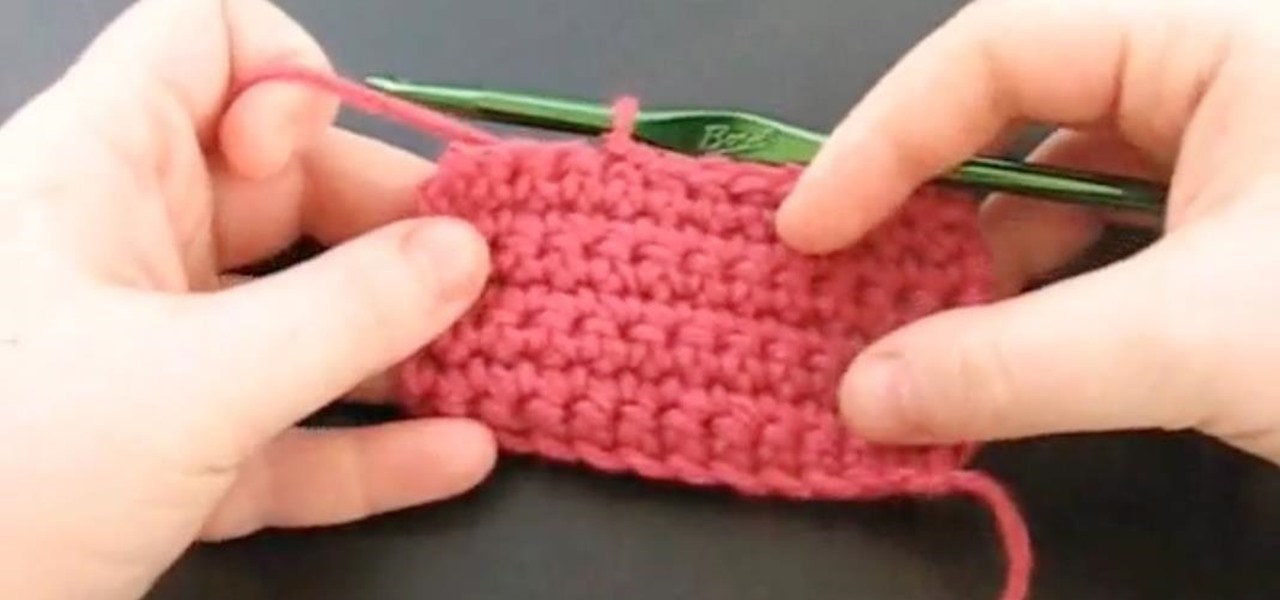
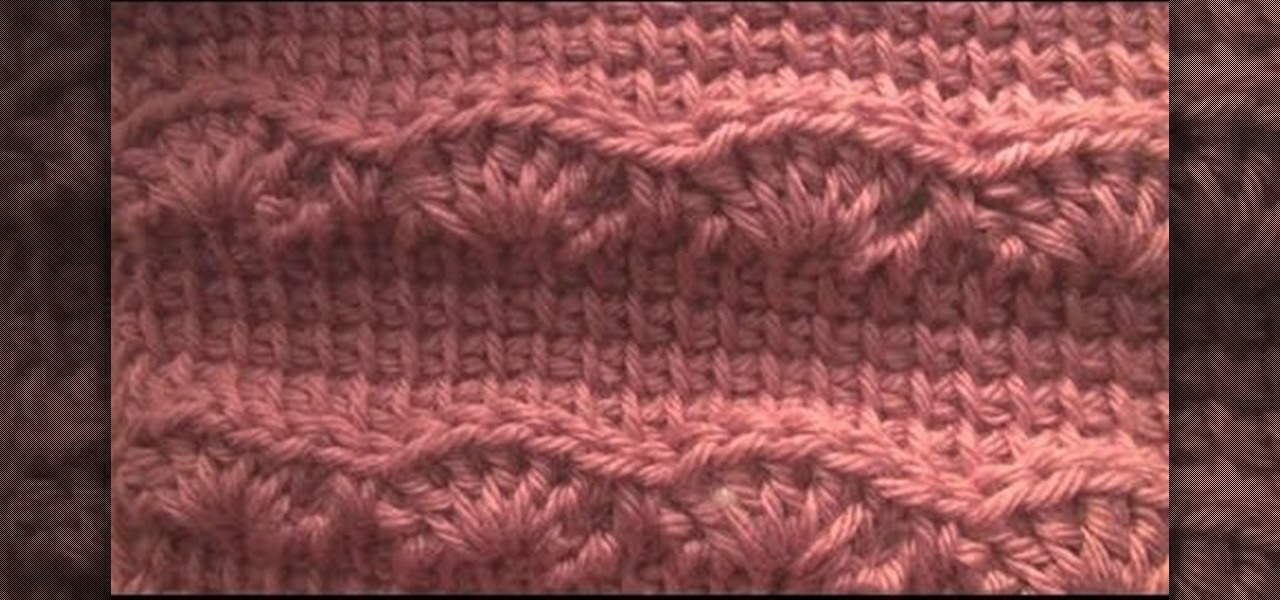
How To: Crochet front and back post stitches
This video crocheting tutorial, provided by thecrochetside.com, shows how to crochet front and back post stitches. Learn how to crochet by watching this instructional video.
How To: Crochet a scarf with a right-handed Afghan or Tunisian stich & a crochet shell
Learn how to use a right-handed Afghan (or Tunisian) crochet stitch with a crochet shell when crocheting a scarf. You can easily modify the size to make a baby or a full-sized afghan. For step-by-step instructions, take a look.

How To: Knit a shaker rib stitch
Follow this quick video demonstration to see how to knit a shaker rib stitch. The shaker rib is also known as the half fisherman, and that's because it's not as bulky as the fisherman rib. During this process, you'll even see how you can knit one below, or k1b.
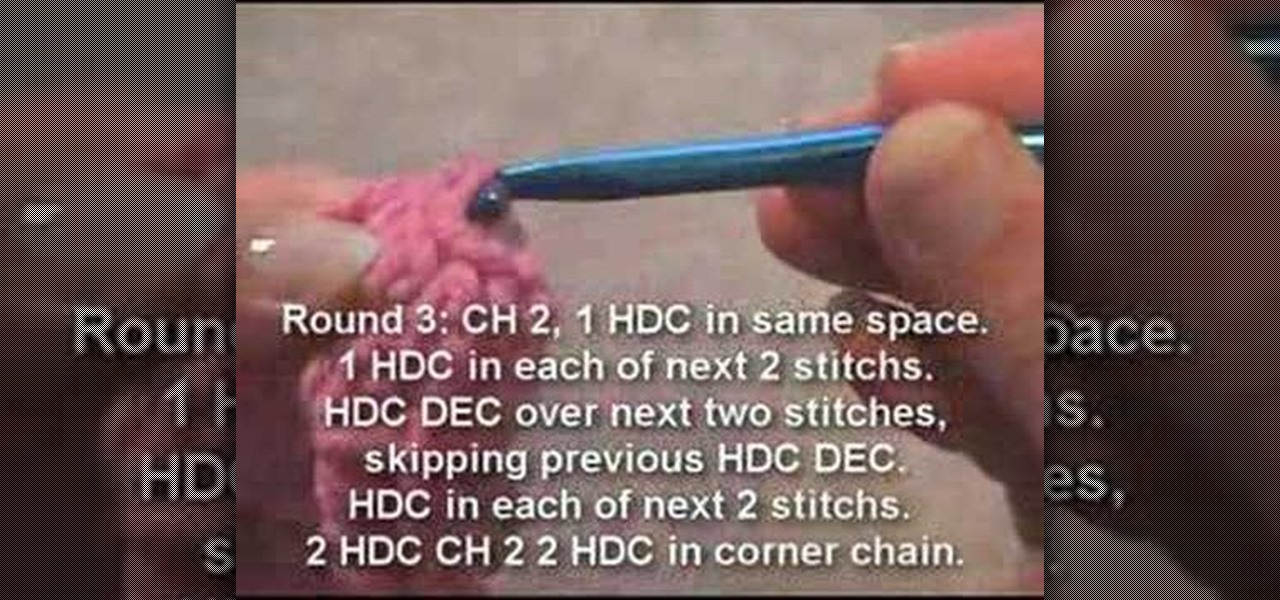
How To: Crochet a large five point star
Improve you crocheting skills by creating fun shapes. This how to video is a crocheting tutorial that will show you how to create a large star with five points. Crochet several of them, bind them together and create larger handmade projects.
Next Page
Prev Page