


When you make an actual garment you will have to know how to decrease and increase stitches. For this article we'll deal with just the decrease.
There are two ways to decrease in knitting. If you're knitting a garment one way is done at the beginning of the row and the other is done at the end of the row. They are both easy to learn. I would suggest that you practice both methods before you start your project.
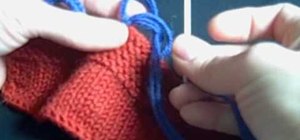
Decrease at the beginning of a row, called "KSK PSSO".
- Knit the first stitch.
- Put the needle in the second stitch as though you were going to knit it, but gently slip it onto the right needle.
- Knit the next stitch.
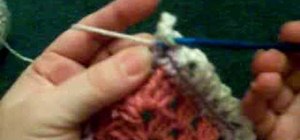
- Put the left needle into the front of the slipped stitch on the right needle as though you were going to purl it.
- Pull the right needle back away from you and the left needle toward you. With the front needle pull the stitch on the right needle over eliminating one stitch. (PSSO: pass the slipped stitch over.)
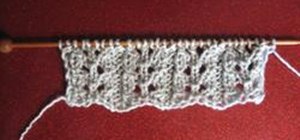
You have now decreased one stitch.
Decrease at the end of a row, called "K2tog".
This method will pull the work toward the right. It is called K2tog.
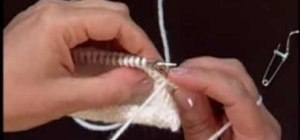
- Knit till there are 3 stitches remaining on the needle.
- Knit 2 together. (K2tog)
- Knit the last stitch.
- You have now decreased one stitch.
Just updated your iPhone? You'll find new emoji, enhanced security, podcast transcripts, Apple Cash virtual numbers, and other useful features. There are even new additions hidden within Safari. Find out what's new and changed on your iPhone with the iOS 17.4 update.


Be the First to Comment
Share Your Thoughts