

Everything Else


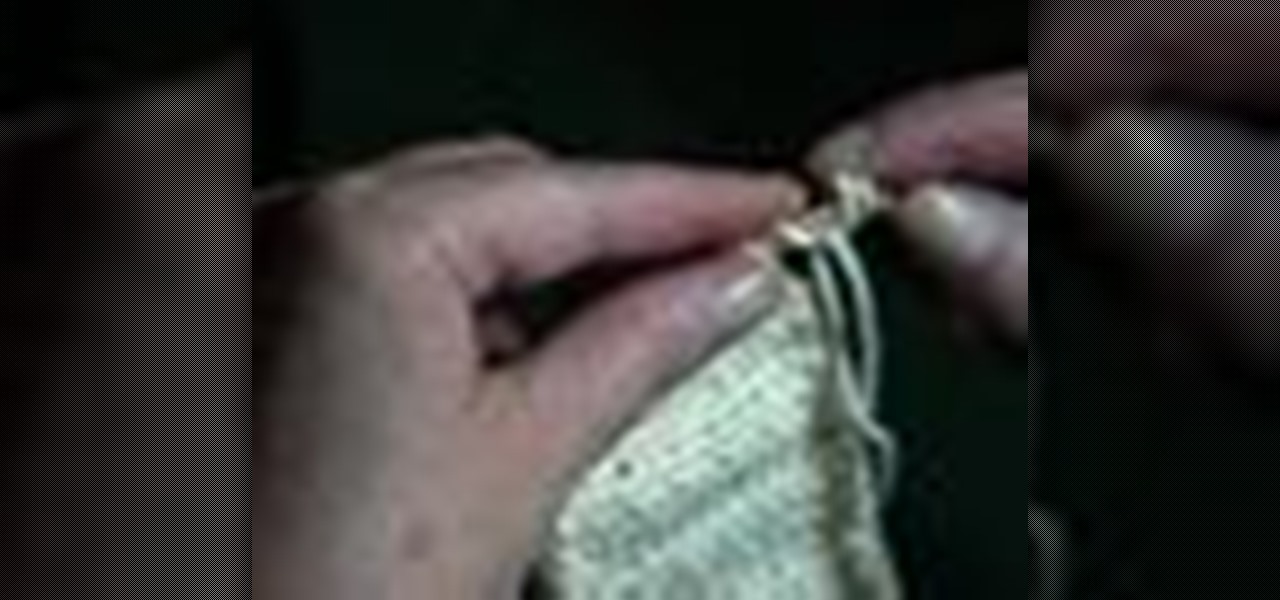
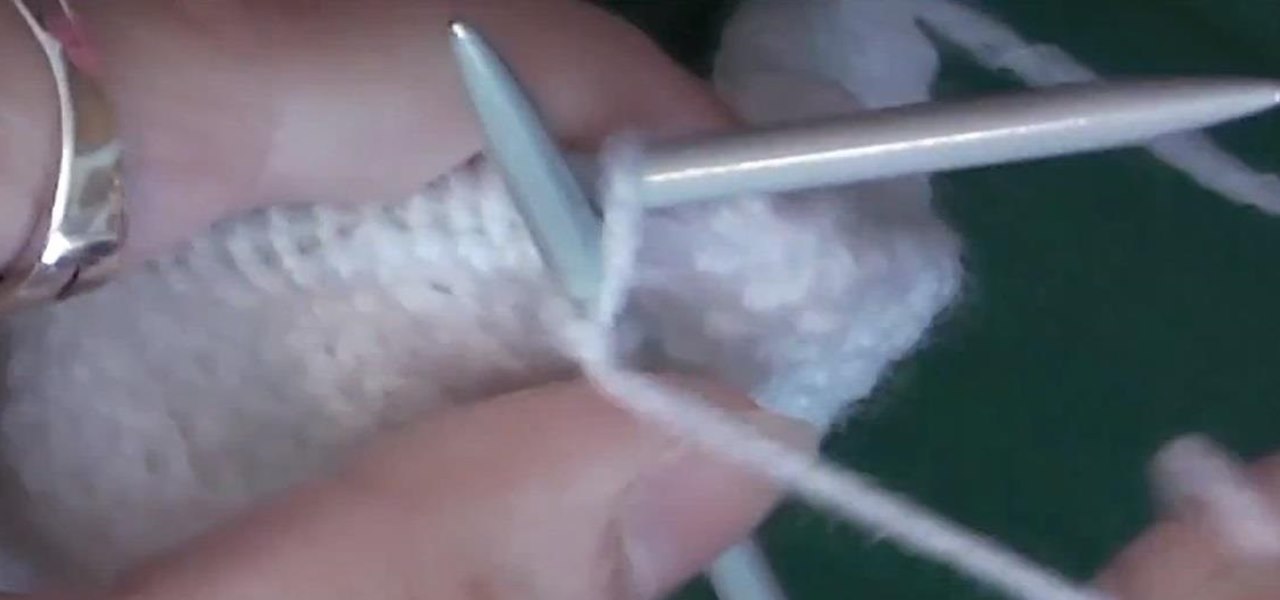
How To: Pick Up Stitches on an Edge
There will be times when you will want to knit an edging onto your work. Here's how to do it. It's best to use a smaller needle for edging than the one you used for the project. Go into every stitch on the edge with your needle.
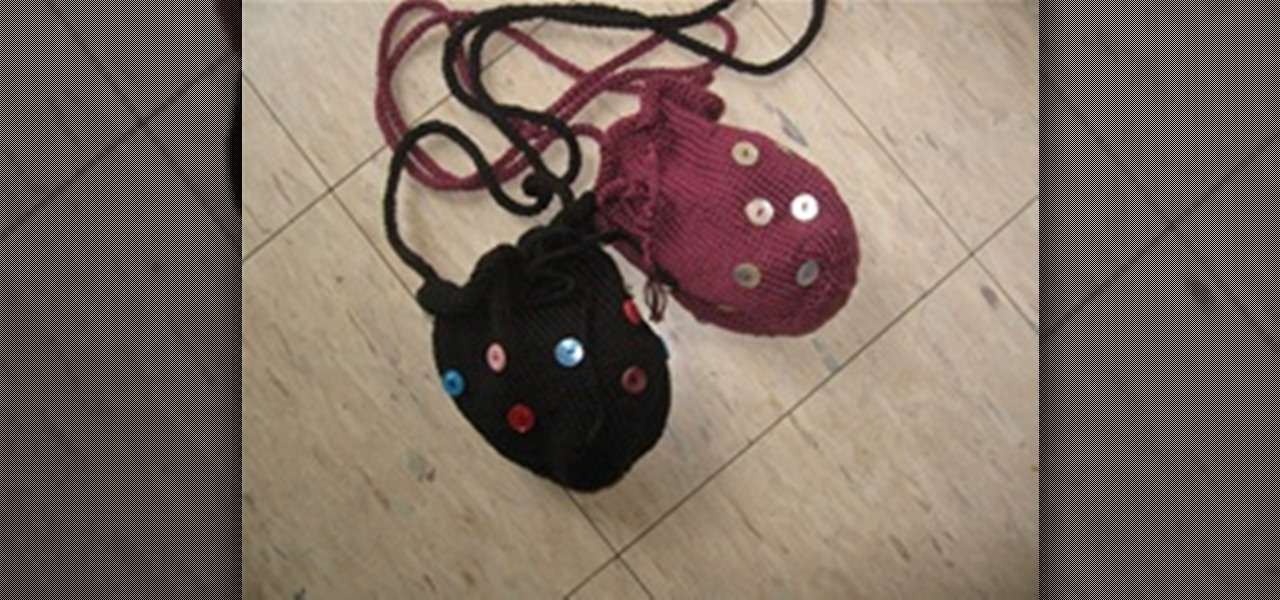
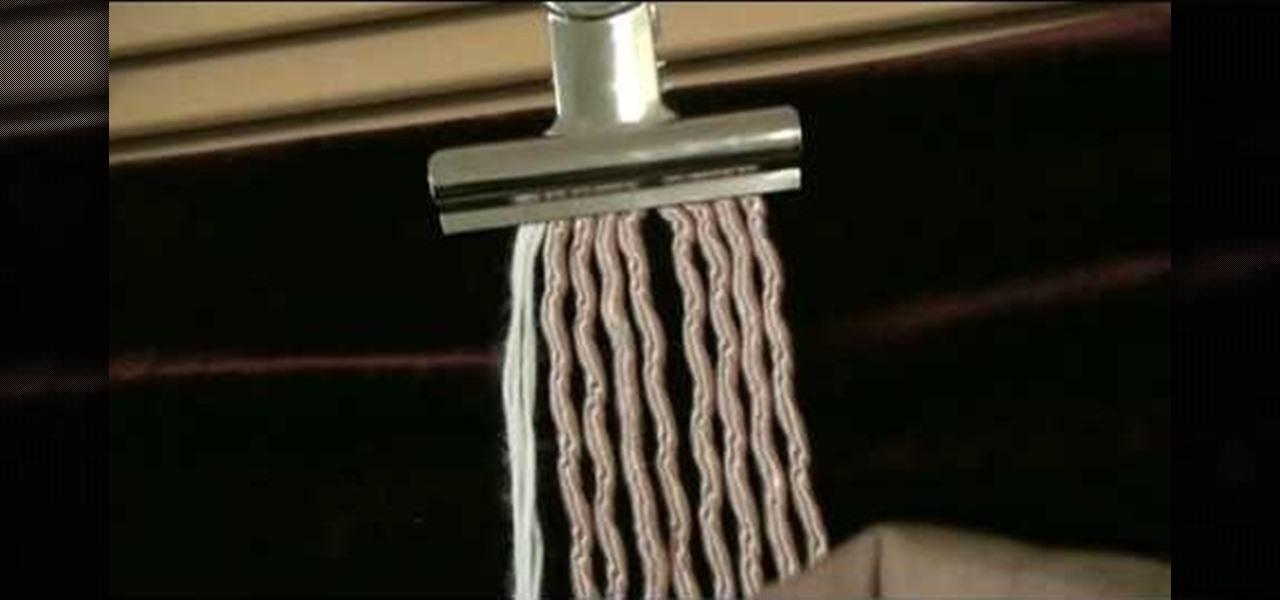
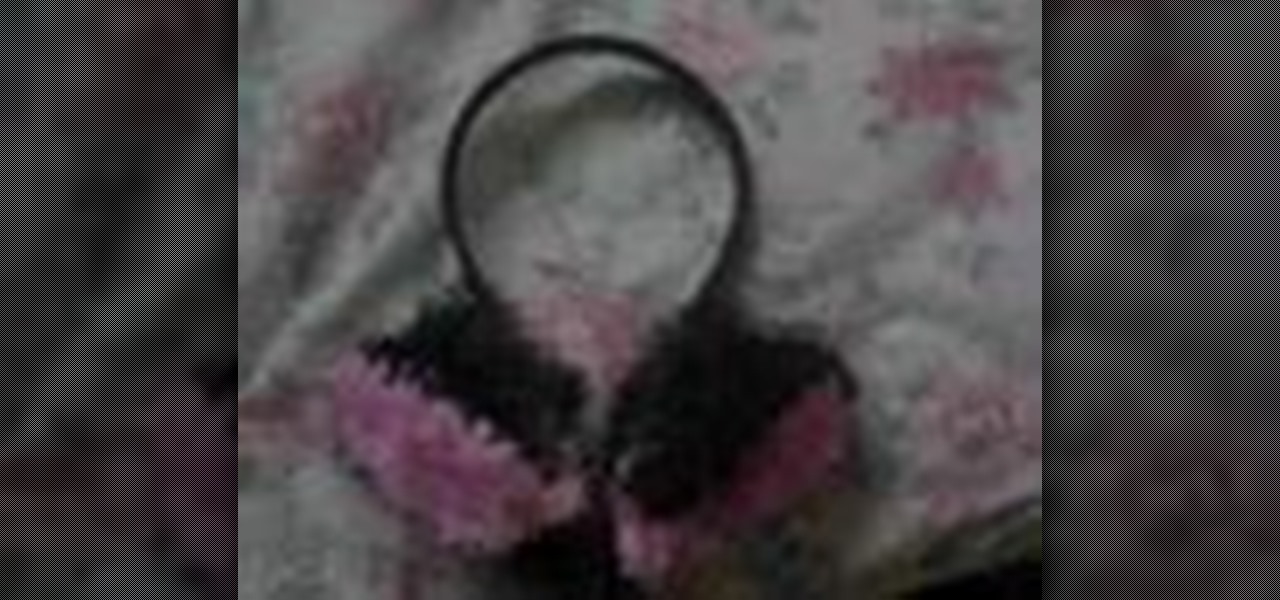
How To: Crochet a Cord for a Drawstring
For the knitted purses pictured above, as well as other knitted items requiring a drawstring, like a cinch sack, you will need to know how to crochet the drawstring cord. Watch the video for instructions, and check out the brief steps below.
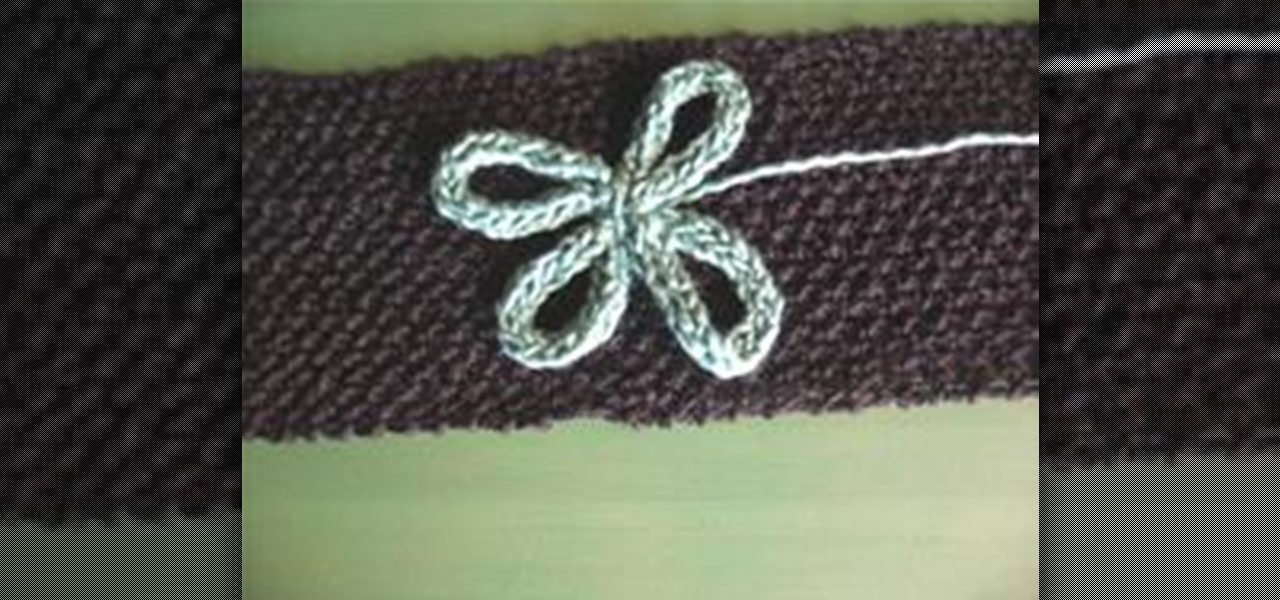
How To: Make a Flower From a Knitted I-Cord
Once you learn how to knit an I-CORD you will find many different applications in which to use them. One thing I like to do is to make a FLOWER from an I-Cord. The flower can then be applied to a sweater, a blanket, a scarf, a purse. There are limitless possibilities.
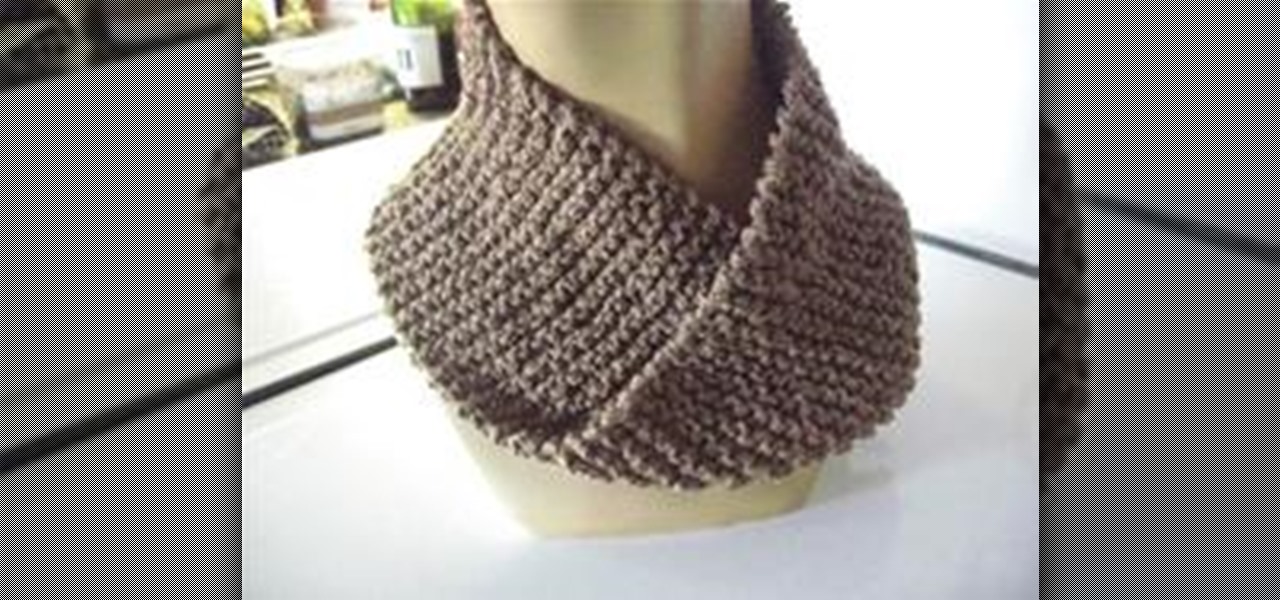
How To: Knit a Fake Mobius Scarf
There are different ways to knit a Mobius scarf. I call this one the Fake Mobius. Check out the video demonstration below, then proceed to the written tips and pictures.
How To: Knit a bracelet with an "A" letter
Already a bona fide friendship bracelet weaver? Then get ready to knock your friends' socks off with this personalized bracelet emblazoned with the letter "A." This step-by-step video will turn your mind to a whole new world of friendship bracelet possibilities, and you may find yourself stringing together batches of these for friends, family, and coworkers.
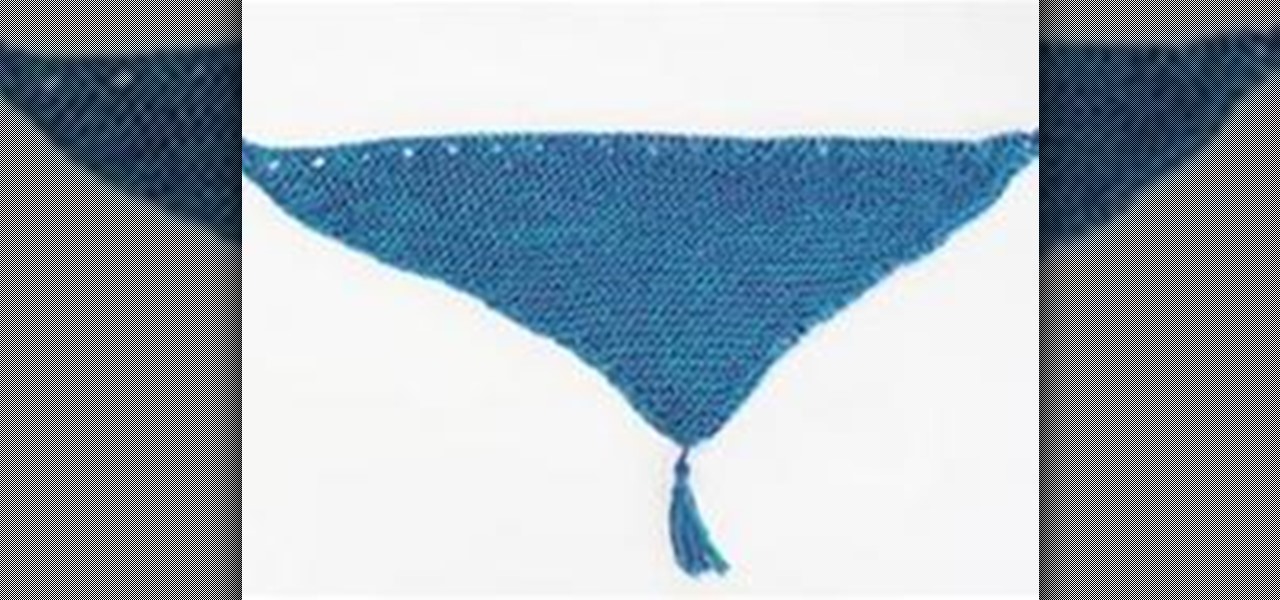
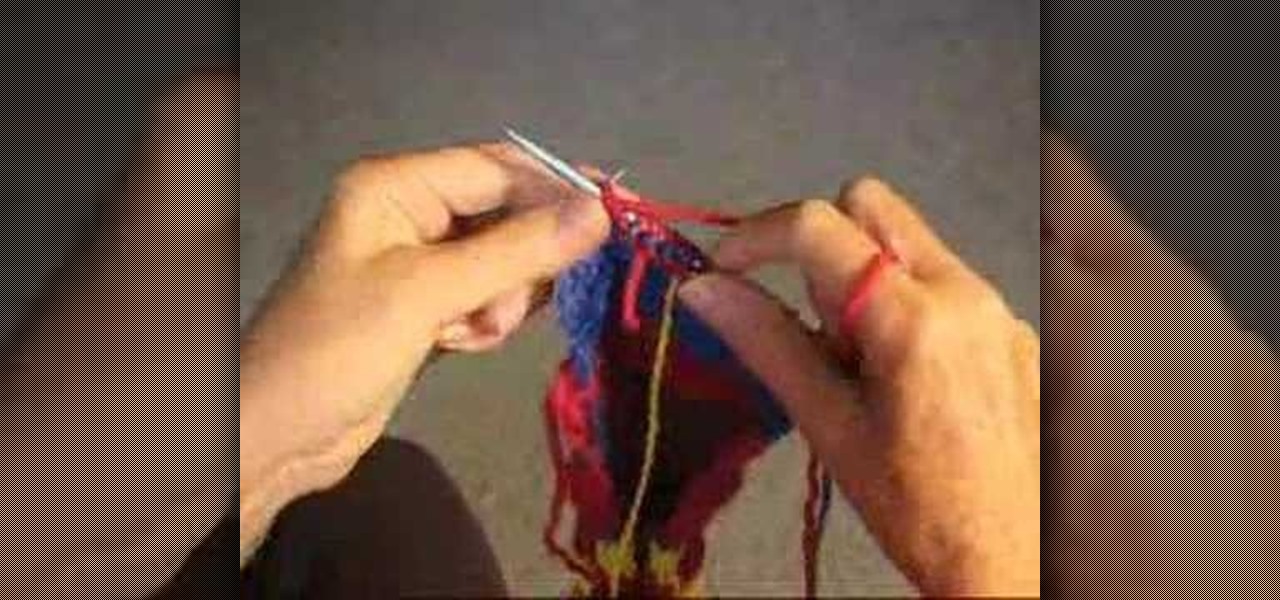
How To: Knit a Triangle with Yarn Over Edge
The Yarn Over (YO) edge is a nice way to increase. Here's how to do it for a Triangle Scarf. WATCH THIS VIDEO TO SEE HOW TO DO THE YO BIND OFF.

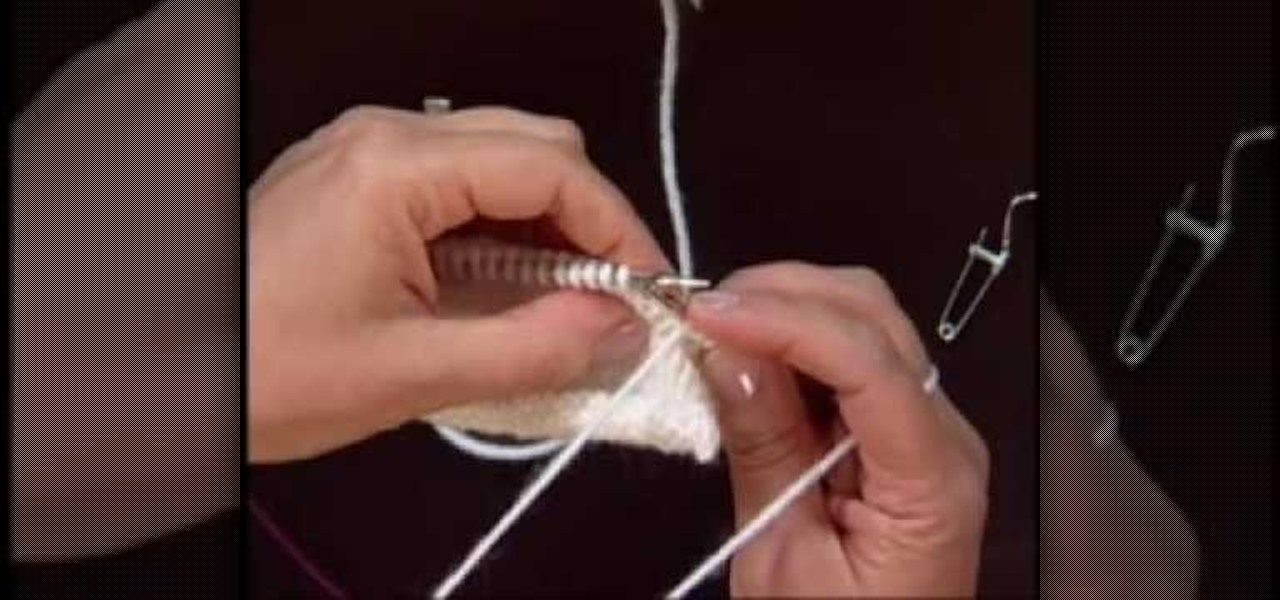
How To: Do the Kitchener Stitch (Grafting)
Here is how to join two sets of stitches without leaving a seam. This method is good for the toes of socks, the top of hoods, baby garments, or anywhere else you don't want a bulky seam.. It's NOT recommended for shoulder seams on heavy sweaters or other places where you need the stability of a bound-off edge to hold the shape of the garment.

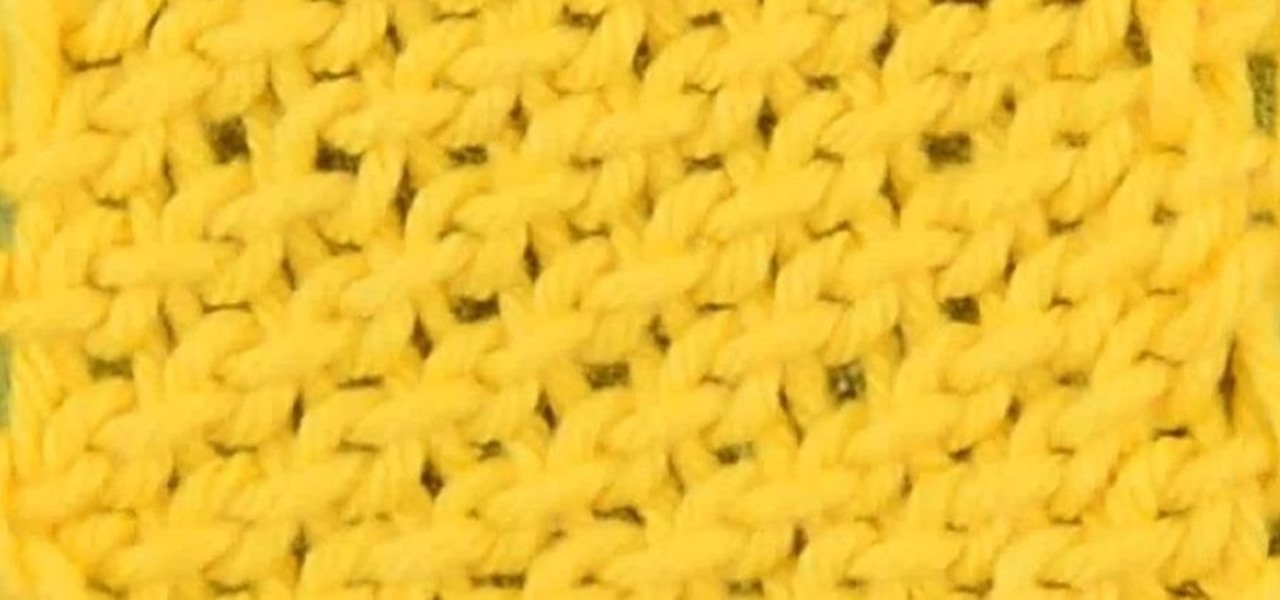
How To: Knit The Raspberry Stitch
There are many beautiful stitches to learn in knitting. Some are harder than others. Some look hard, but really aren't. The RASPBERRY STITCH (shown in the header) is a quite easy. Once you get into the rhythm of doing it and practice for awhile you'll agree.
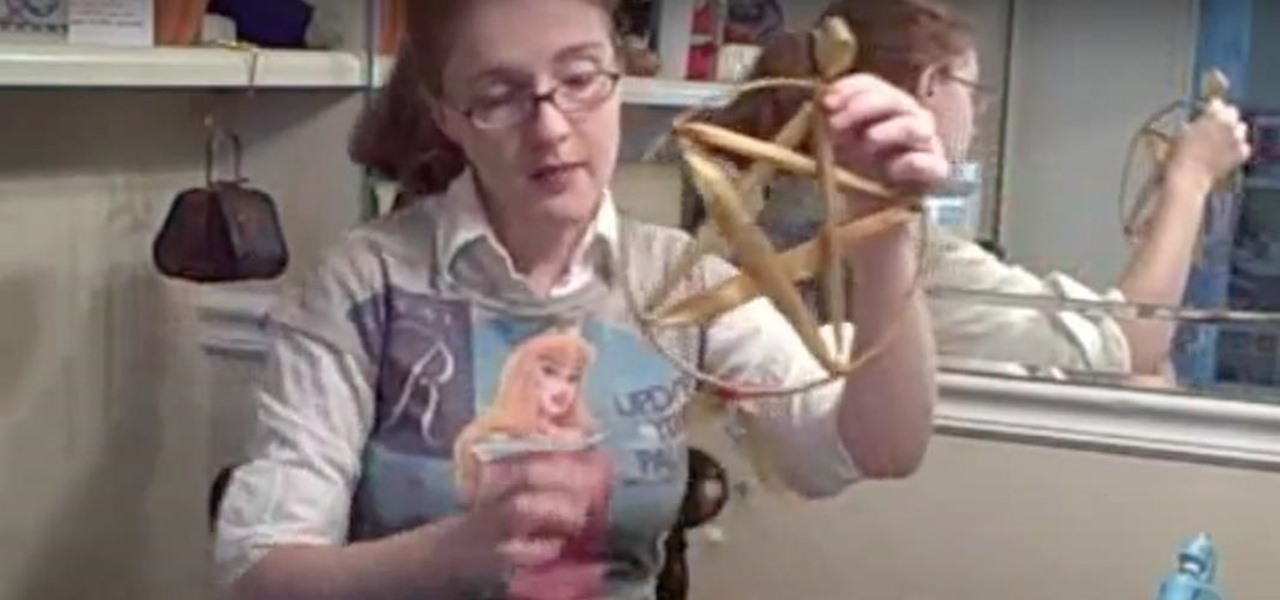
How To: Make a Pentacle Wreath Out of Ribbon
This is a perfect gift for the Wiccan or pagan on your holiday gift list - make a wall hanging or wreath shaped like a pentacle. A perfect blend of Christmas and Yule! You will need 16 gauge wire, along with your favorite ribbons and beads.
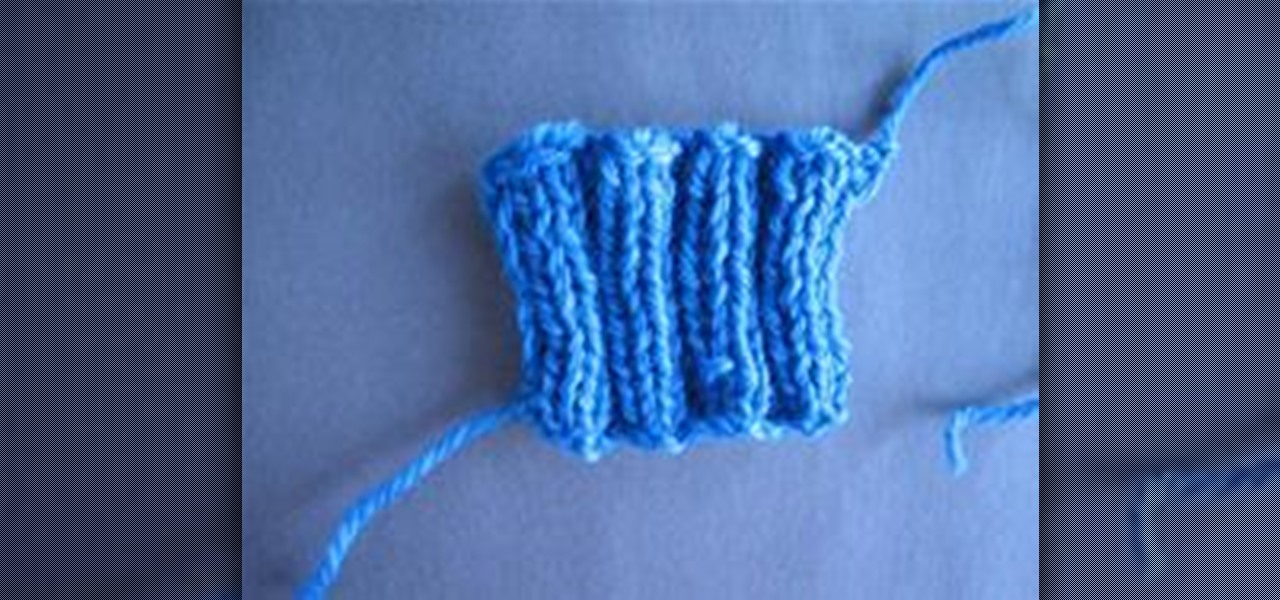
How To: Knit Ribbing
The two basic stitches in knitting are the Knit Stitch and the Purl Stitch. Once you know how to do both of them you can put them together to make RIBBING. RIBBING is usually, but not always, used at the bottom of a garment, as well as at the cuffs and at the neck. It's also a good stitch to use when you want both sides of the fabric to look the same like for a scarf or a blanket. RIBBING is usually K2 P2 (knit 2 stitches, purl 2 stitches) but it could be K1 K1 (knit 1 stitch, purl 1 stitch) ...
How To: Knit Portuguese style
In this tutorial, Andrea Wong teaches us how to knit Portuguese style. This is one of the oldest ways of knitting that started in the Middle East. The holding of the needles are the same but the working yarn should come from the left needle. The yarn should be placed around the neck for your tension or through a pin on the shirt. Next, the yarn should go through the middle finger on the left hand. Then, sit in a comfortable position while you insert the right hand needle under the yarn. Then,...
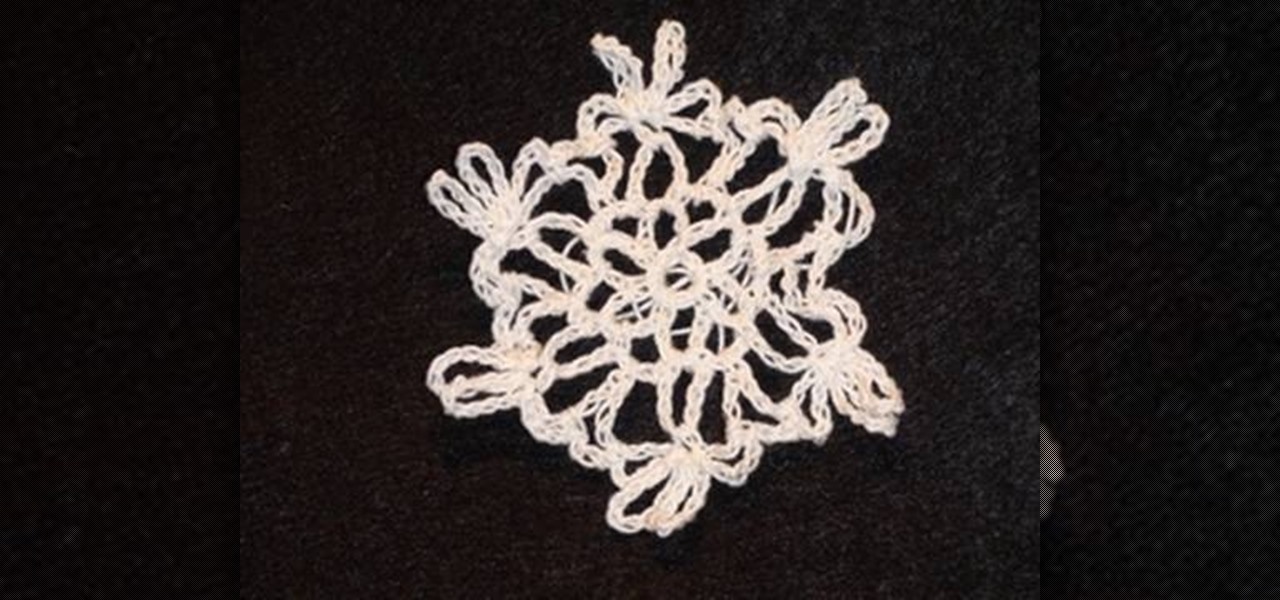
How To: Crochet a left hand snowflake
In this tutorial, we learn how to crochet a left handed snowflake. Start out with a chain 7, then join. For round 1, you will do a chain 6, then single crochet in the loop five times. Then, chain 3 and join at the beginning of the chain. For round 2, chain 3 in the next loop, then chain 8 and single crochet in the same loop, five times total. After this, chain 3 a single crochet and then triple crochet at the base of the beginning loop to join. For round 3, single crochet in the same loop, th...

How To: Use a yarn bowl when knitting
In this tutorial, we learn how to use a yarn bowl when knitting. The side of the bowl will have a slit in it where you can place your yarn while you are working on a project. Use hand wound balls or any other type. First place the yarn in the bowl and then string it through the slit, feeding it through as you do your project. If you have a larger ball, set it on the side and use it the same way. The bowl is glossy and smooth so the ball will roll around and won't get stuck inside. There's als...

How To: Upcycle an old bed sheet into yarn for knitting
We enjoy the fuzzy wool yarns at craft stores as much as any other knitter, but did you know that yarn doesn't have to be made from wool or any of the typical yarn fibers? In fact, you can make your own yarn at home. Don't worry, we're not going to put you in front of a weaving machine.
How To: Increase Using the Purl Stitch in Knitting
In this video, we learn how to increase using the purl stitch in knitting. First, take the thread in between two stitches and twist it onto the left needle, then purl it off. Do this over and over again, then purling the next stitch. This is the easiest way to do this, and the most efficient in saving time. When you reach the end of a row, start a new row and do the same process over again. When you are finished, you will have a beautiful type of knitting that wasn't hard to learn and is easy...
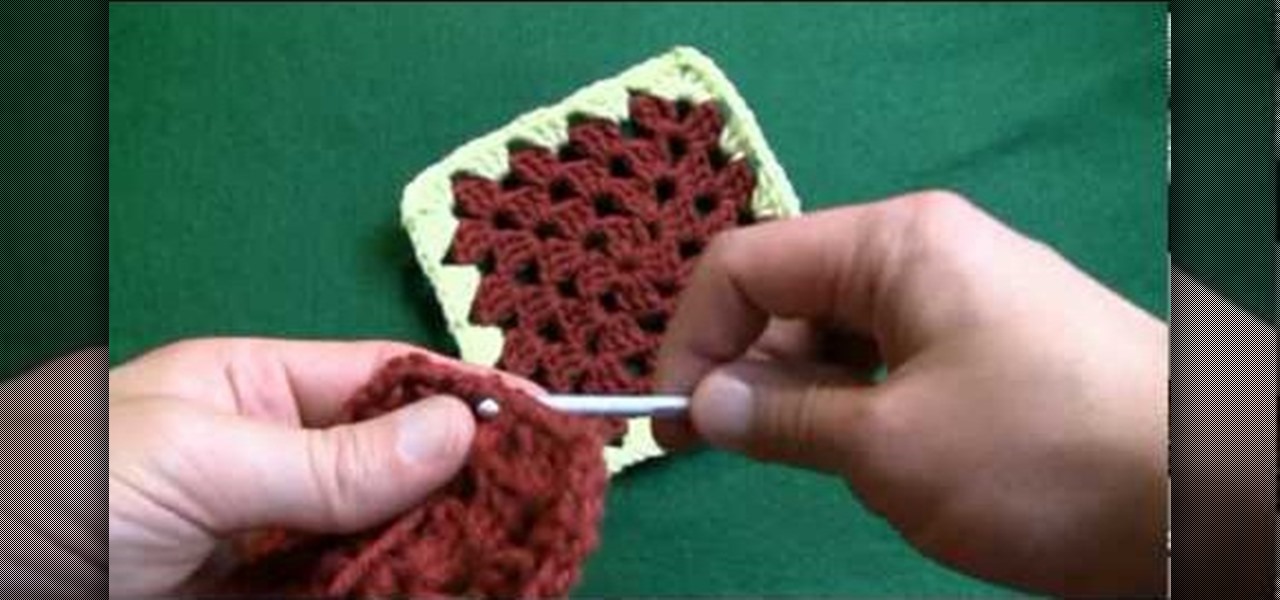
How To: Change colors in a granny square for right handers
If you've proven yourself beautifully adept at making snug and cozy granny squares (usually used as coasters), then why not add some spice to your crafting by adding different colors to the mix?
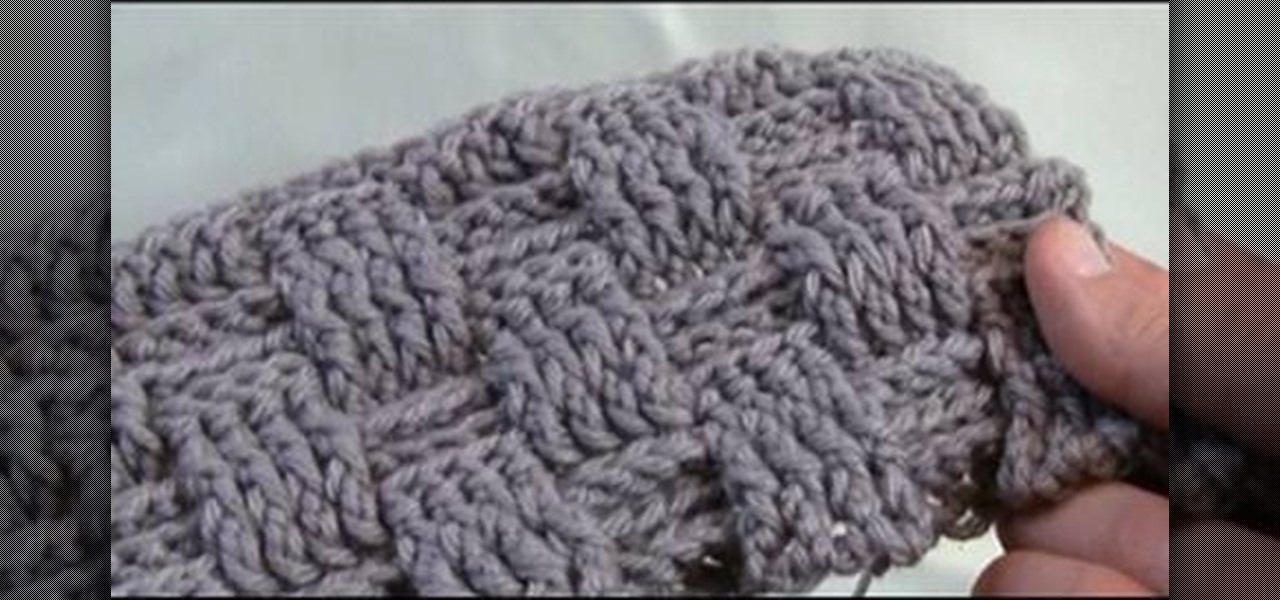
How To: Crochet a basket weave stitch for left handers
The name of this crochet stitch says it all. Called the basket weave stitch, it consists of cubes of intersection vertical and horizontal yarns to create a unique pattern reminiscent of basket weaving.
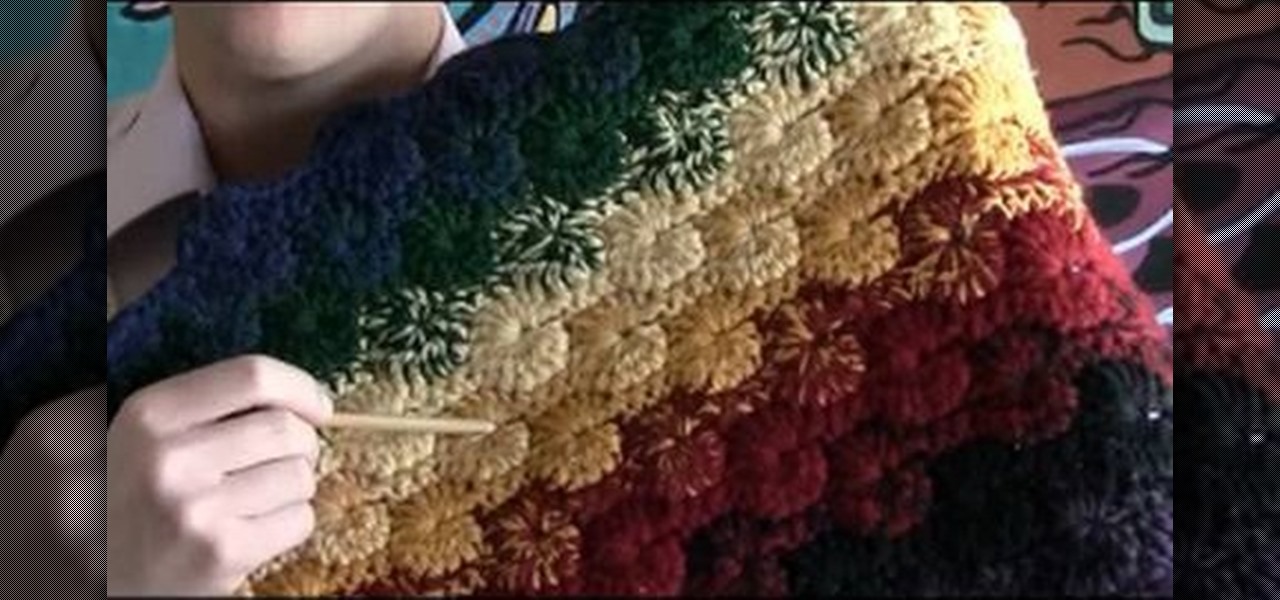
How To: Crochet a Catherine Wheel stitch for right handers
The right handed version of the Catherine wheel stitch creates a fabulous pattern of pinwheels and undulating borders, but be warned: the crochet pattern is for intermediate to advanced crocheters only.

How To: Crochet a slip stitch to end the round
Are you having trouble ending the round when you are crocheting? Shred Betties shows us how to crochet a slip to end the round. You will need the following: crochet hook, yarn. Procedure: Use a slip stitch to end a row. Insert the hook in the middle of the third stitch of the chain that started the row yarn over and finish round 2 by pulling the yarn through the loops on the hook. Follow these steps and you will no longer have trouble ending the round the next time you crochet.
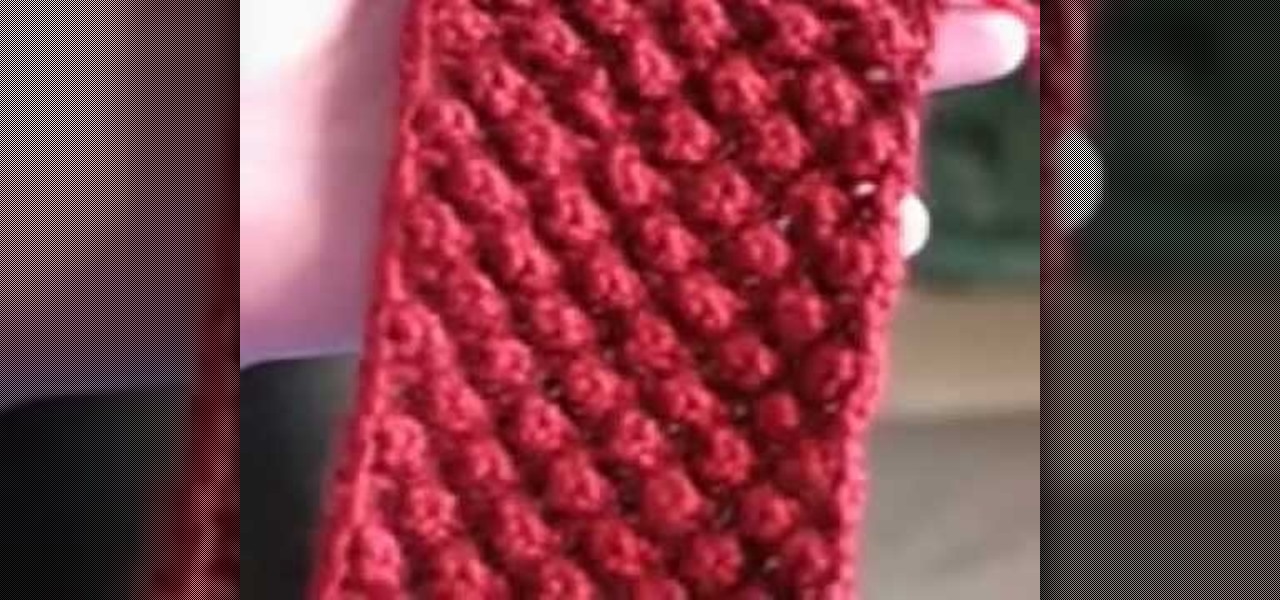
How To: Knit a raspberry stitch
The video demonstrates how to do the two stitches used to make the raspberry stitch, which are purl 3 stitches together, and knit 1 purl 1 knit 1 in the same stitch.

How To: Stockinette stitch for knitting projects
Watch this instructional knitting video knit a stockinette stitch using the Contintental method. This means you will knit on one side of the piece and purl on the other side. Stockinette stitch tends to curl at the edges, which add a nice finishing touch to sweaters or hats. Knitting with the Continental method only means that you hold the yarn with your left hand.
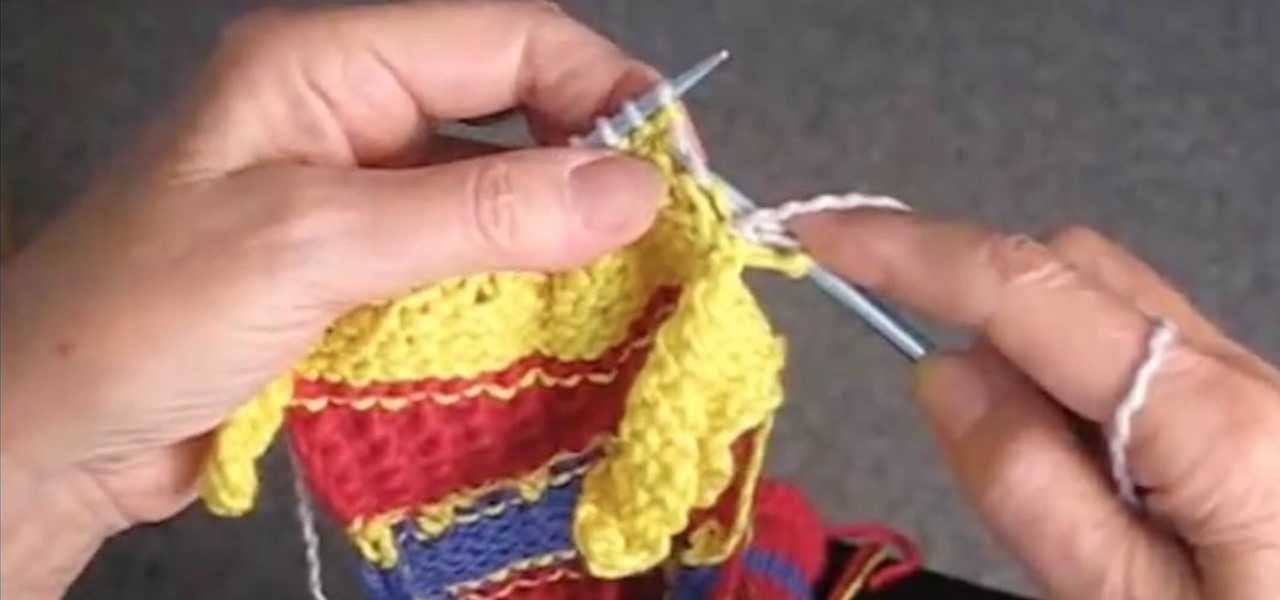
How To: Attach an I-cord by knitting
This video knitting tutorial shows how to attach an I-Cord onto another knitted piece. Start by picking up stitches along the edge to which the I-cord is to be attached. Break the yarn, and cast 3 stitches onto a double-point needle. Slip these stitches onto the front end of the needle that is holding the edge stitches, such that the working yarn is 3 stitches in, next to the first edge stitch. Begin by knitting 2 stitches, pulling the working yarn across the back, as for regular I-cord. The ...
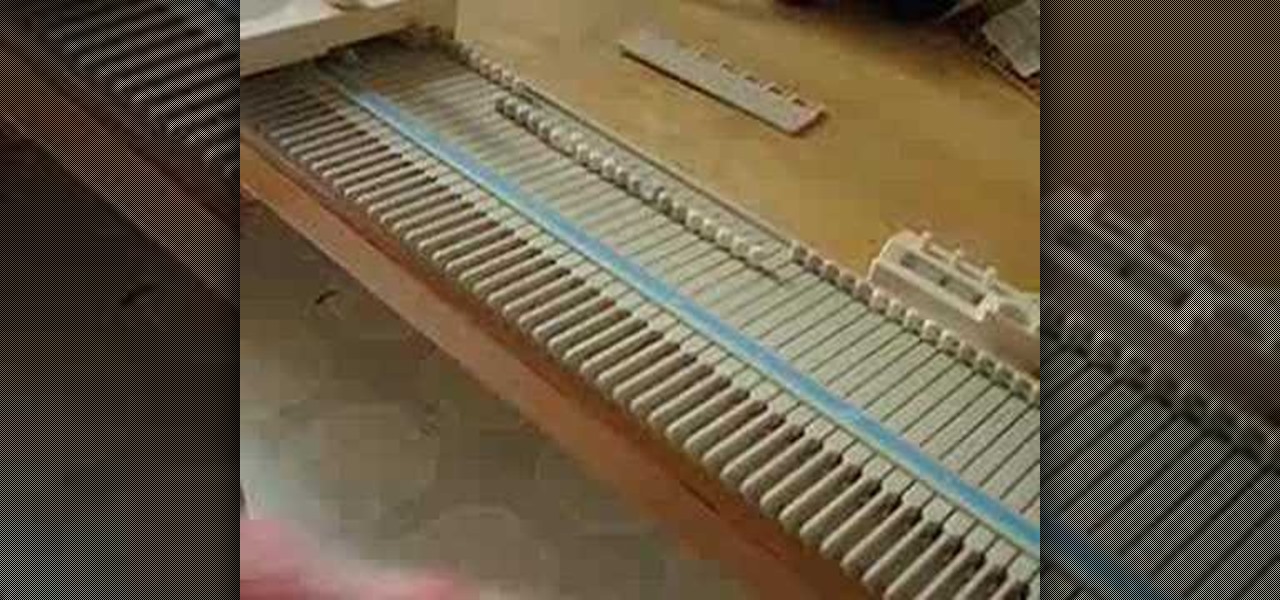
How To: Set up a Singer LK 100 knitting machine
Hand-knitting can be so time consumptive. Knitting machines are great for simple projects that don't require a lot of detail. Watch this video knitting tutorial and learn how to set up and use a Singer LK 100 knitting machine.

How To: Crochet a scalloped crochet edge
This crocheting how-to video shows you how to add a scalloped crocheted edge to your next dishcloth, loomed or knitted project. This scalloped edge is worked in two rows, the first row all around is just single crochet. The next row will be your pattern that makes the scalloped edges. Watch and learn how to crochet scalloped edges.

How To: Weaving in the ends on a granny square
This crochet how-to video will show you how to weave in all those loose ends on your granny square. Weaving in the ends gives your crochet pieces a much neater look. Watch and follow along to learn how to do this basic crocheting technique.
How To: Crochet cat ears for Japanese anime cosplay
Watch this cosplay how to video and learn how to make your own kitty ears for cosplay anime role play! Crochet a cute pair of Japanese cosplay cat ears with this helpful crochet how-to video tutorial. These crochet cat ears will add a decorative touch to any anime costume.
How To: Add color on a purl row for beginning knitters
An easy, up close, demonstration of how to add color to your knitting on a Purl Row by Judy Graham. Learn how to knit from these simple and clear instructions.

How To: Crochet a popcorn stitch
Watch this detailed demonstration of how to make a crochet popcorn stitch.

How To: Knit a pom-pom for a scarf using a pom tree
Check out this video to see how to make a pom-pom using a tool called a pom tree to create pom-poms, tassels, and other creations for knitted scarves, blankets, hats, and more.
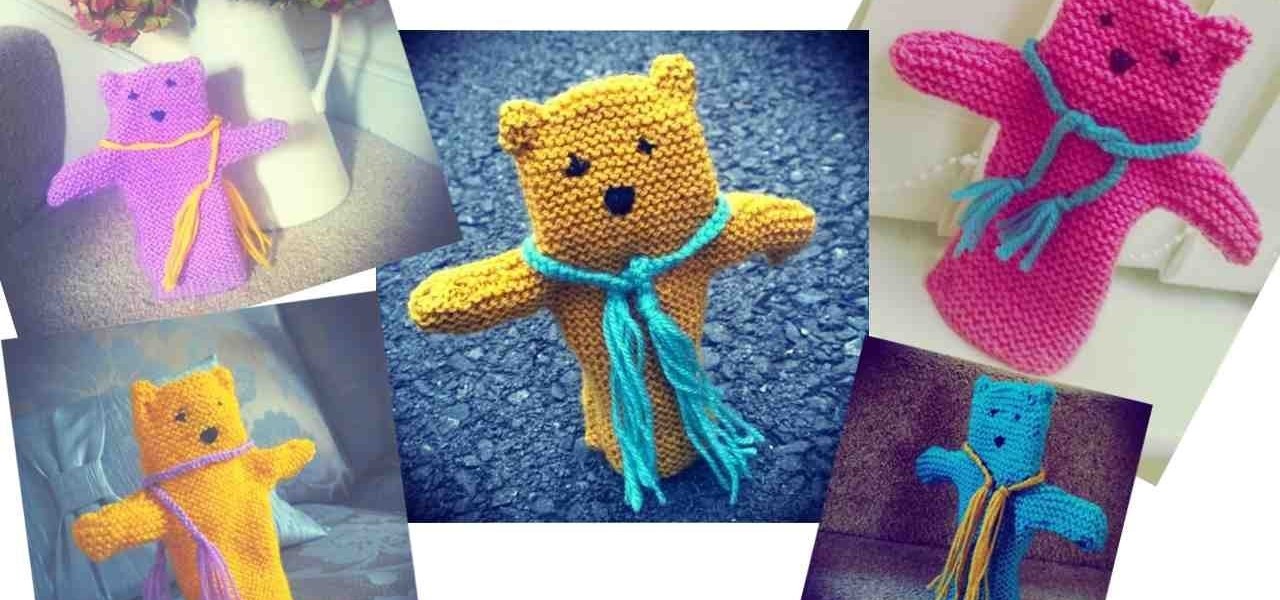
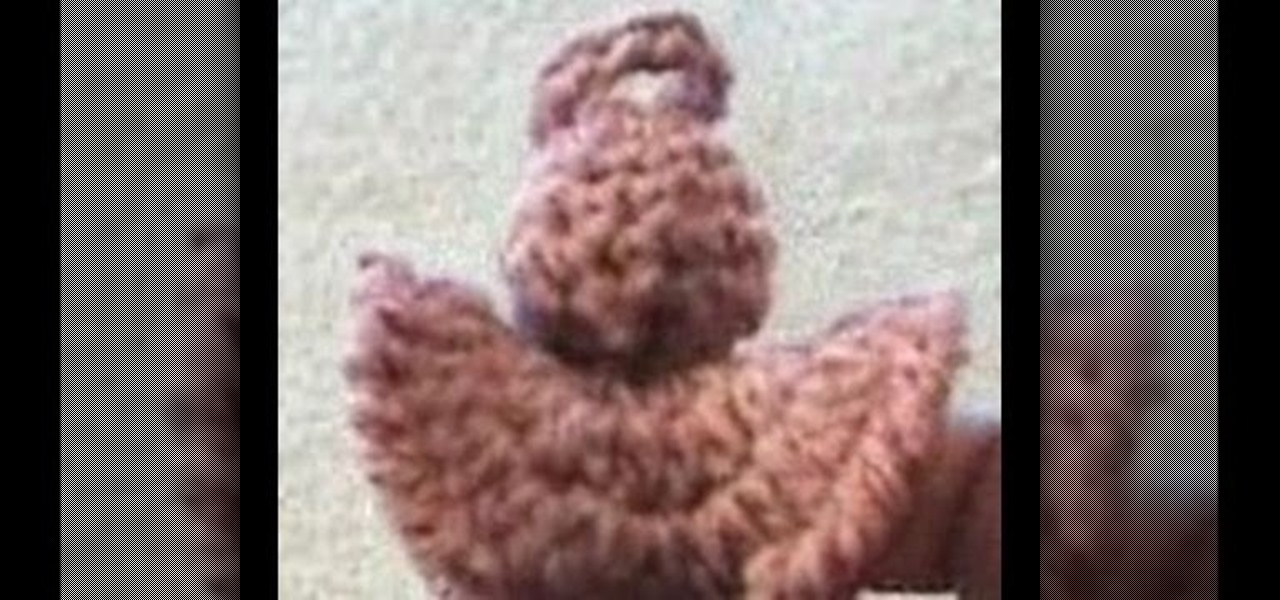
How To: Knit a Teddy Bear Hand Puppet
Me showing you the steps on how to knit a teddy bear hand puppet for the Shoebox Appeal!
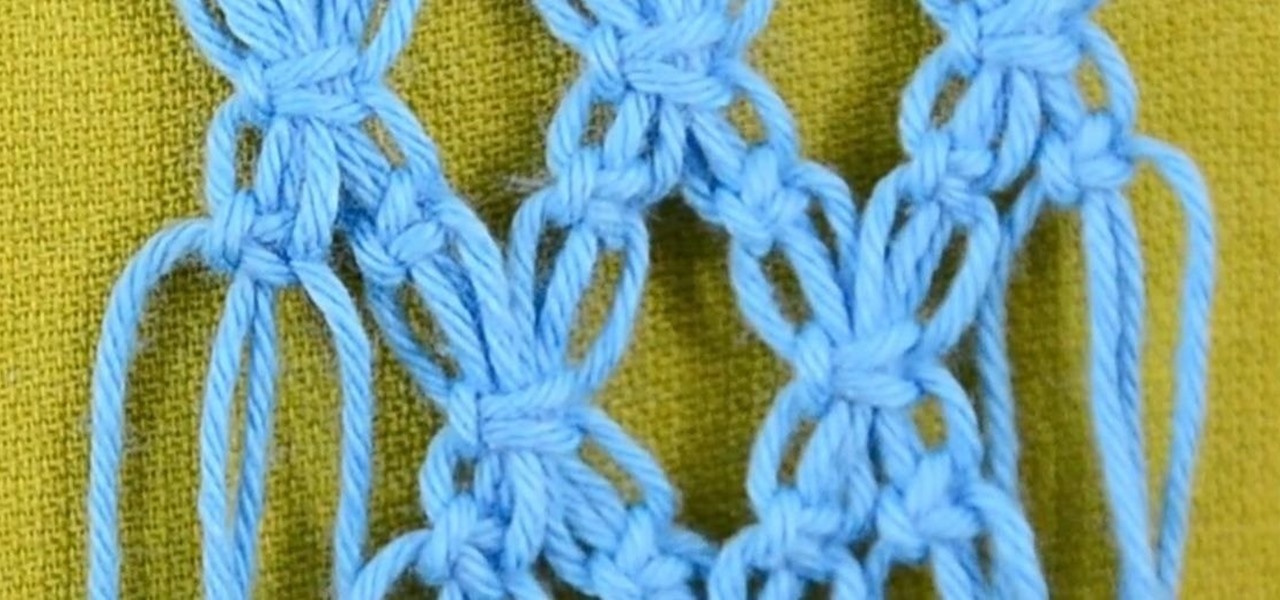
How To: Rhombus with Josephine Knot (DIY)
From this macrame pattern you can make a nice decorations for plant hangers, wall hangings, clothing, towels etc.
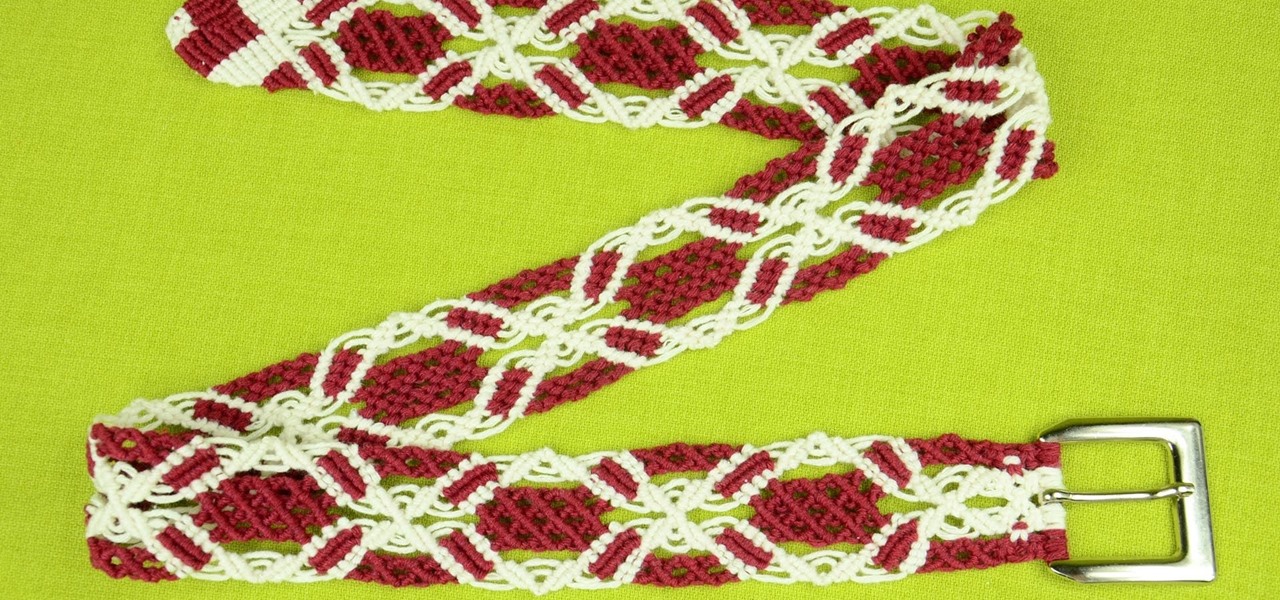
How To: Make a Macrame Belt (DIY)
How to Make a Macrame Belt (see in video).
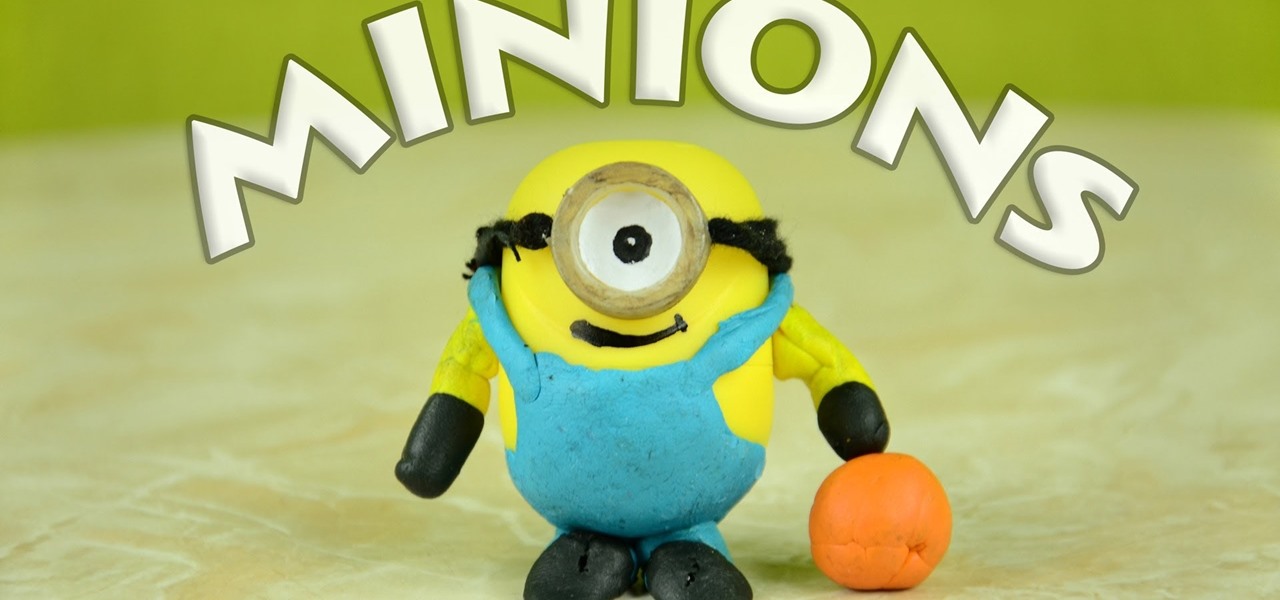
How To: Make Macrame MINIONS
Is it possible to make Minions with Macrame? I tried - look what happened :) Macrame Minion from Despicable Me movie based on Kinder Surprise egg.
How To: Knit for Beginners
So Christmas is coming up, and you want to make a couple of presents for your friends and family, who you don't really feel like splurging on- but want to make something from the heart. You've tried other stuff, and you totally failed at the Cross-stitch from last year, have you tried Knitting?! Well here's a beginners guide to the simple knitting technique- an easy one!
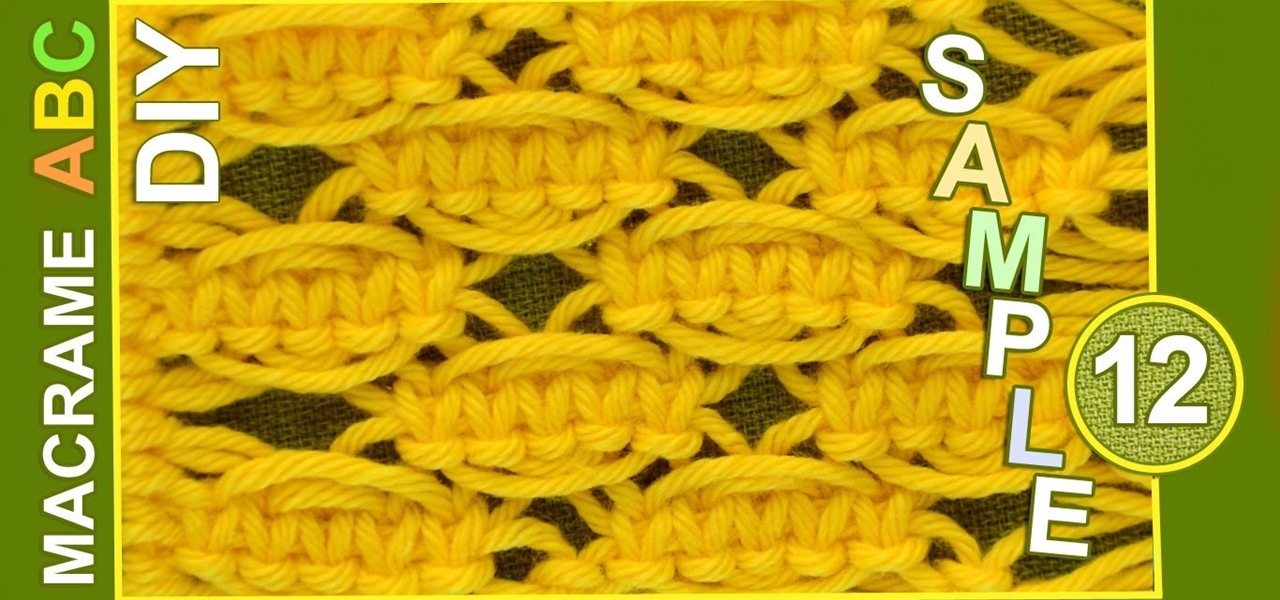
How To: Macrame ABC - Pattern Sample #12
Interesting pattern example for your macrame projects. In this Macrame sample we used Square knot. The square knot is the basis of many designs.
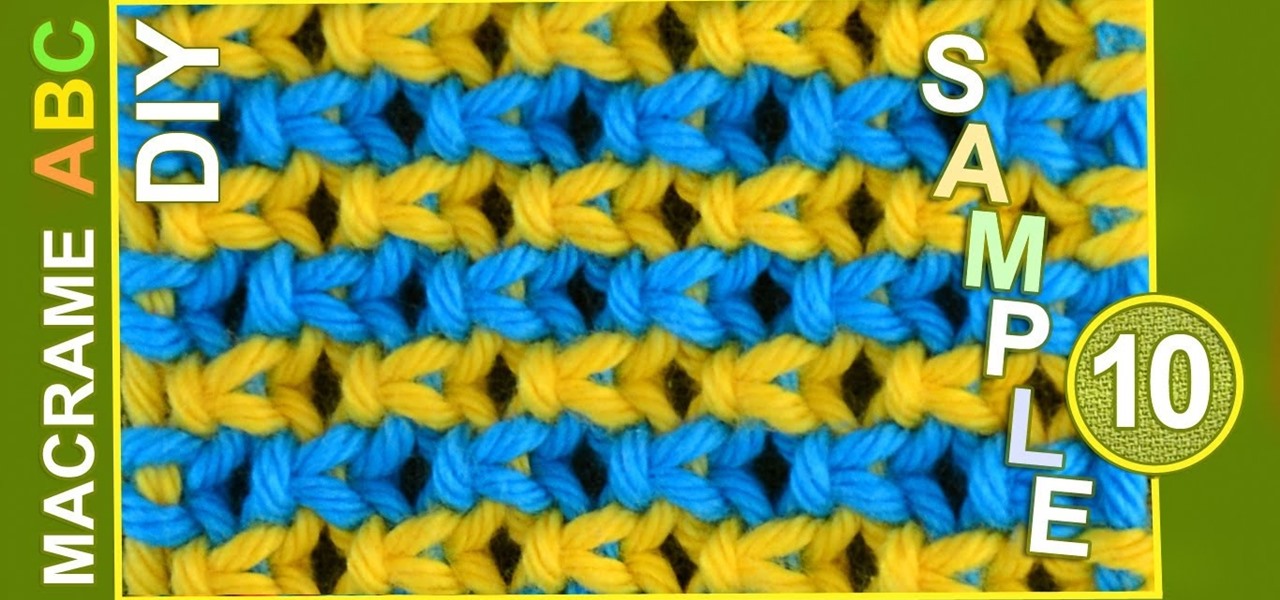
How To: Macrame ABC - Pattern Sample #10
Simple and colorful pattern sample for various useful macrame projects. In this pattern we used Square knot. Maybe looks like a knitted.
How To: Macrame ABC - Pattern Sample #9
Simple and colorful pattern sample. In this pattern we used Square knot. Macrame design elements for various useful macrame projects.
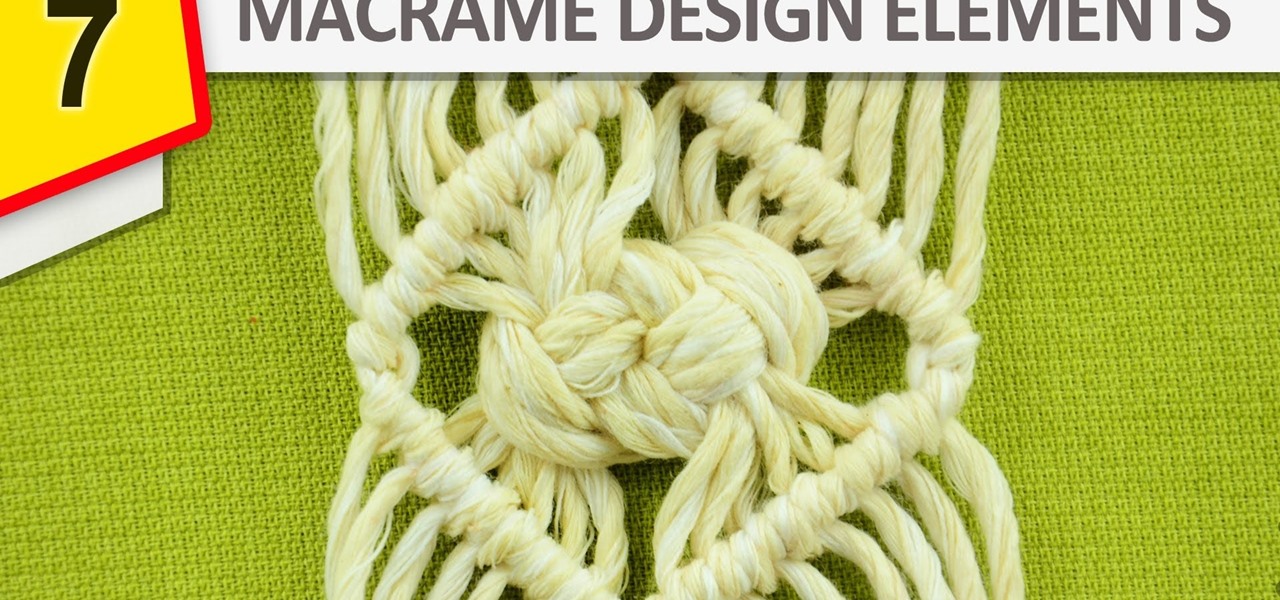
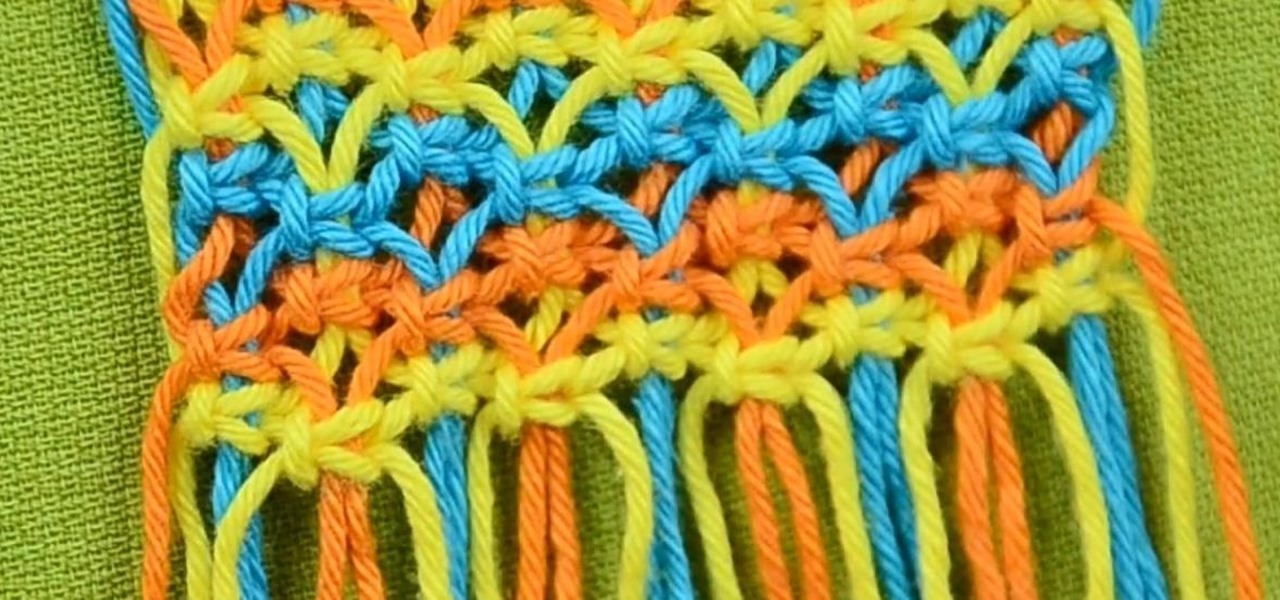
How To: Macrame ABC - Pattern Sample #7
Motif with flower elements. With this motif you can make a jacket or something beautiful. In this Macrame sample are used Square knot. The square knot is the basis of many designs. It is also called a Flat Knot or Reef Knot. If you can only learn one knot, this is the one to learn.
How To: Macrame ABC - Pattern Sample #8
In this pattern we used half of Square knot. Sample looks like a knitting. With this motif you can make a clothes or something another..
Knitting for Beginners: How to Do the Stocking Stitch
How to knit the stocking stitch!