

Everything Else


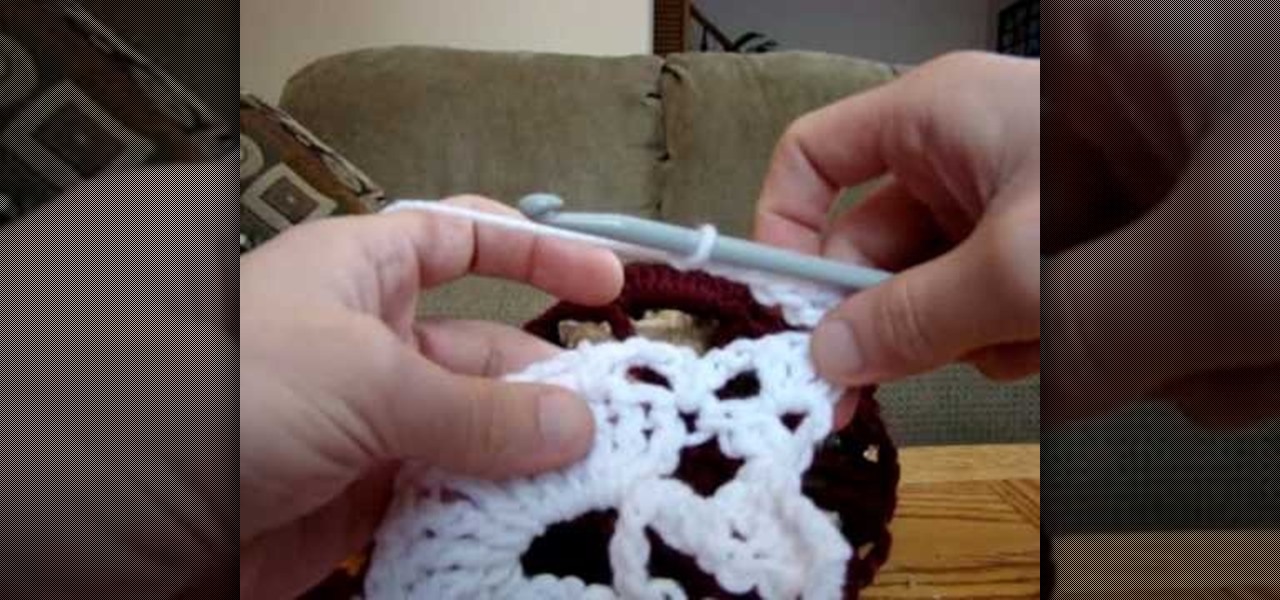
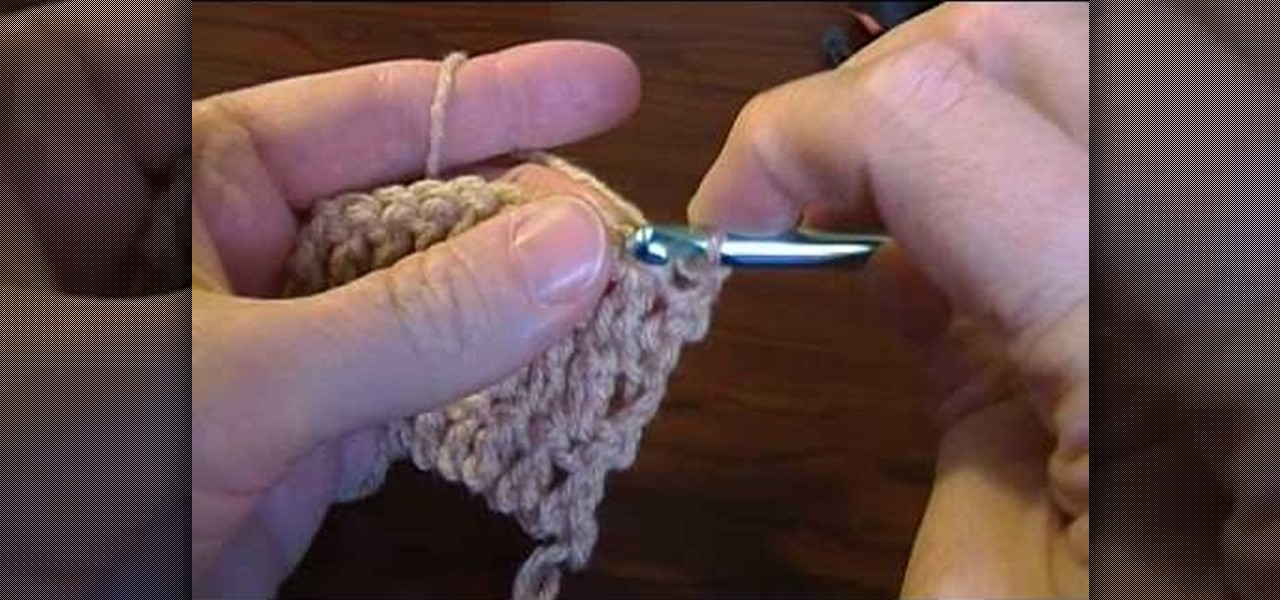
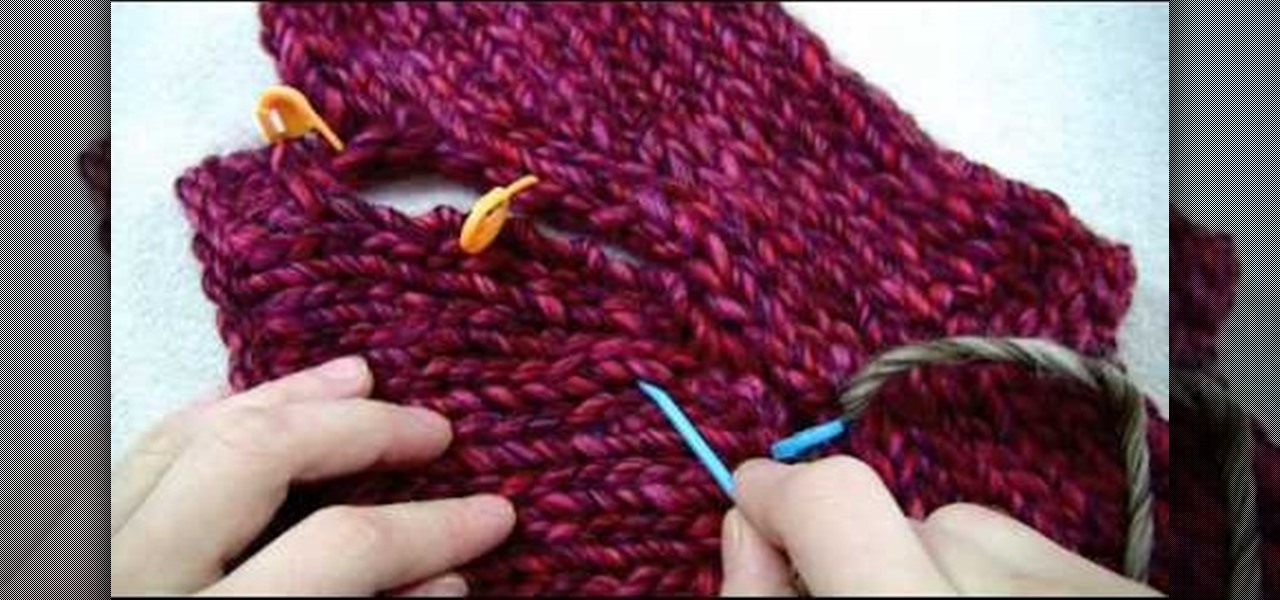
How To: Crochet the stained glass window square
This is a more advanced version of the granny square - the stained glass square, which usually is made with several separate colors of yarn. This tutorial is aimed at people who have already mastered crochet techniques to at least the intermediate level.
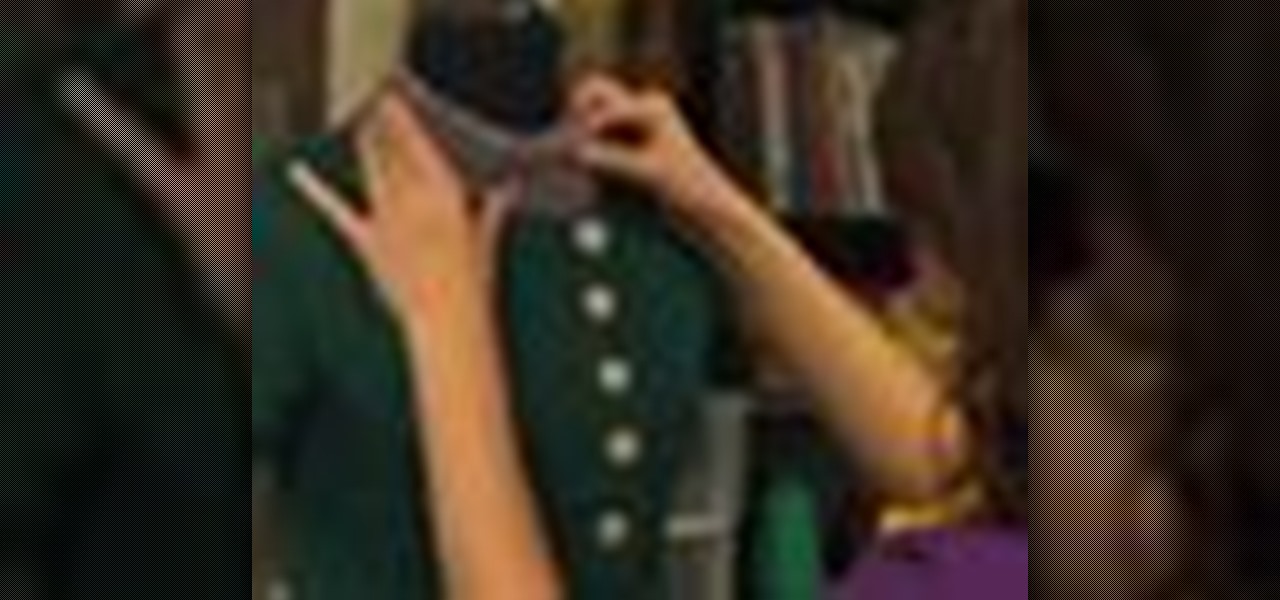
How To: Crochet a convertible hat to scarf
It's a scarf! No, it's a hat! It's a convertible! This clever piece has a drawstring closure on one end, which allows you to wear it as either a hat or a scarf. Watch this video series and learn how to crochet your own.

How To: Make the Afghan stitch with a small crochet hook
Do you prefer working with smaller crochet hooks, but like the way the Afghan stitch works? This tutorial shows you how you can take a small hook and how you can still use it to crochet the Afghan stitch for your projects.
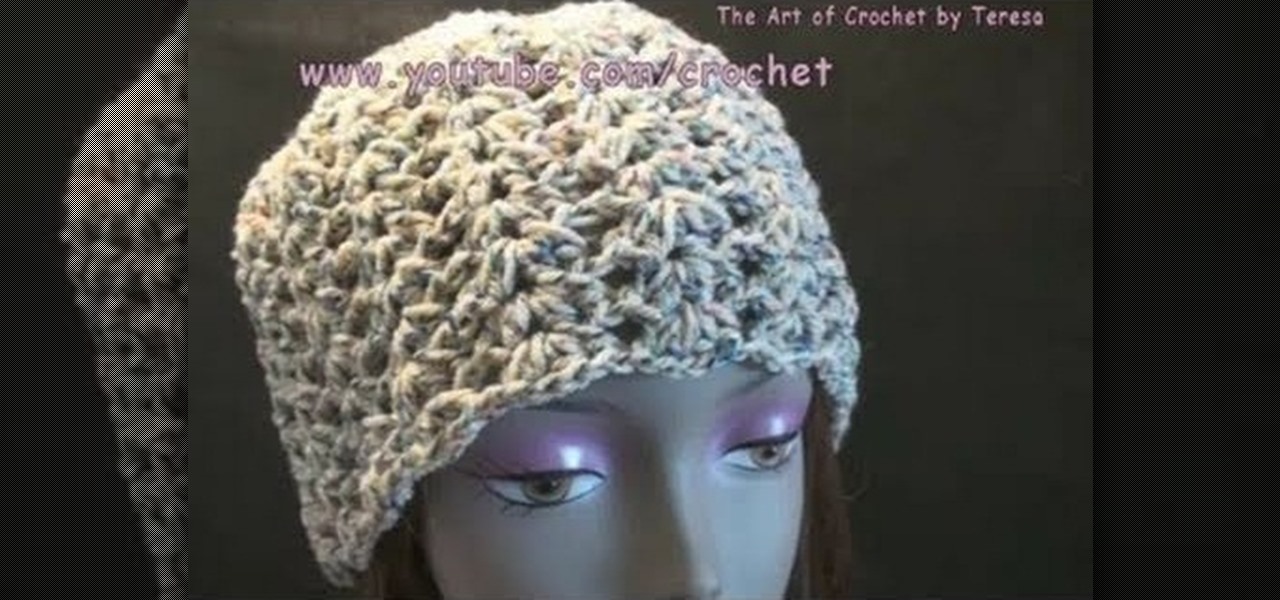
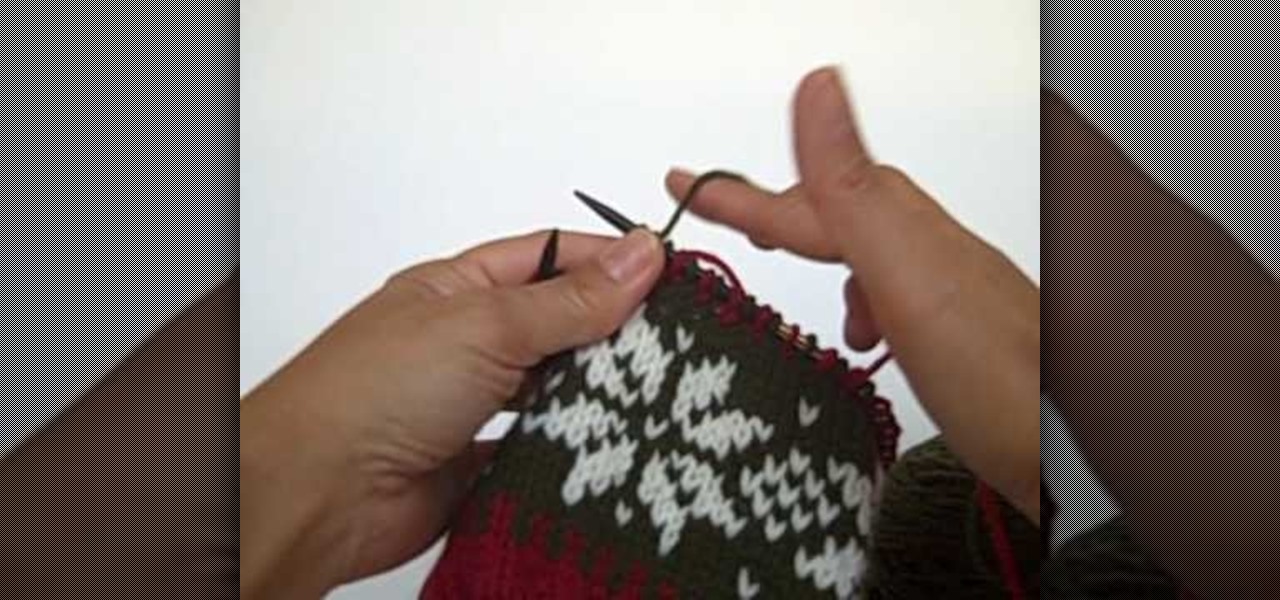
How To: Crochet the darling shell cap for left handers
It's winter time, and Christmas is coming up. What better gift than a warm, handmade hat? This tutorial shows you how to crochet the darling shell cap, an easy and attractive hat. It has been specially designed for left handed crocheters.
How To: Crochet a lace pineapple pattern
In this video, you'll be learning how to crochet a very beautiful lace pineapple pattern. Use this pattern as the base for an afghan blanket, a scarf, or anything your heart desires. Mikey takes you through the process step by step, so just watch the video!
How To: Make a left handed granny square using double crochet
Calling all left-handers! In this video, you'll learn how to crochet a granny square with your left hands using the double crochet method. So for left-handers needing help with crochet, this video is for you. A granny square is a great way to practice and enhance your crocheting skills.
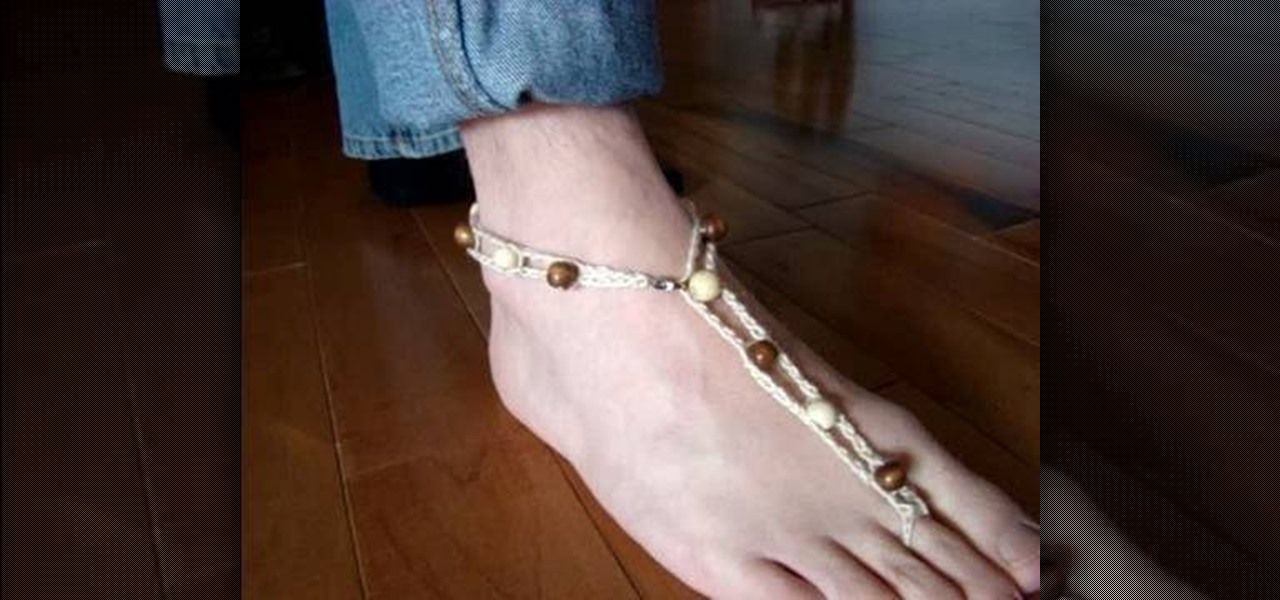
How To: Crochet barefoot sandals for the beach
Looking for a hot new look for the beach? Why not tray these crocheted "barefoot sandals"? It'll cost you less than a dollar. These sandals are simple and easy to make. Watch this video, and follow it step by step to create a great new look you can take with you to any sandy shore.
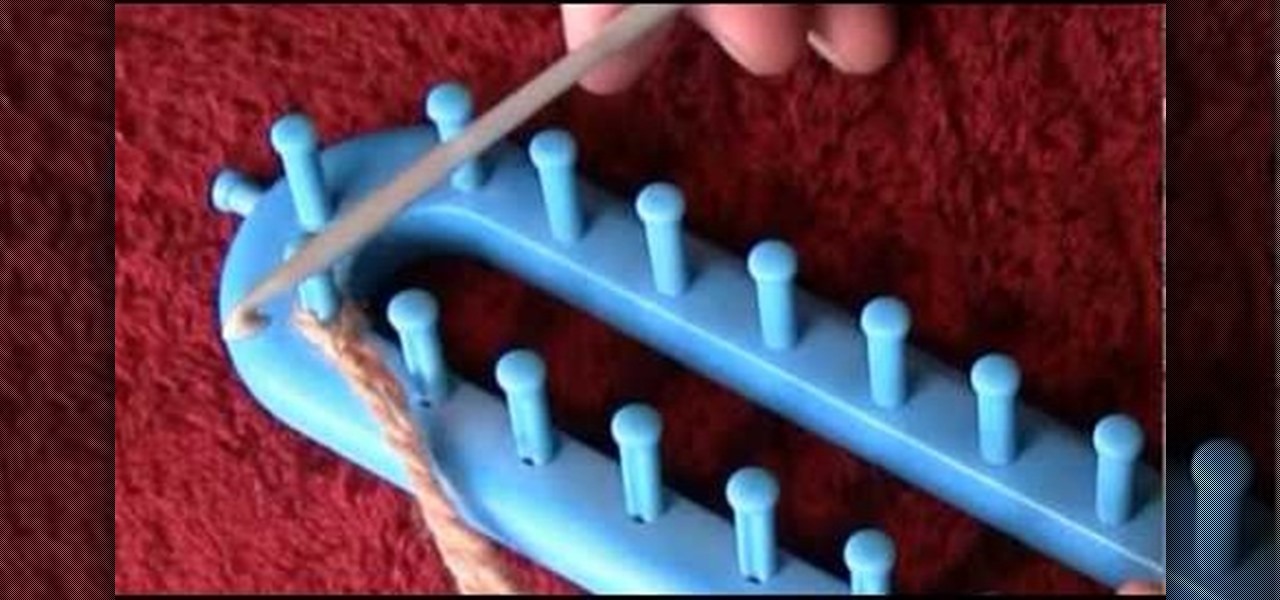
How To: Cast on when knitting on a rectangular loom
In this video, you'll learn how to cast on with the CHAIN ON method on a rectangular loom. It'll simplify your knitting process a lot! You can use this method for many different types of looms but this video specifically covers knitting on a rectangular loom.

How To: Decrease Stitches In Knitting
When you make an actual garment you will have to know how to decrease and increase stitches. For this article we'll deal with just the decrease.
How To: Knit using the welt technique
This video begins with examples of different finished welt techniques being shown. A piece of finished cloth is then folded over twice and then held in place before stitching. The first knit is started on the left side of the cloth and continued until reaching the opposite side of the fabric. A wooden needle is then used to weave from right to left until the wooden needle is pushed all the way across the fabric for support. This step is repeated three times until the welt is visible and stabl...

How To: Increase Stitches at the Beginning of a Row
When you make an actual garment you will have to know how to decrease and increase stitches. For this article we'll deal with just the increase.
How To: Cast on from the Clover Wonder Knitter (6-pegged head)
If you've already tried the 3-pegged head on the Clover Wonder Knitter, it's time to try out the 6-pegged one. The Crochet Crowd shows you how to cast on from the 6-knobbed head with ease. This tool is a great way to experiment with your knitting skills!
How To: Cast on from the Clover Wonder Knitter (3-pegged head)
Clover's Wonder Knitter is a nifty little device that comes with a 3- and 6-pegged head. This is a great little device to experiment with and The Crochet Crowd is going to show you how to cast on from the 3-knobbed head. Also, check out the 6-pegged head tutorial.
How To: Knit a picot cast on for baby sweaters, blankets and other knitted projects
Master knitter Judy shows you how to knit a picot cast on in this knitting video. If you haven't figured out how to cast on yet, you should probably watch her video on that first. This is a sweet edging for the bottom of a baby sweater or blanket. There are many other instances where you would want to use a picot cast on, as well. Learn it with this up close demonstration by Judy Graham, Knitter to the Stars.
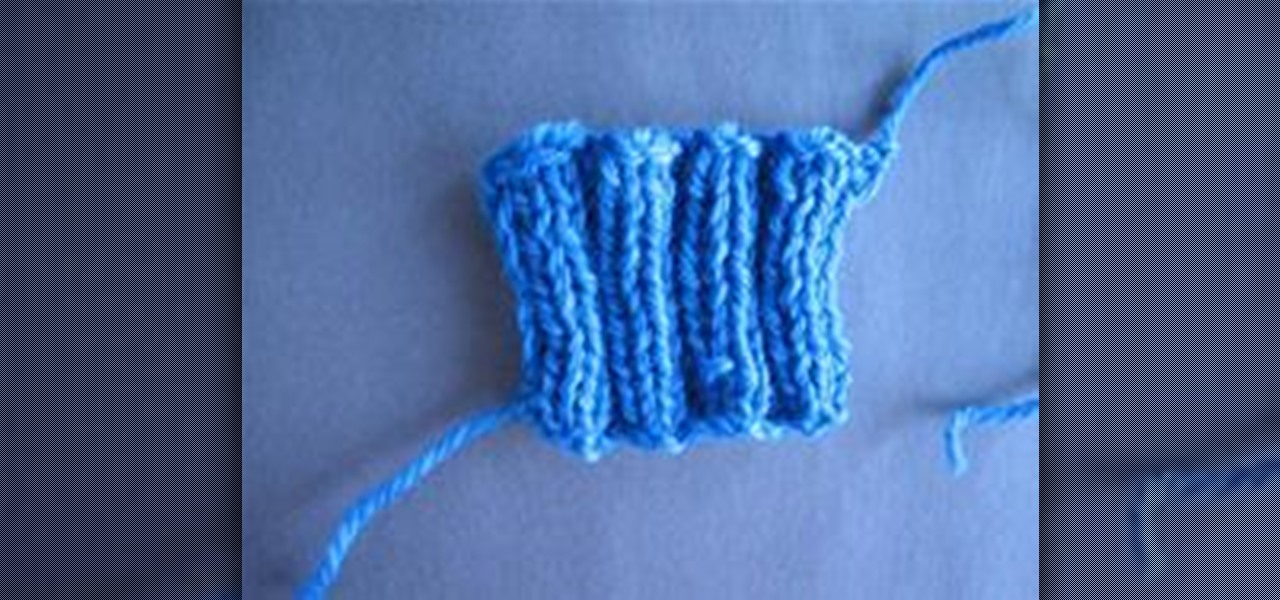
How To: Knit Ribbing
The two basic stitches in knitting are the Knit Stitch and the Purl Stitch. Once you know how to do both of them you can put them together to make RIBBING. RIBBING is usually, but not always, used at the bottom of a garment, as well as at the cuffs and at the neck. It's also a good stitch to use when you want both sides of the fabric to look the same like for a scarf or a blanket. RIBBING is usually K2 P2 (knit 2 stitches, purl 2 stitches) but it could be K1 K1 (knit 1 stitch, purl 1 stitch) ...

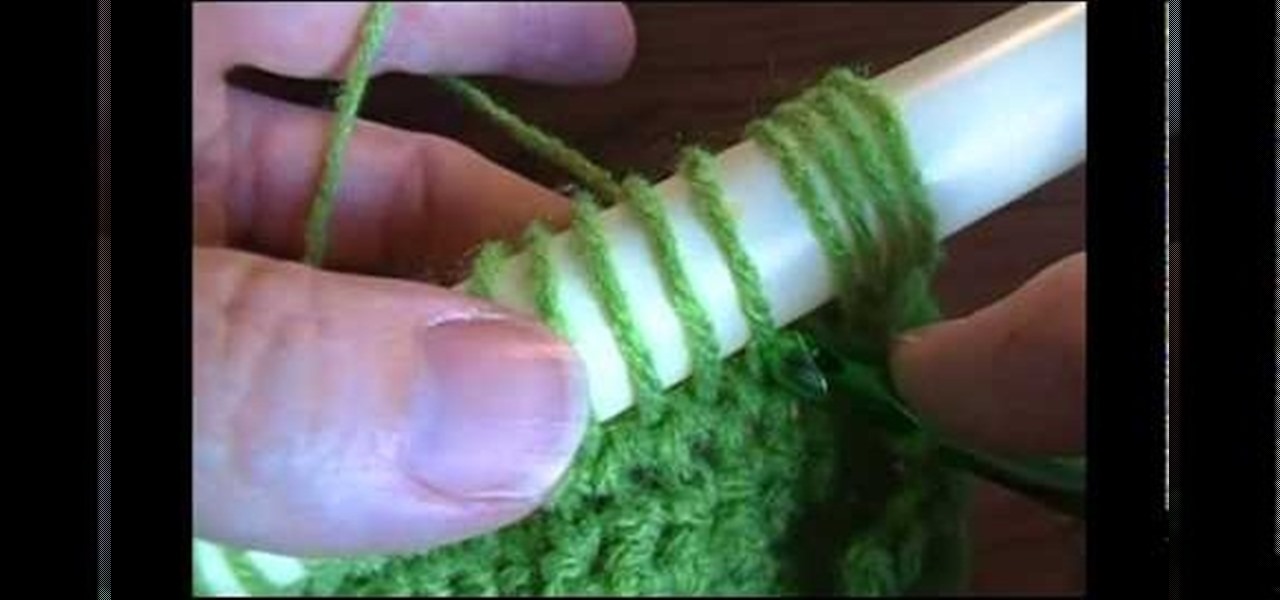
How To: Wrap a small knitting loom for crochet
A knitting loom is a small tool you can use to expand your repertoire of crochet stitches. It's not difficult to master the trick. Watch this video and learn how to string your own knitting loom with a styler pen.

How To: Fix frays when knitting with homespun yarn
Fix your frays! This home knitting video tutorial will teach you how to solve fraying problems when knitting with homespun yarn. For more information, including detailed, step-by-step instructions, and to get rid of frays in your own homespun yarn, watch this helpful video tutorial.
How To: Crochet a scarf with a right-handed Afghan or Tunisian stich & a crochet shell
Learn how to use a right-handed Afghan (or Tunisian) crochet stitch with a crochet shell when crocheting a scarf. You can easily modify the size to make a baby or a full-sized afghan. For step-by-step instructions, take a look.

How To: Crochet a scarf with a left-handed Afghan or Tunisian stich & a crochet shell
Learn how to use a left-handed Afghan (or Tunisian) crochet stitch with a crochet shell when crocheting a scarf. You can easily modify the size to make a baby or a full-sized afghan. For step-by-step instructions, take a look.
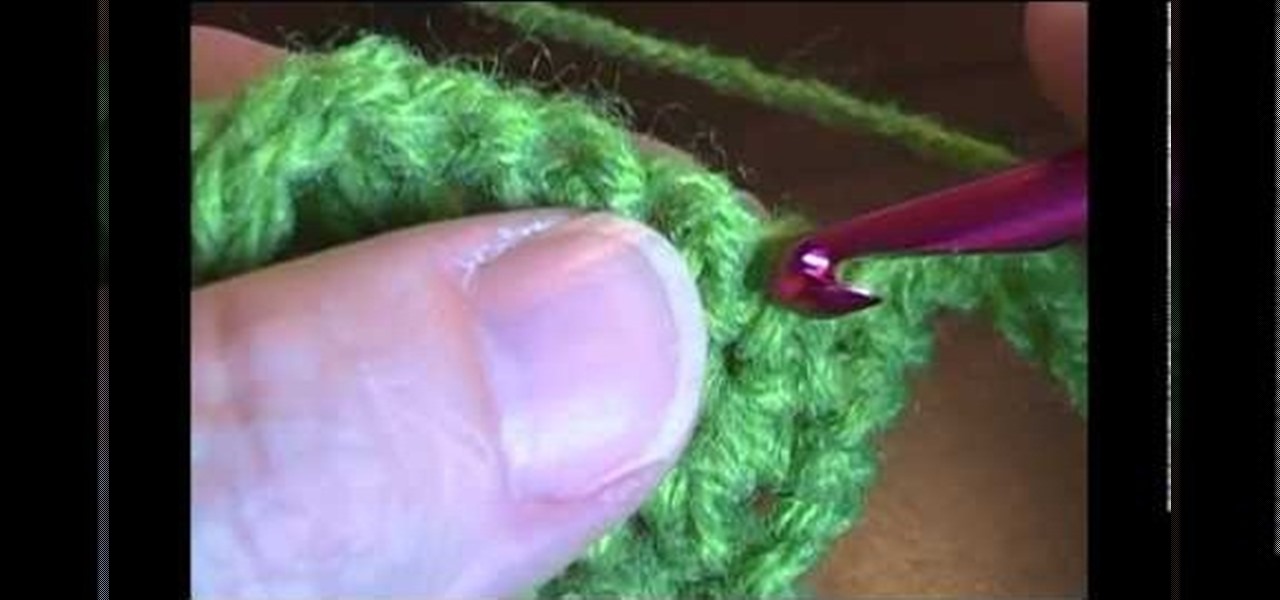
How To: Crochet a looped fringe using the broomstick technique
Learn how to to make a light, non-chain-stitched loop fringe using broomstick crochet. Though called the broomstick technique, you needn't use an actual broomstick, just something that recalls the shape of one—like, for example, a cardboard paper towel tube. For detailed instructions, watch this free video crochet lesson.
How To: Create a chain loop fringe when crocheting
This video presents an overview of how to do a loopy fringe when crocheting. It's easy; all you'll need are loops of twelve chain stiches and then single crochet. For a complete overview, and to get started incorporating loopy fringes into your own garments, watch this video tutorial.

How To: Bind Off on a Purl Stitch
You've come to the end of your work and are ready to BIND OFF, but you're on a PURL row. What to do? You've learned how to BIND OFF on a knit stitch, but this is something new. Usually you will do the BIND OFF stitch on a knit row, but now your pattern is telling you to BIND OFF on a Purl row. Sometimes, like in ribbing, you will need to do both. If you've never bound off purling here are the instructions to follow.
How To: Knit with two colors of yarn
In this video, we learn how to knit with two colors of yarn. Carry your yarn in the hand that you are most comfortable with. Then, don't tension it around your pinkie so you can control the yarn. Now, put your dominant color over your forefinger and the accent finger on the bottom of your forefinger. This way, you will be able to turn your hands to decide which color is going to go up and over the needle. Once you have this technique down, you will be able to continue to knit until you have t...
How To: Increase and decrease double crochet
In this tutorial, we learn how to increase and decrease double crochet. To practice this, first make a chain of nine and then double crochet in the fourth chain from the hook. Increase by one crochet as you continue to go, this will make your item larger and larger. If you find yourself going from an increase to a decrease, this can easily be done. You will simply decrease the crochet as you go, do not skip one or it will create a hole. Practice doing this to get the proper crochet you want t...
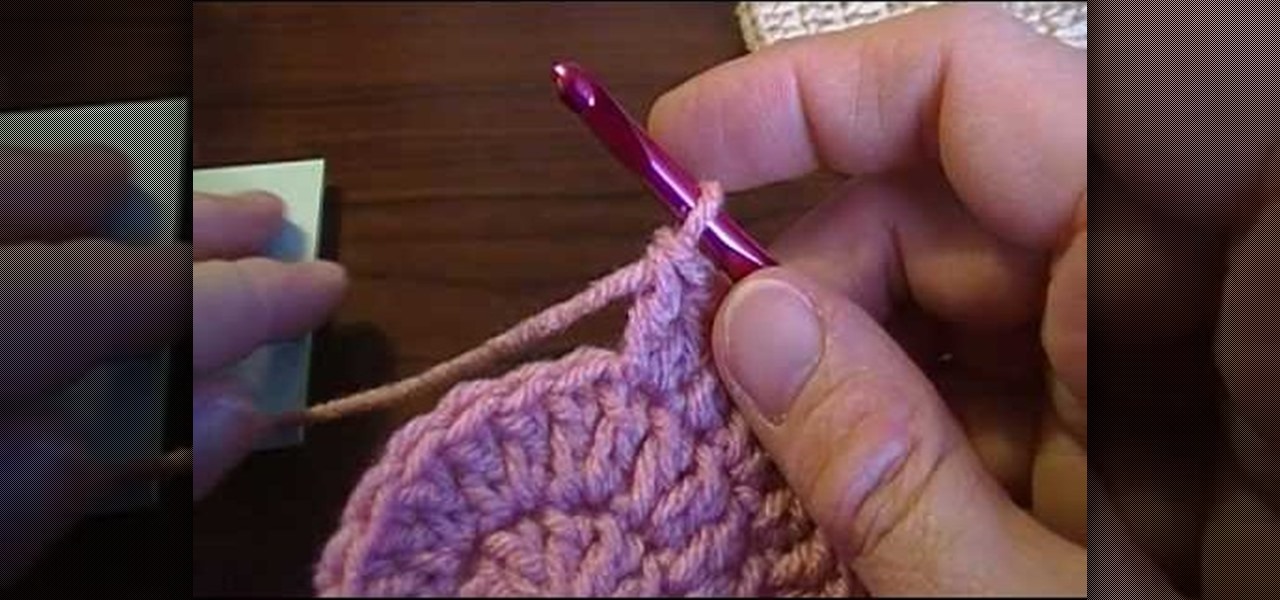
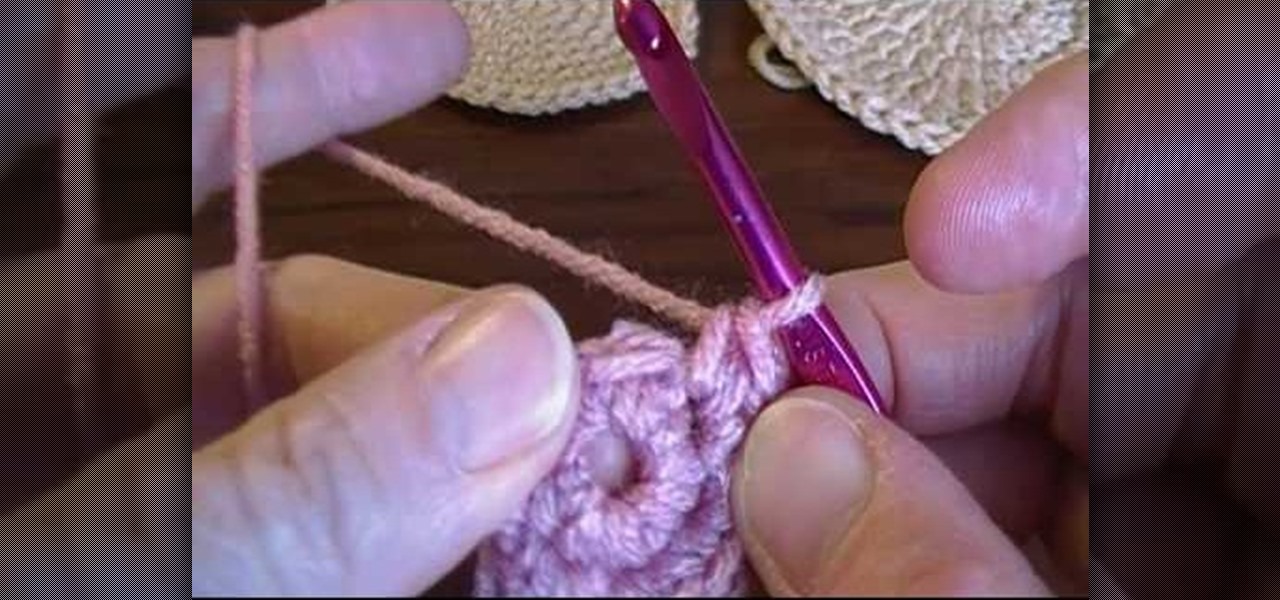
How To: Make a flat circle using double crochet
In this tutorial, we learn how to make a flat circle using double crochet. To start, you will begin with twelve double crochets in a ring shape. For the second round, you will increase in every double crochet until you have twenty-four. Next, you will increase every other double crochet until you have thirty-six double crochets. For round four, you will make two double crochets between increases until you have fourty-eight double crochets. For the last round, you will make three double croche...

How To: Knit a scalloped edge
In this video we learn how to knit a scalloped edge. This forms a shell along one edge! First, attach your needle to the yarn on the right edge. Then, make a slip stitch and yarn over. Then, stick then needle through the fabric and yarn over again so you have three on the hook. Then, yarn over and pull through the first two loops in the hook. Then yarn over and go into the fabric and over again. Pull through a loop and then yarn over through all the loops on the hook. Now, do another one foll...

How To: Edge a knitted piece with a single crochet
In this tutorial we learn how to edge a knitted piece with a single crochet. Start to attach the yarn to the right side, working in a forward direction. Now, work a slip stitch at the edge. From here, stick the hook in the fabric and pull through one loop. The, yarn over again and pull through both loops with the hook. After you do this, do it over again! You will repeat this process until you reach the end of the row. Once you're finished with the row, you will be finished with the edge and ...
How To: Make a flat circle using single crochet
In this video, we learn how to make a flat circle using single crochet. Start out by crocheting six single crochets into a ring for round one. For round two, you will increase in every single crochets so you have twelve of them. For round three, you will increase with every other single crochet doing one single crochet in between the creases. do this for a total of eighteen. Then, make two single crochets between the increases and you will have twenty-four. On the last row, you will make thre...

How To: Bind Off or Cast Off Knitting
You have learned to Cast On, you know how to do the Knit Stitch and the Purl Stitch. Now you've come to the end of your first project and you don't know what to do next. You will need to know how to Bind Off. Binding off, sometimes called Casting off, is how you end your work. Follow these instructions to learn how to bind off on a Knit Row. Binding off on a Purl row is different.
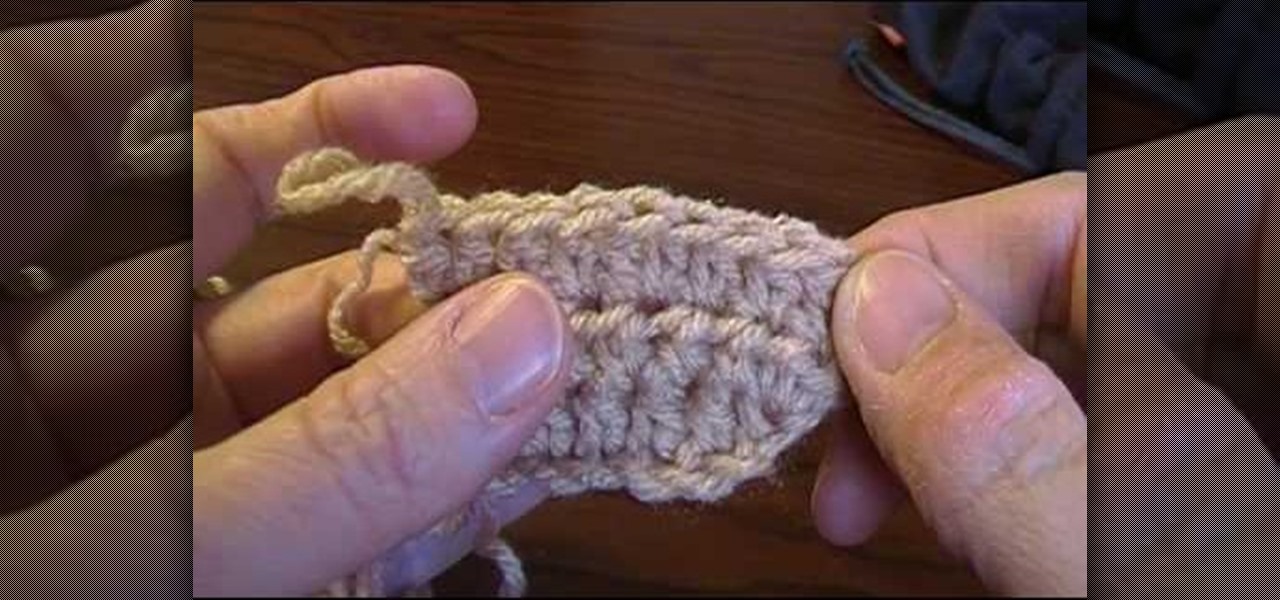
How To: Make a standard blanket from crocheting
In this tutorial, we learn how to make a standard blanket from crocheting. First, you will start your crochet by positioning the material into your hand. Then, you will need to tuck in between your ring and middle finger and around the others. The fingers will control the tension in the string. Now, start the first stitch by rotating the string around the finger. Then, grab the back one and pull it over the front. Use your finger to pus up and then you have your first stitch. put it on your h...

How To: Knit with color
In this video, we learn how to knit with color with Brandon Mably. Get inspiration from the world around you to get different colors and make out different patterns. Carry your colors around the item that you are knitting to make a nice pallet that you love. You can use inspiration from the outside, different states, stores, plants, and anything else that you love! Once you find something you want, get started knitting and find a way to knit that works for you. Use the color range that you ar...

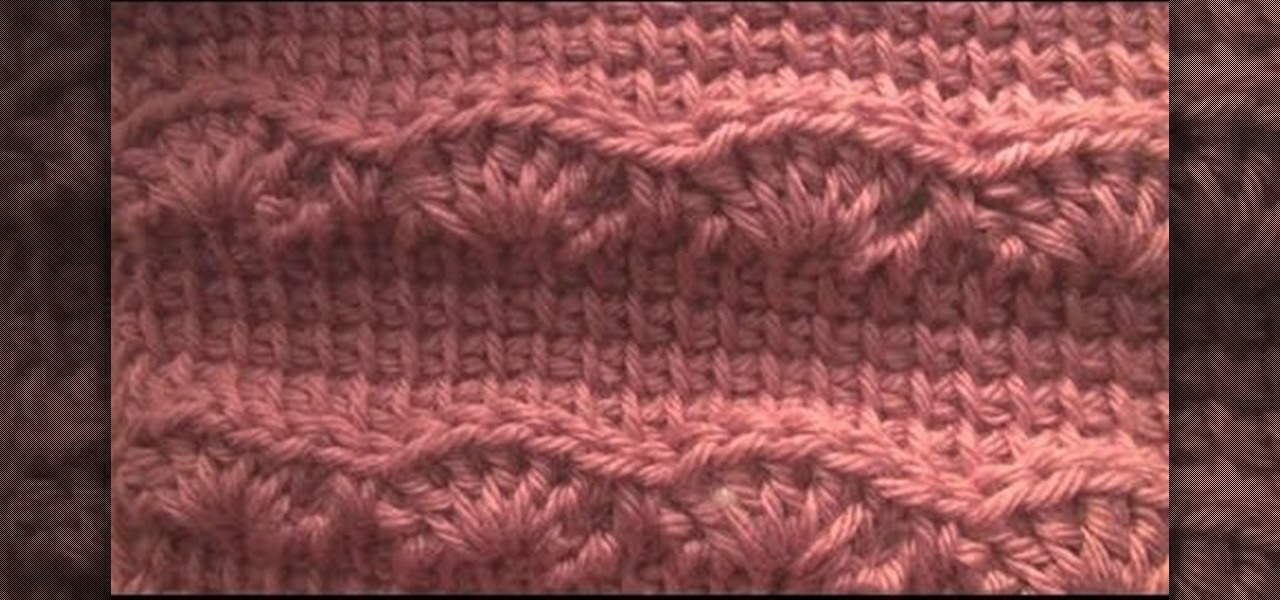
How To: Make a Rivulet scarf or reversible cable scarf
In this video, we learn how to make a Rivulet scarf or reversible cable scarf. There are a couple ways to make reversible cables to look the same on the front and on the back. First, make sure you print out the scarf pattern and then learn where you want to cross to achieve a different look. First make your firs two cable crossings, doing forty stitches. Then, you can add in more stitches to make it thicker if you would like to. Continue to follow the pattern that you printed out, using both ...

How To: Pick up stitches along a curved edge
In this tutorial, we learn how to pick up stitches along a curved edge. You can see the slope on your fabric that you can work with. If you slip the first stitch you can avoid this. First, slip the first stitch and then bind off the next stitch as usual. This will create a nice curve. To pick up stitches, you will use a circular needle and then poke it through the area in the last row. Find a 'v' shape and then push the needle through this. Pull through just like you are normally knitting and...
How To: Seam a set-in sleeve into your knit
In this tutorial, we learn how to seam a set-in sleeve into your knit. First, you will need to lay out your piece in front of you and fold the sleeve cap in half. Find the middle point in the sleeve and put a marker in it. After this, attach it to the sweater from three different points. Then, take your needle and hook and start to work it into the middle of the two pieces. Grab the first stitch from the side and then go under to the other side. Grab two 'z' bars to do this and it will come o...

How To: Crochet a jumbo pinwheel swirl stitch
In this tutorial, we learn how to crochet a jumbo pinwheel swirl stitch. This has the same line count as the smaller, but it will have larger lines that the normal. You will be creating a larger distance between the two colors. Start off at the bottom wrapping it twice around your finger, then pulling it over and pushing it up. From here, you will do sets of eight to create the pinwheels along the design. After this, you will start to create the next level, which will be with a different colo...
How To: Increase and decrease half double crochet
In this tutorial, we learn how to increase and decrease half double crochet. First, work a half double crochet in your stitches. Do this to create the first row, drawing through the loops and inside the first row. To increase a half double crochet, you will do the same thing as a single crochet, except you will skip on loop. Double crochet to the other end and then you will be ready to decrease. To do this, you will simply remove one of the crochet loops while you are crocheting and you are d...

How To: Manage two different colors of yarn
In this video, we learn how to manage two different colors of yarn with Eunny Jang. You can do this all on your left hand, right hand, or with both of your hands. It's all about what is most comfortable for your, even if it's something different. Start out with all your yarn in your right hand then knit with one yard at a time. This means to just knit as usual by dropping the yarn and picking up the next color. This can be a bit tedious because you will be constantly stopping and starting. Yo...
How To: Knit Portuguese style
In this tutorial, Andrea Wong teaches us how to knit Portuguese style. This is one of the oldest ways of knitting that started in the Middle East. The holding of the needles are the same but the working yarn should come from the left needle. The yarn should be placed around the neck for your tension or through a pin on the shirt. Next, the yarn should go through the middle finger on the left hand. Then, sit in a comfortable position while you insert the right hand needle under the yarn. Then,...

How To: Install a zipper into your knit
In this tutorial, we learn how to install a zipper into your knit. The first way you can do this is to take it to a tailor and they will do it for around $15. To do this by hand, grab your piece that needs a zipper and then steam the edges. After this, take a sewing needle and start to sew the zipper underneath both sides of the edges of the piece. You can also use pins to place into these so it stays in place. Do a backstitch also, to help make the zipper more sturdy and stay on longer.
How To: Do the mattress stitch
In this tutorial, we learn how to do the mattress stitch. First, lay the pieces flat and thread yarn tail onto the needle. Next, you will anchor the yarn to the bottom edge of the opposite piece. Then, go back through the side and find the tunnel of horizontal bars, one stitch in from the edge. Continue to do this around the stitches to combine them together. Keep alternating sides and just do one bar at a time to get the best results. You can do two bars at a time if you are comfortable with...