

Knitting & Crochet How-Tos


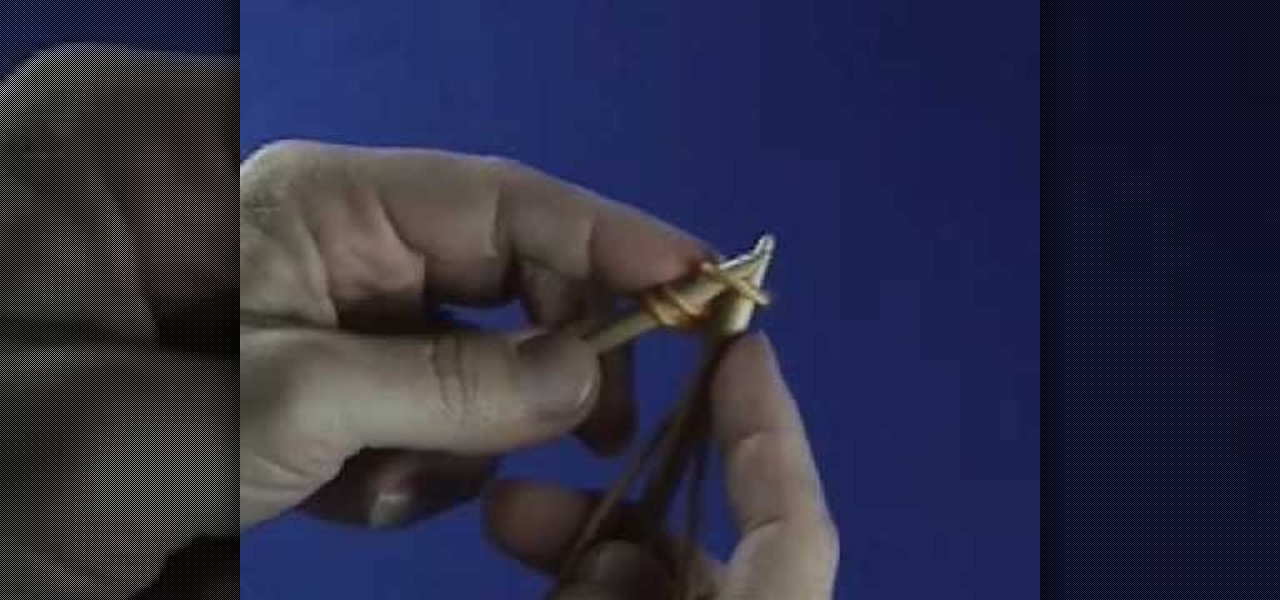
How To: Knit with double pointed needles
Have you ever wanted to knit with double pointed needles? Don't be intimidated by them anymore! Follow along in this great how to video, and you'll be on your way in no time! Learn how to knit with double pointed needles: We are starting with forty stitches. Be sure that stitches are divided as evenly as possible. Transfer ten stitches onto to another needle. (Slide the stitches down the needle so they don't fall off). Using another needle, slide another ten stitches to it. Repeat this until ...

How To: Do the magic loop knitting technique
Knitting blogger Sapphires'n'Purls provides step-by-step basic instructions of the magic loop knitting technique. To begin Magic Loop knitting, you will need the following supplies: One circular needle with flexible cable, skein of yarn of your choosing. To begin, you will cast on 12 stitches onto the circular needle. Next you will slide all your stitches onto the flexible cable. Once all your initial 12 stitches have been cast, divide the stitches in half, putting six stitches on the left si...
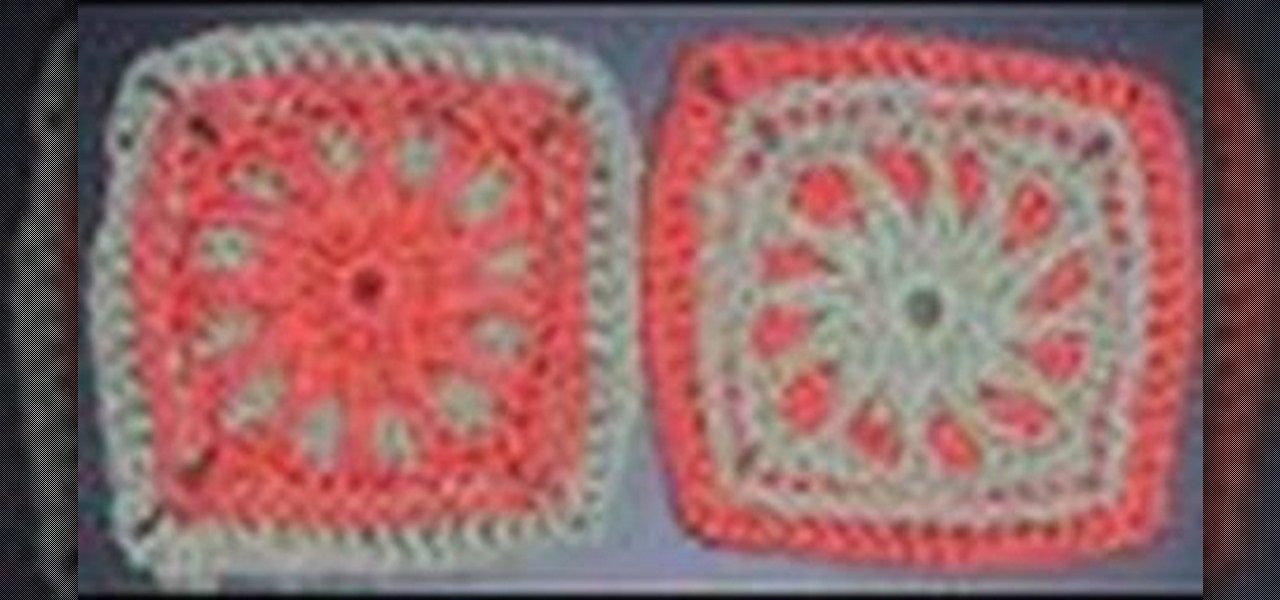
How To: Crochet a left handed sun beam granny square
make a left handed sun beam granny square crochet in minutes! 1. Prepare the materials, two different yarn colors are needed. 2. Start off with a chain 1 stitch. 3. Make a half double crochet through a chain 4 stitch (12x)4. Work another chain 1 stitch5. Make 2 half double crochets to join the chain 1 stitch (24x)6. Cut the yarn and change the color. 7. Work 2 half double crochets on the new color and join together with the chain 1 stitch. 8. Change yarn color again. Insert the hook from the ...

How To: Crochet a slip stitch to end the round
Are you having trouble ending the round when you are crocheting? Shred Betties shows us how to crochet a slip to end the round. You will need the following: crochet hook, yarn. Procedure: Use a slip stitch to end a row. Insert the hook in the middle of the third stitch of the chain that started the row yarn over and finish round 2 by pulling the yarn through the loops on the hook. Follow these steps and you will no longer have trouble ending the round the next time you crochet.

How To: Knit garter eyelets
Iknitwithcatfur teaches viewers how to knit perfect garter eyelets. Choose worsted, double-knit (DK) or sport weight yarn. A cotton or wool blend without fancy textures is the easiest to work with for this pattern. Use slightly larger needles to show off the pattern's open work. Size nine to 11, depending on the yarn weight you've chosen, is ideal. Cast on 25 stitches for a good-sized swatch. The garter eyelet pattern requires an odd number across and you work it over six rows. Knit the first...

How To: Half-double crochet
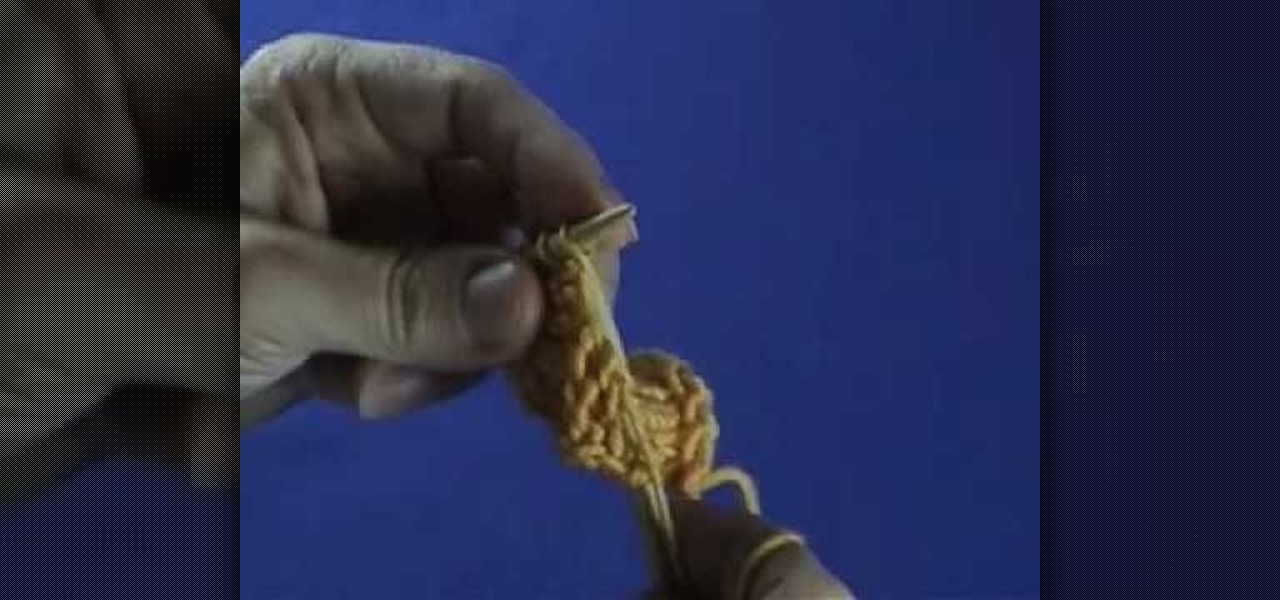
Learn how to make the half-double crochet stitch in this tutorial about the basics of crocheting. You will need: crochet hook, yarn. Procedure: Make two chains. Turn your work, then go back across. Chain 2 is counted as a stitch so skip the first stitch, yarn over and insert your hook the next stitch. Draw up a loop, yarn over and draw through all three loops on the hook. Repeat the steps and do that all the way across. Follow these steps and you will be another step closer to your goal of ma...

How To: Crochet baby socks
This video is one of a series of steps involved in crocheting cute woolen baby socks. In the beginning of this step, which is in fact step number seven, the shape of the baby socks can already be seen quite clearly. Use yarn or woolen thread of the thickness and color of your preference. Also prepare the hook you are going to use to make the stitches. Start by applying a chaining up twice. Then you have to apply half double crochet in each step around, always going round and round the circumf...

How To: Crochet the half-double stitch
Crochet the half-double stitch with these easy steps and achieve that beautiful design you've been longing for. Insert your crochet hook to the two loops found at the end of your cross stitch. Yarn over your stitch and make three loops wrapped around the crochet hook. Always count the number of stitches that you do and continue step number 2 to the rest of the yarn. Skip the first loop at the end of every row and insert your hook on the second loop. repeat the process until your desired desig...

How To: Crochet a snowflake
This is an instructional video on how to make a snowflake crochet, try and enjoy. Use a yarn and a size 8 crochet hook, follow the instructions on this video to make a snowflake crochet which you can use as gifts for holidays and personal use. The steps are in segments that are easy to follow. Be careful on counts to avoid mistake, just follow the video and you can have a personally made snowflake crochet. Follow these simple tips and you will no longer have to worry what gifts to buy on the ...
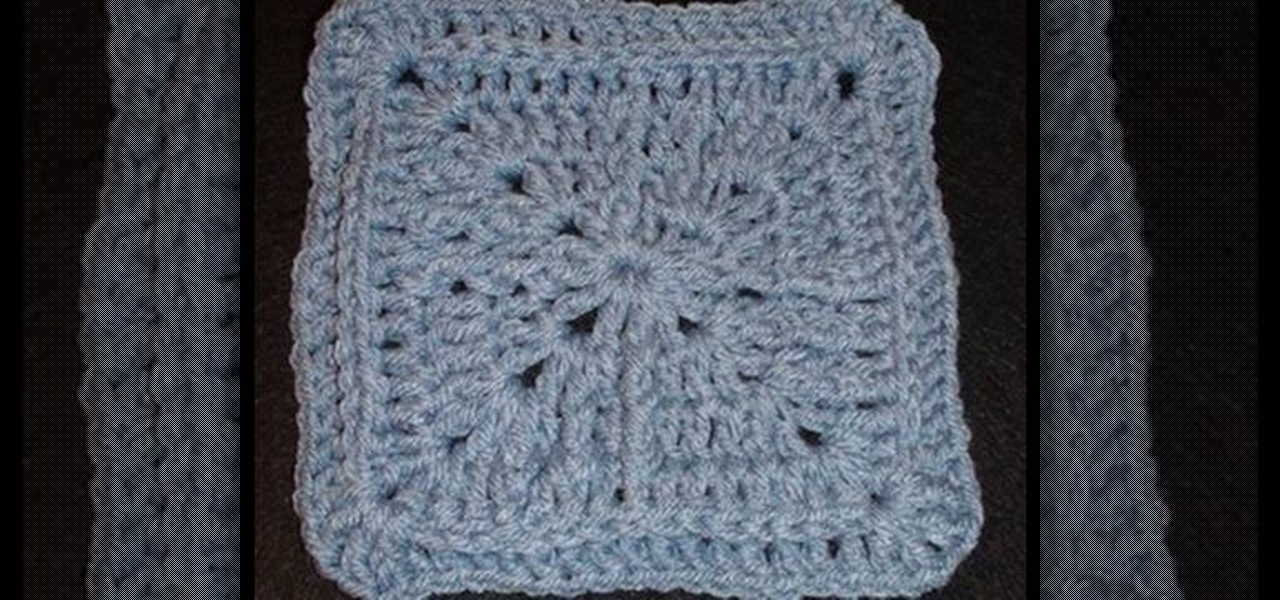
How To: Jacmel crochet a granny square
In Access 2010 you can now create a navigation form (like a home page) for your database without writing a single piece of code or logic! Great for busy people who need to organize their database quickly, but who don't have code writing skills. It's just drag and drop. There are predefined layouts which help you design the form and then simply drag the information you want into the form. Reports can be added and accessed quickly from the navigation form so you can analyze the data simply and ...

How To: Crochet a headband
Basic and simple steps yet elegant in making Crochet Headbands. Start with a chain of two, put the hook through the first chain, wrap the eye over and pull it through, wrap the eye over and pull it through once, and wrap the eye over and pull it through twice. Continue to make 54 foundation single crochet. Connect the two ends together. Work the shell and single crochet in the same space as the opposite side. If you want to add flowers. Chain three slip stitch in the loop. Complete five chain...
How To: Crochet a double crochet stitch into the starting loop
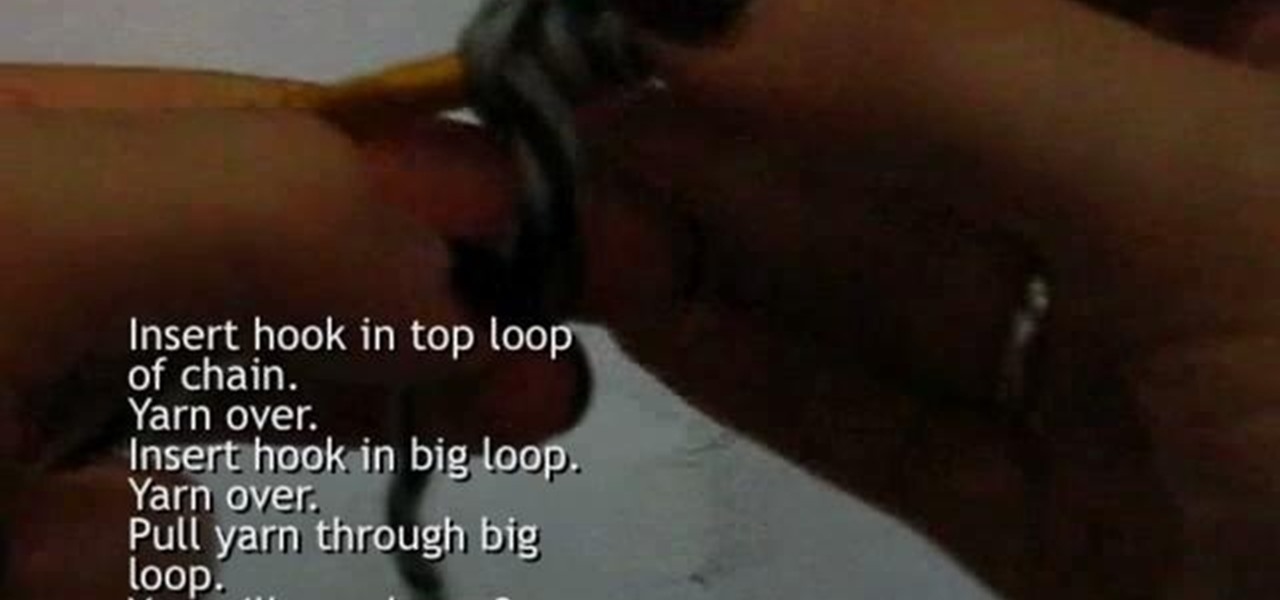
Shred Betties demonstrates crocheting a double crochet stitch into the starting loop for making a beanie step by step. It's as easy as simple math! You'll need the following: crochet hook, yarn. To have 3 loops on your hook: insert hook in top loop of the chain, yarn over, insert in the big loop, yarn over and pull yarn through big loop. Pull yarn through 2 loops on your hook so there will be 2 loops left on the hook. Yarn over and pull yarn through the 2 loops remaining on the hook. This com...
How To: Knit pick up stitches
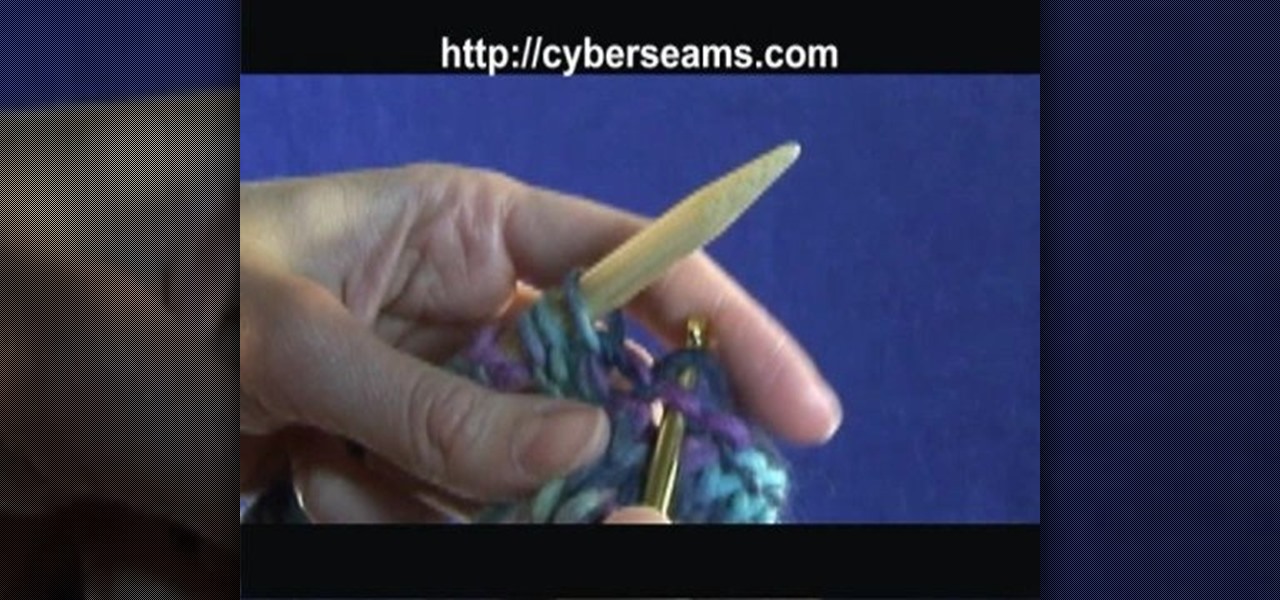
Cyberseams explains here how to knit pick up stitches. It is actually about joining sections together. You can use a knitting needle or stick for joining sections together. Take a piece of wool section which is already done. Now you are thinking to join it with new one. Insert the stick with one hole. Turn the new wool part and stick it together. Then do it again. Get the wool from back and bring it to the front. Be sure your seam is correct. After watching this video you can easily join part...

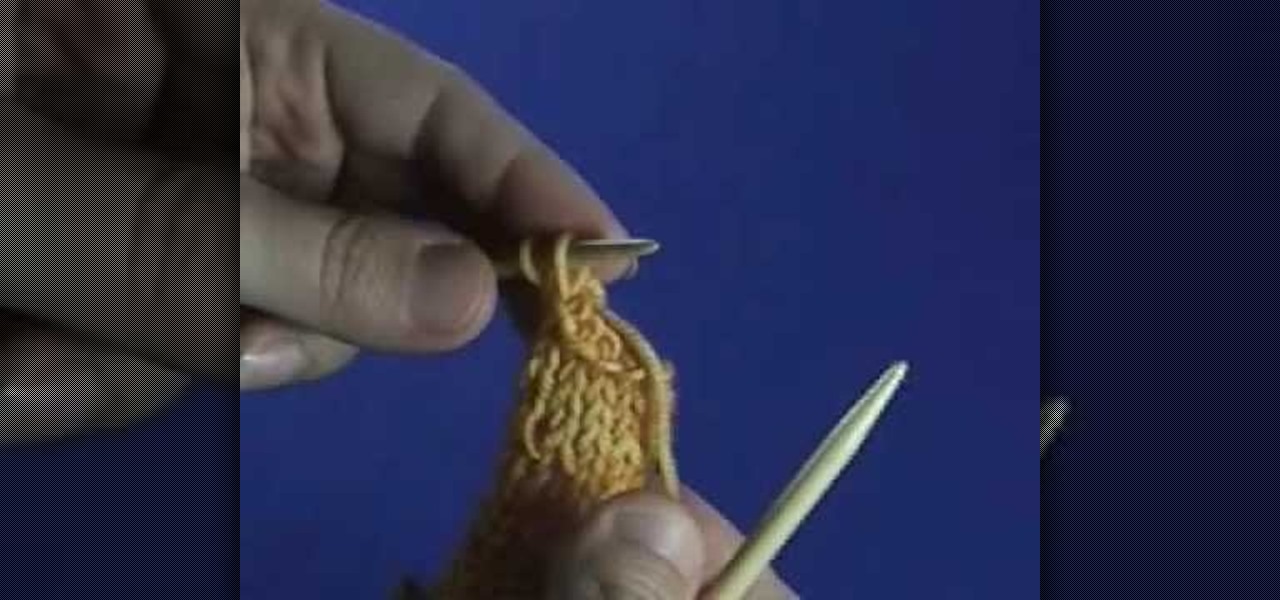
How To: Take out purl stitches in your knitting
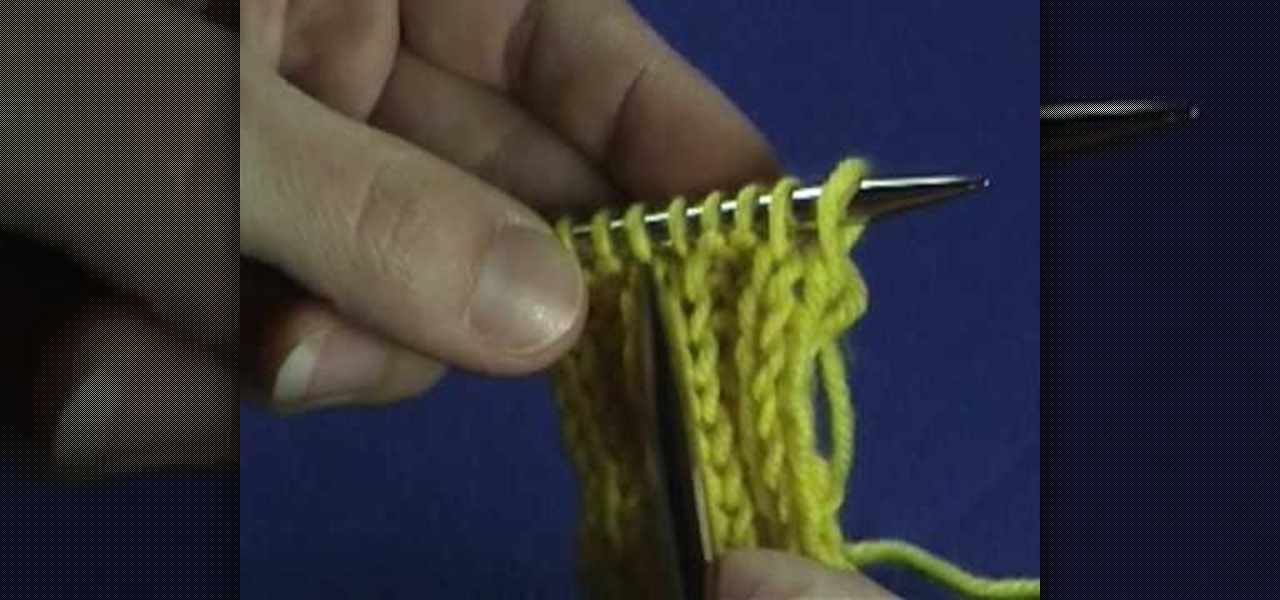
KnitWitch.com will show you how to take out purl stitches in your knitting on this easy to follow video. Tinking, tink, which is knit spelled backwards, is the actual knitting term for removing stitches. This shows how to tink purl stitches and gives great advice on how to hold the yarn to make it easier to see and remove the stitches. As you can be sure that at some point you will have to take out stitches when you knit by following these steps and tips it will be a much easier process.
How To: Tell the difference between a knit & purl stitch
This video involves making the distinction between two different types of stitches that are used in knitting. To be more specific, the video explains how to differentiate between a knit stitch and a purl stitch. The video is a part of a series of videos that deal with knitting; the speaker mentions that the subject at hand was touched on in a previous video. The speaker explains that is important to understand the difference in knitting so you can keep track of your work. The speaker explains...
How To: Purl through the backloop
Purling through the back loop has never been easier now that this video has cleared up the confusion. Most standard knitting practices have you purl through the front, but when it calls for purling through the back this video describes in detail how to successfully complete the task. After watching this video, you will be able to follow step by step on purling through the back loop. When you purl through the back loop the fabric twists and creates a stronger fabric. Watch and learn first hand!

How To: Crochet a radiant flower
A 10 minute video showing how to crochet a radiant flower. You will only need a crochet and wool. The flower can be made with one or two different colors of cotton or wool. The size of the flower can be adjusted a some point as she explains. The tutorial is well filmed but the woman goes a bit too fast some times and her hands are also some times off screen making it hard to follow. The explanations are still easy enough for a beginner to follow.

How To: Bind off your knitting when working in a pattern
This video by KnitWitch.com demonstrates how to bind off with patterns or in other words shows how to end off two different types of knitting stitches. You want to bind off by working the stitches the same way as if you were still working the pattern. Not only does this video show you how to bind off using multiple stitches, it also shows you how to finish off the last stitch in the row so that all of your finished work doesn't unravel.

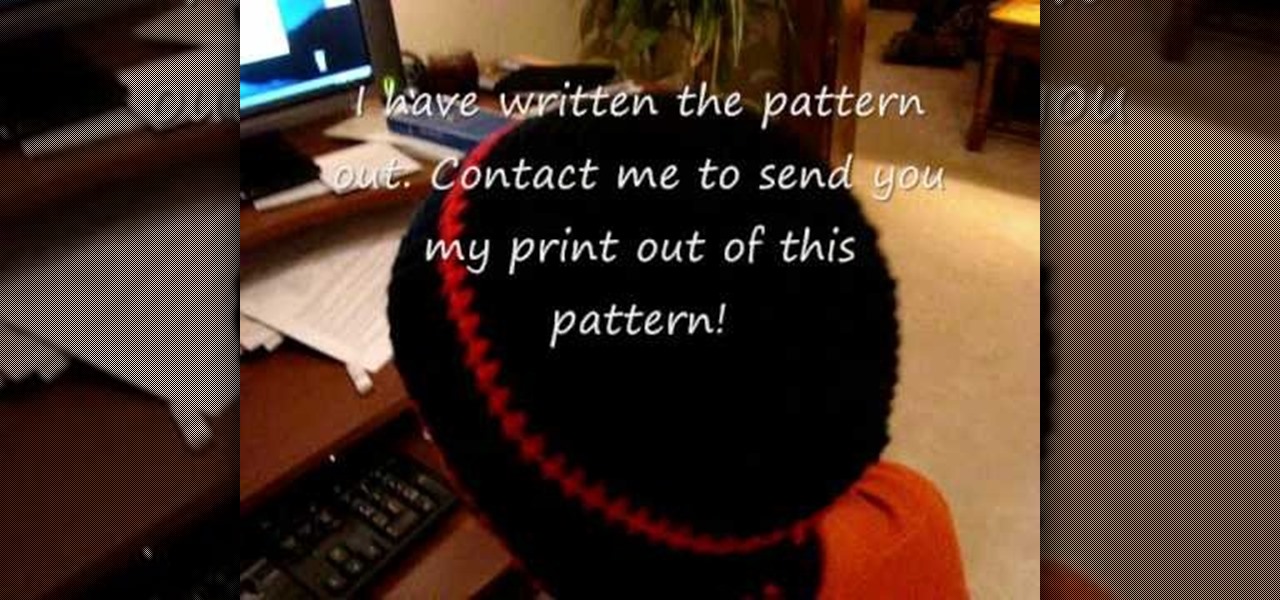
How To: Left-hand crochet a cupcake hat
This is a long video explaining how to crochet a cupcake hat. This video should not be used for beginners. This video should not be used for someone who is right handed. She includes a convenient link for right handed people but this video was made for lefties. She slowly goes by teaching how to crochet this hat. The video close ups provide close detail as to where the material goes and how it should be placed.

How To: Knit a ribbed scarf
You can knit a scarf by learning how to combine two of the basic stitches that make up a knitters repertoire. One of the easier scarf patterns can be made by simply doing a garter stitch or stockinette stitch. You can take it to the next level by combining patterns to make a ribbed scarf. You begin by casting on a number enough stitches to make up the width of the scarf. The rest of the answers lie ahead in this video tutorial which will show everything you need to know to knit your own ribbe...

How To: Knit the purl stitch left handed
This video will explain how to knit a left handed purl stitch.
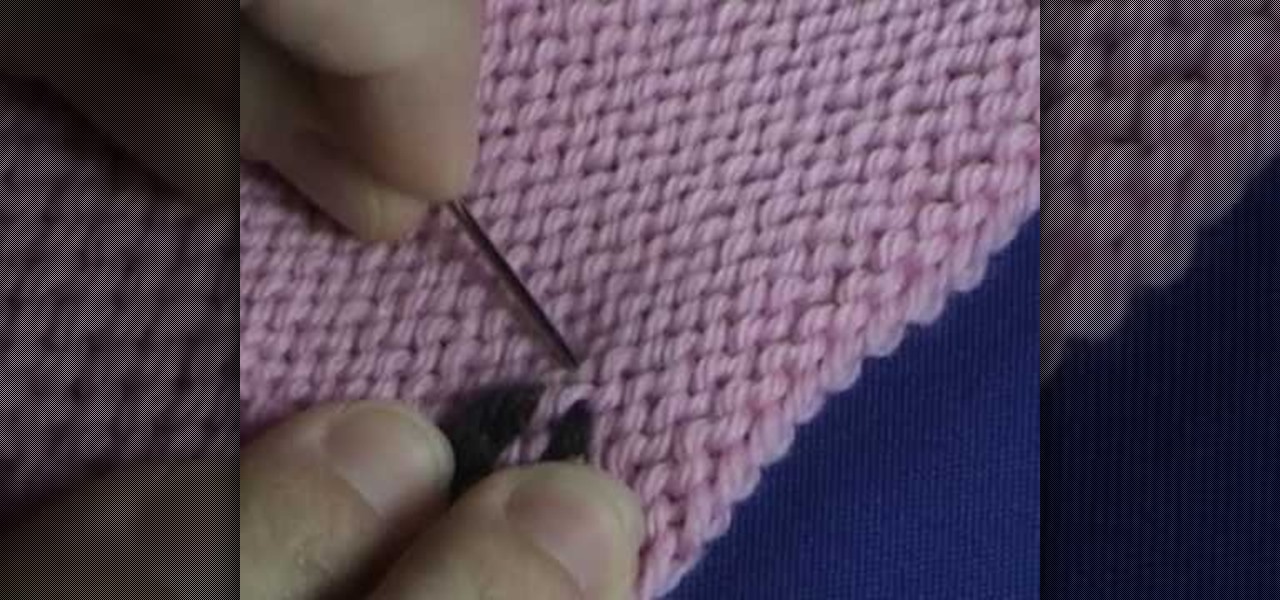
How To: Weave in ends on a stockinette stitch project
Let the Knit Witch show you how to weave the ends on your stockinette stitch project with this video tutorial. She takes a simple swatch of knitted pink fabric and shows you how to accomplish this simple but useful trick with black yarn so that it can be easily seen. Don't let your yarn unravel or ruin a project by skipping this easy to learn step! She explains it so clearly and demonstrates the technique so thoroughly that you'll be sure to have mastered it in just a few short minutes!
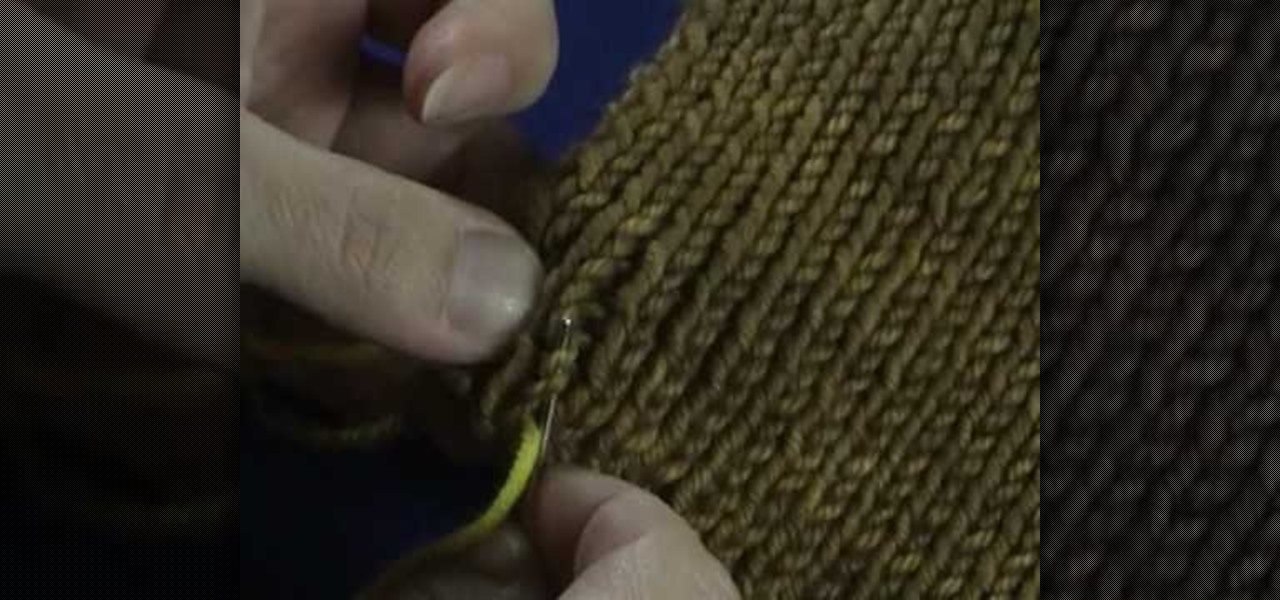
How To: Weave in ends on ribbing
This video demonstrates a very simple method of weaving in the ends of the yarn that are hanging out after you have finished knitting your garment. With the end piece threaded into a needle, bring it in one or two rows so it's not right on the edge. Then working up the row, weave the thread in and out of each knit stitch for an inch or so. Pull the yarn tight, then go one stitch over and work the yarn down the other side in the same manner, weaving in and out of each knit stitch. This creates...
How To: Make a double crochet stitch
The author of this video does a wonderful job of explaining to the viewer in easy to follow instructions how to accomplish the double crochet stitch. This video will explain the method in a way that will be easy to follow by beginners or those getting back in crocheting. The step by step instruction will aid the viewer in accomplishing this basic stitch method. The author demonstrates this method using a sampler scarf and shows you how to implement the double crochet stitch in other projects ...
How To: Knit a funky zigzag scarf
The video opens up with the young, perky and energetic woman from CraftDknits talking about her first "Fall Fashion Line" for knitting which is a Zigzag pattern. She shows how to knit the correct stitch and number of knitted stitches on her correctly sized 13 inch Rosewood knitting needles. Plus 1 large big Eye Needle with 2 skeins of correct weight Lionbrand Thick and Quick yarn.
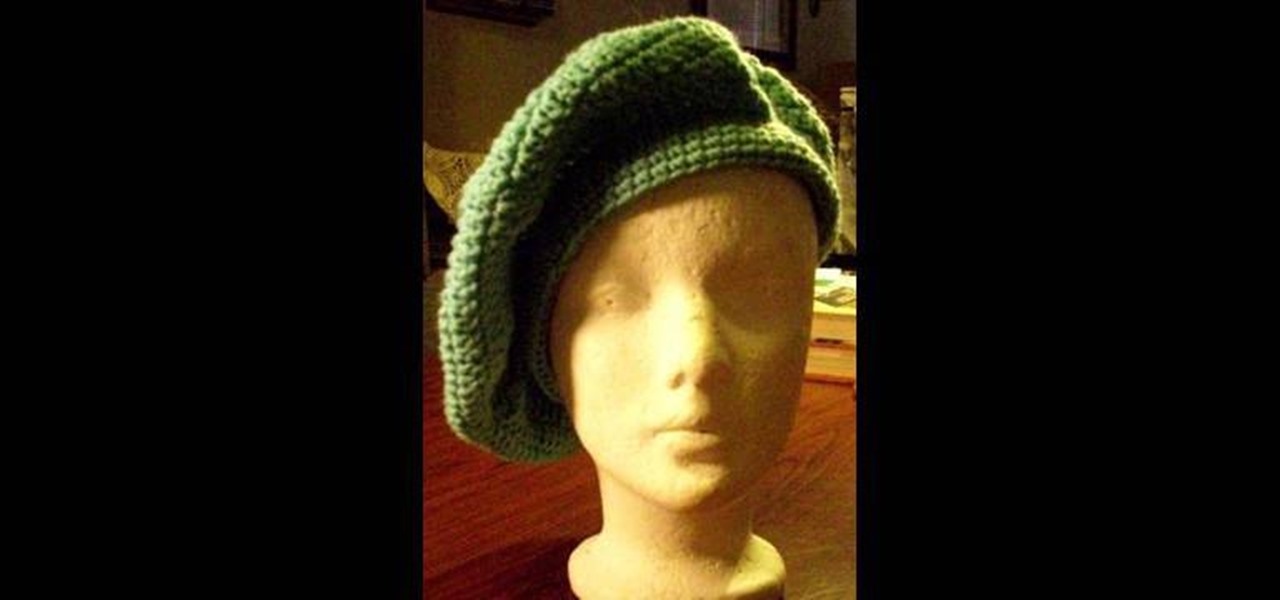
How To: Crochet a basic beret
Oui! Oui! A beret is a great fashion statement. It keeps you warm, plus its stylish with a French flair. This video shows you how to crochet your very own beret and make it as unique as you'd like for those chilly winter evenings! Which color will you choose?

How To: Do the half-fisherman stitch when knitting
You need an uneven number of stitches for this method. See how to do the half fisherman stitch when knitting, with this easy, up close demonstration by Judy Graham, Knitter to the Stars.

How To: Make a holiday punch needle ornament
This video demonstrates how to make a holiday punch needle ornament. First choose an ornament design and fit cross stitch fabric to a small embroidery hoop. There are designs on the CyberSeams website that can be traced onto the fabric. Put the fabric with the traced design into the embroidery hoop, thread the needle, dial it to "2", and begin punching the needle through the fabric to make the design. You can choose embellishments that can be sewed or glued on. When the design is finished, re...
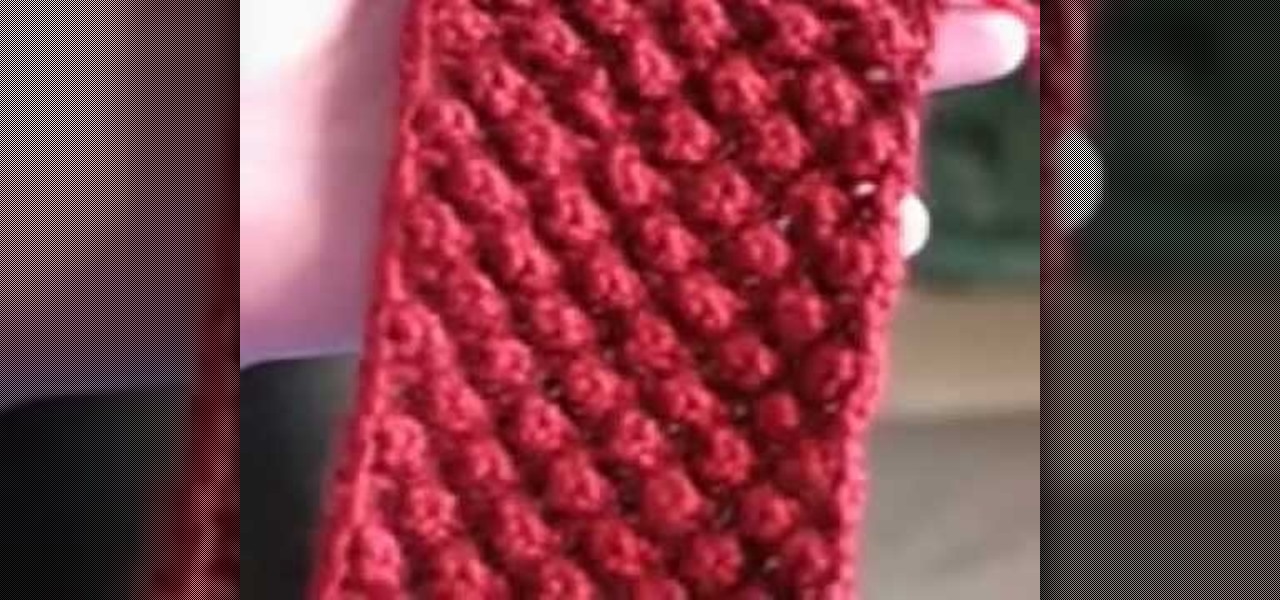
How To: Knit a raspberry stitch
The video demonstrates how to do the two stitches used to make the raspberry stitch, which are purl 3 stitches together, and knit 1 purl 1 knit 1 in the same stitch.
How To: Do a knitted cast on
A knitted cast on stitch is one of multiple methods for casting on your stitches, and is good for starting a scarf, or the bottom of a sweater. With this tutorial, learn how to do the cast on stitch. Beginning with a loose slip knot, knit a stitch, making sure to replace the original stitch on your left hand needle. This will provide the basis for all the subsequent stitches, making up the amount of necessary stitches you will need to cast off. Keep in mind this is not an elastic stitch, so a...
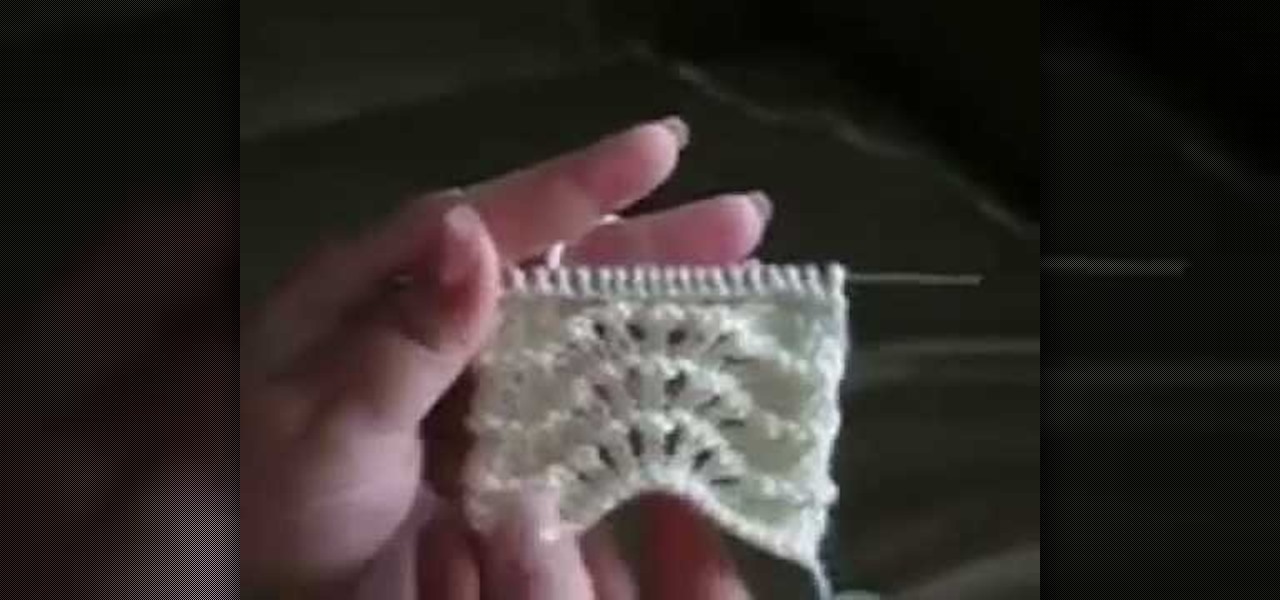
How To: Knit the feather and fan stitch aka Old Shale
This knitting video walks you through each step to create the feather and fan stitch also known as Old Shale. With knitting needles and yarn this look is created using them movements described in the video. Each step is shown visually through the video to create this pattern and then a word tick of each step is at the end of the video. This definitely allows you to learn how to knit in this style so that you are able to use it with ease.
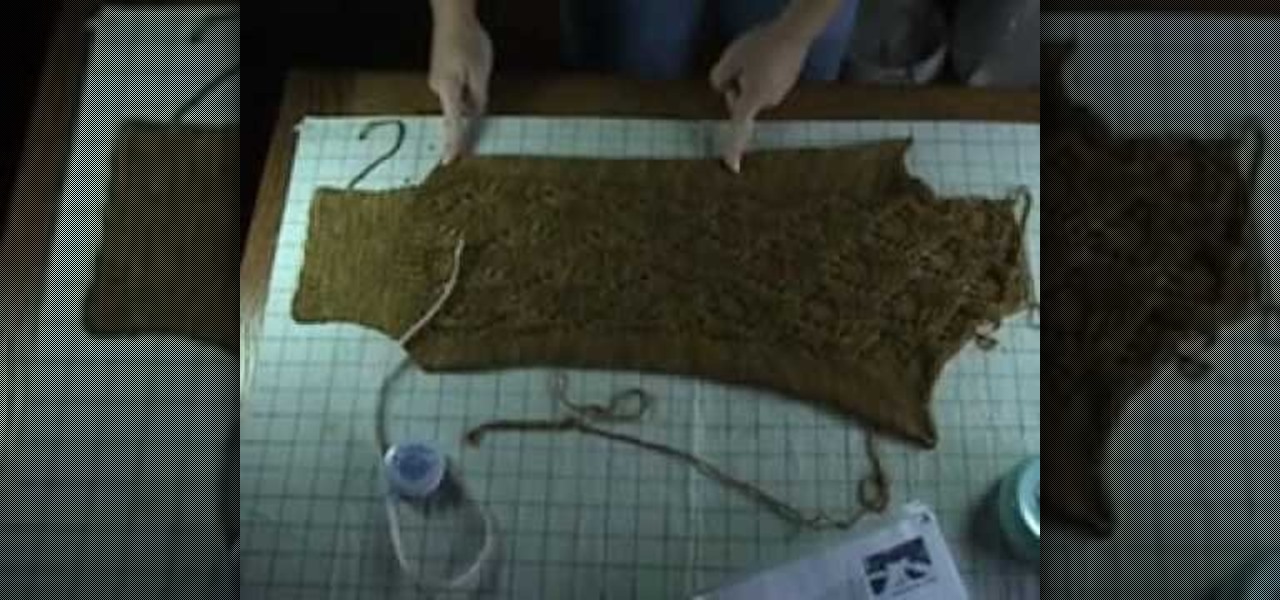
How To: Do wet blocking to a knitted piece
The Knit Witch shows you how to do wet blocking to a knitted piece. With specific tools like a blocking board with a grid, a tape measure, and a few other items. The items used can vary based on what kinds of material you are using so it's important to know what each one needs. Reminders and tips are explained when the pertinent step is reached so that you can keep them in order and apply them when needed. Wet blocking will be a breeze after watching this video and following the steps closely.
How To: Perform a knitted bind-off on the right of your work
The video shows us how to perform a knitted bind-off on the right side of your work. It is recommended to use a cross hair hook for the right hand needle to make it easier but here is used with the normal needles. Firstly you need to knit the first few stitches and using the left needle take the first stitch and pull it over the second stitch. Then you knit it and again pull the first stitch over it. It is repeated in the same pattern till then end of all the stitches are knit. And after knit...
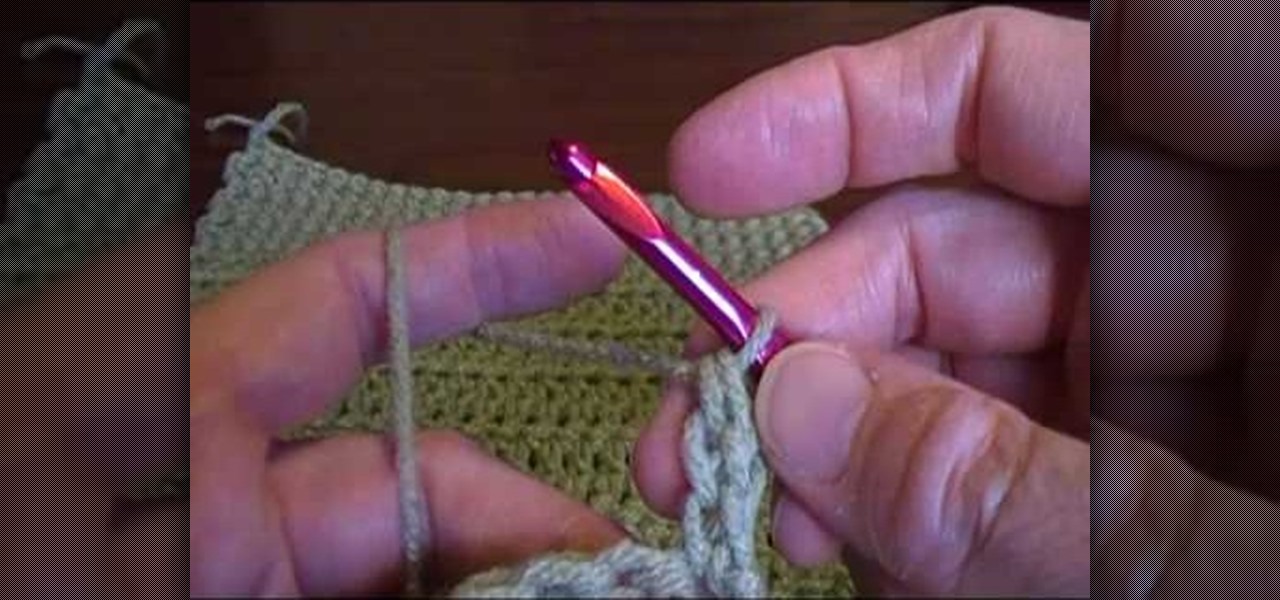
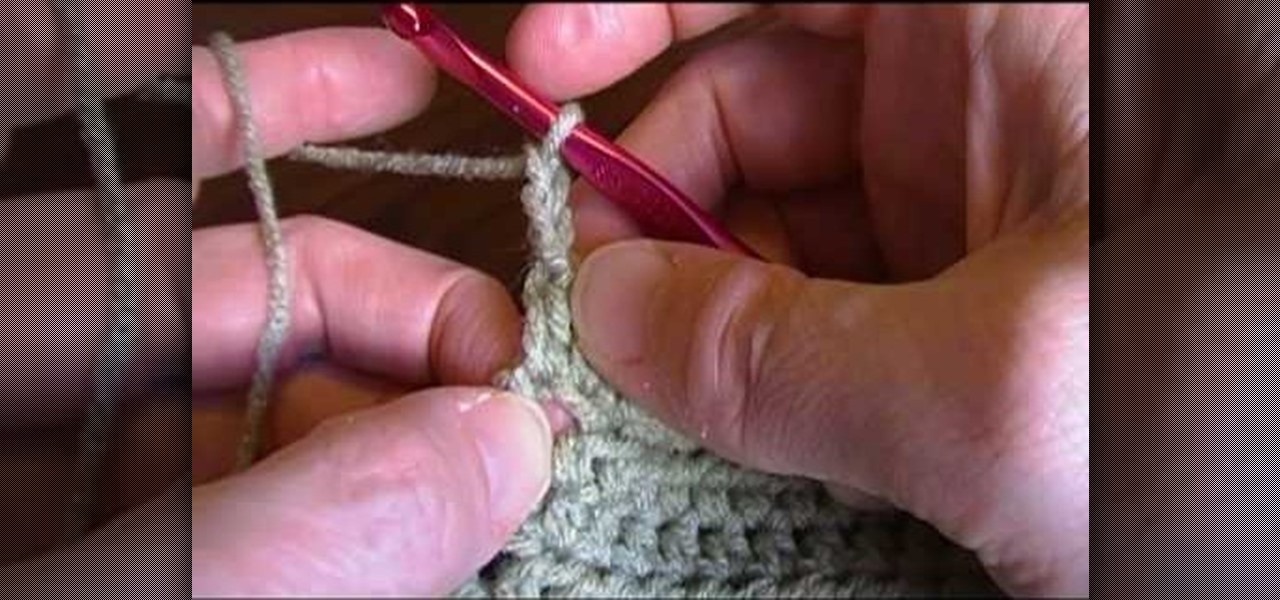
How To: Crochet an alternative double crochet turning chain
This video is for, the more advanced crocheter. The instructor uses terms and demonstrates stitches that will require a basic understanding of crocheting and an intermediate skill level. The instruction given in this video is very easy to understand. The video quality is clear with a close up shot of the needle and yarn. This allows the viewer, to see how each stitch is done. The instructor does the same step many times. This will allow you to practice the same stitch many times without havin...

How To: Knit the fisherman rib stitch
This is only two rows, and quite simple once you get used to it. See how to knit the fisherman rib stitch when knitting, with this easy, up close demonstration by Judy Graham, Knitter to the Stars.
How To: Crochet a teen/adult beany hat
Mikeyssmail, the crochet instructor helps us how to crochet a binnie hat for an adult/teen. The hat is made for around 22-23 inches which has the same size as his as an add-out. He has incorporated two colors in it.
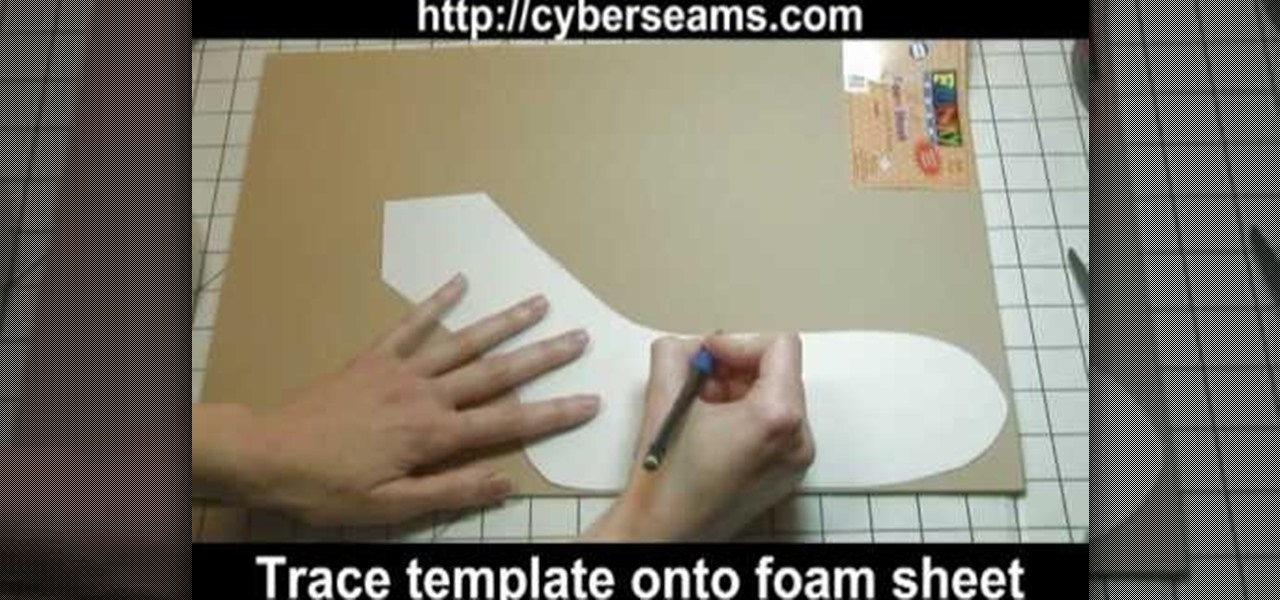
How To: Make your own sock blockers
Learn how to make your own sock blockers with this video. • Trace your sock with extra spacing. • Cut out the template. • Take 3MM foam sheet. • Trace the template onto a foam sheet. • Extend and cut off the traced foam sheet to desired length. • Cut the form with the scissors.

How To: Make baby socks
Mike gives us useful tips to make different sizes of baby socks with this video tutorial. Directions:

How To: Crochet a slip stitch to finish the 1st round on a hat
This video tutorial shows you how to crochet a very specific slip stitch. Watch and learn!
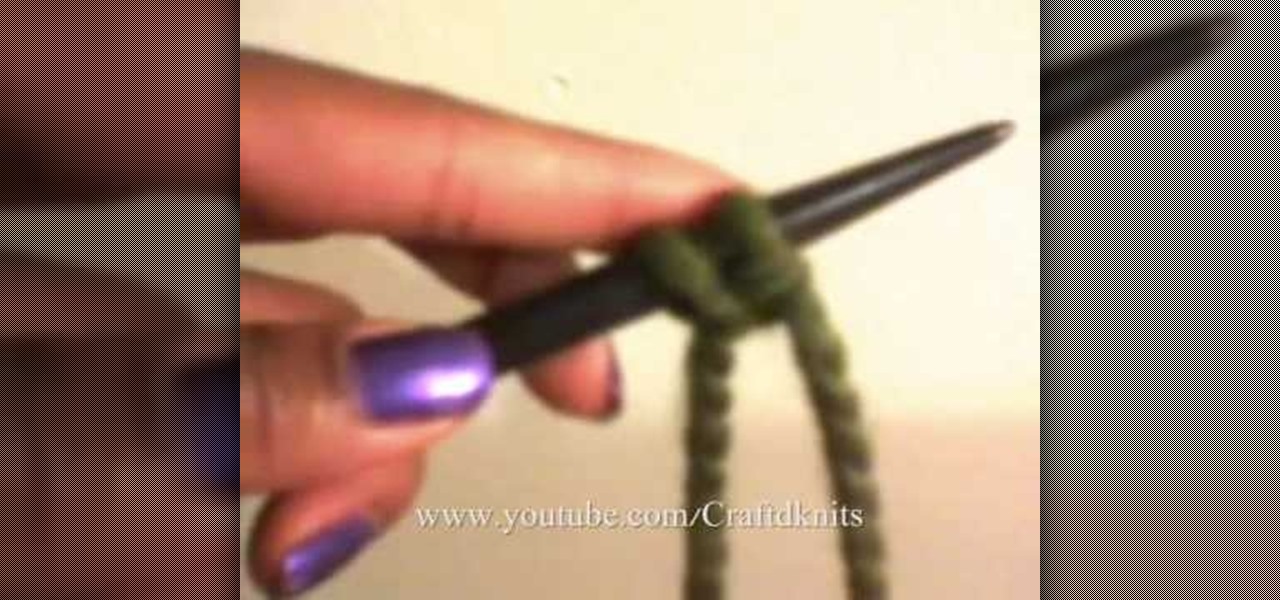
How To: Knit on circular needles
Elizabeth Zimmermann demonstrates knitting on circular needles. She also gives us tips on how to deal with twisted stitches.