

Hot Knitting & Crochet How-Tos


How To: Knit puffed ribs
Iknitwithcatfur teaches us how to knit perfect puffed ribs. Cast on a multiple of 3 stitches plus 2 stitches. This means that any number of stitches that you want to cast on for you project must be divisible by 3 plus 2 extra stitches to create the selvage. Purl the first 2 stitches of row 1 then begin the repeating pattern of yarn over, knit 1 stitch, yarn over, purl 2 stitches. Repeat this pattern until the end of the row. This will be the right side of your knitting. In knitting abbreviati...

How To: Crochet a left handed seed stitch scarf
Teresa Richardson from the crochet-mania blog will be teaching us how to crochet a left handed seed stitch scarf. In her video, she is going to be guiding us through the process of crocheting single and double seed stitches as well as providing us with step by step instructions on how to make the scarf. Teresa designed this tutorial with beginners in mind, so newcomers are more than welcome to utilize and learn from it as well. Be sure to have a crochet needle and some yarn handy prior to wat...
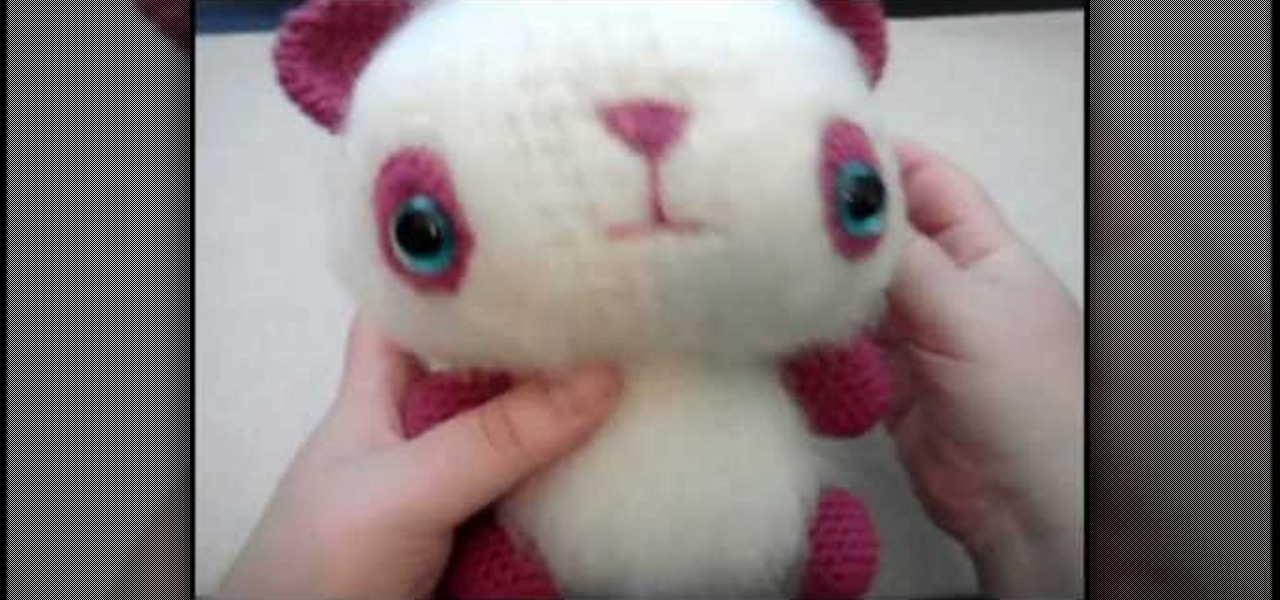
How To: Crochet a fuzzy panda amigurumi
Tammy Snow will teach you how to brush your crochet to make your panda fuzzy. Take your finished crocheted head piece and fold it in half. Brush the head with a pull and lift action with your dog slicker brush. After brushing one way, turn the piece around and repeat brushing the opposite way. Repeat brushing and turning until the definition of your crochet stitches are almost invisible. The brushing could take up to an hour to get your desired appearance. Follow these simple instructions and...
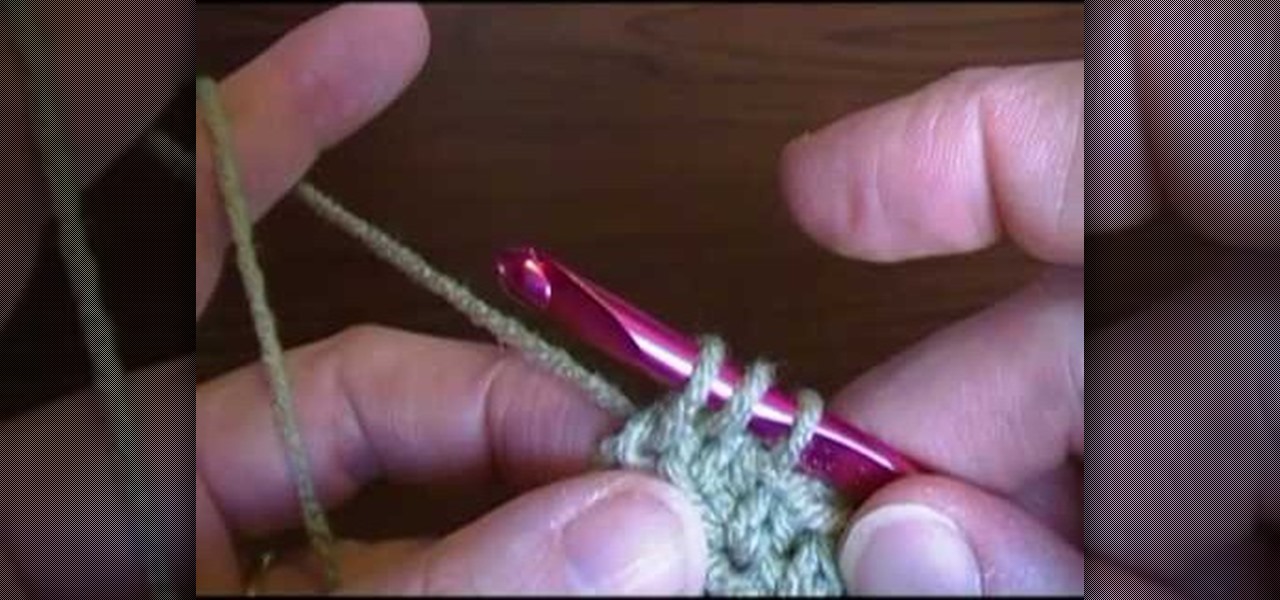
How To: Do the half-double crochet stitch for a scarf
Beth from New York teaches how to make a basic half double crochet. You will need: Yarn and hook. Look carefully at your job, and make sure that you see the hole where you should insert your hook clearly. Yarn over once, then insert your hook to the hole you already seen before with two threads above your hook and one thread below it, yarn over again and draw the loop pass the hole. You will have three loops on your hook by now. Yarn over, draw the thread pass through all three loops, and rep...

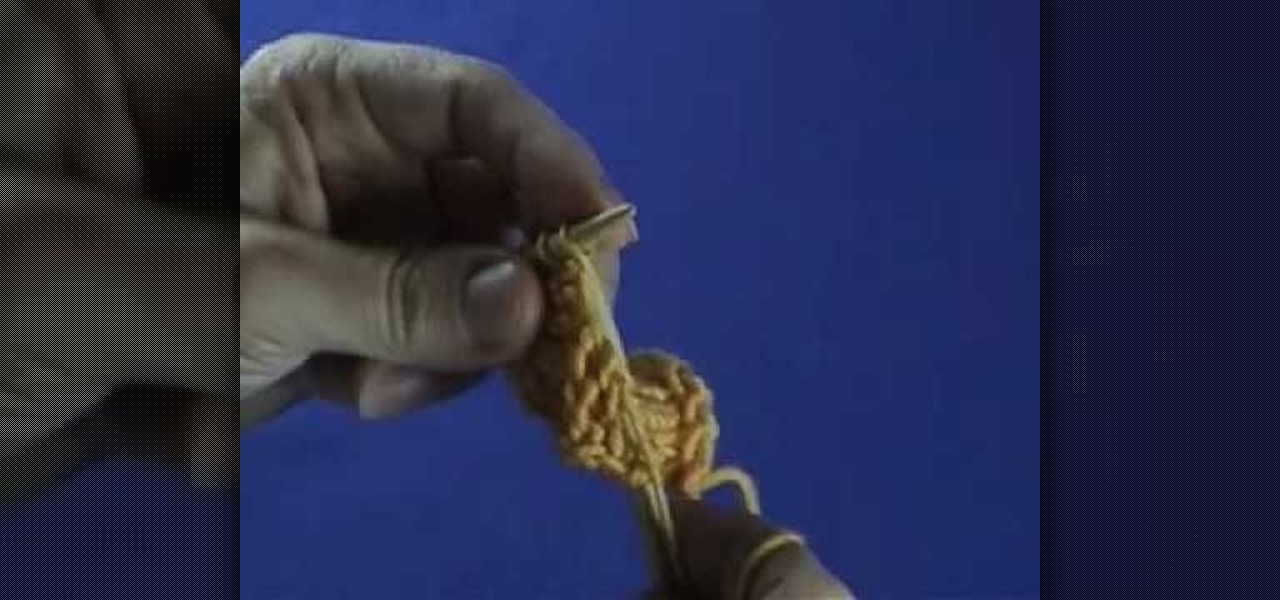
How To: Crochet a double crochet stitch in a round
ShredBetties shows how to crochet a double crochet stitch in a round. To create the first double crochet in the second round, insert the hook of your needle into the loop at the top of the chain. Yarn over and insert your hook into the hole immediately to your left, below the three strands crossing over the hole. Yarn over and pull the yarn through the hole. You should now have three loops on the hook. Yarn over again and pull the yarn through two of the loops on your hook. You will now have ...
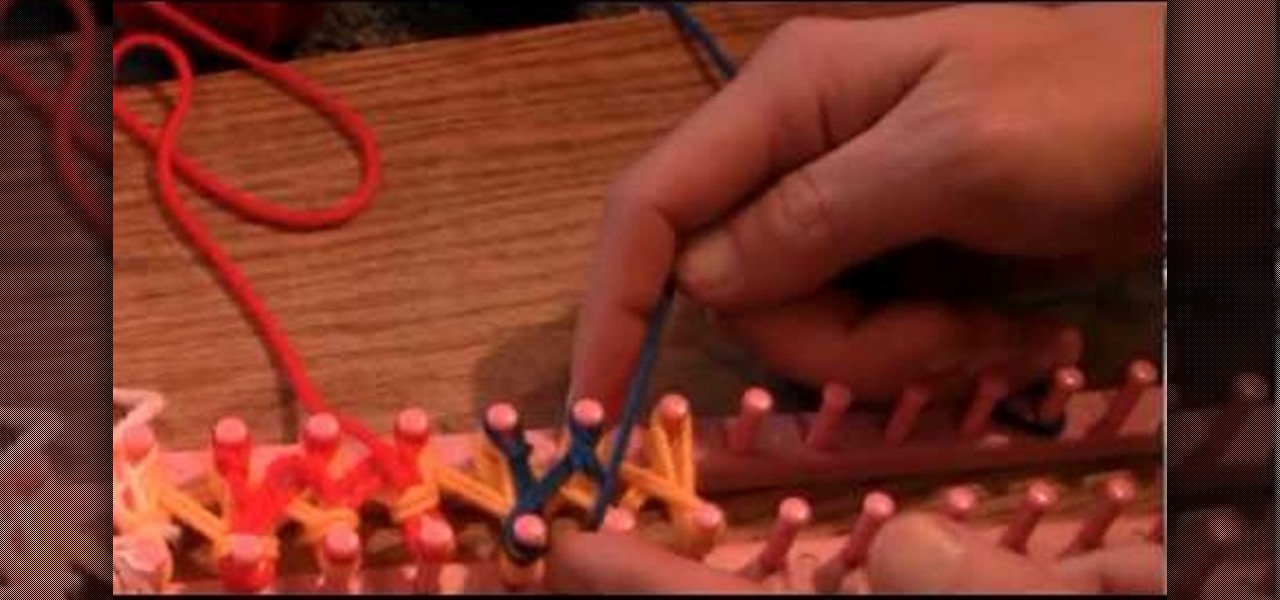
How To: Loom knit a solid-striped scarf
Have a passion for crochet or knitting? This video is perfect for you! The free tutorial offers splendid advice and instructions about making a beautiful solid-striped scarf. Sit down and gather your supplies and prepare to make a cleverly constructed scarf while watching this video. Follow the instructions as precise as you can. Within the hour or so, you can loom knit your own scarf and maybe even a few other items using techniques and skills acquired from this video!

How To: Crochet a kids beanie cap
Follow this simple step by step video demonstrating a series of stages involved in crocheting a kids beanie cap. Prepare the tools you are going to use, which will be mainly a hook for crocheting and woolen thread. Since the beanie cap is intended for kids one should choose a nice lively color. The first step is to make sure to tighten the first stitch. Afterwards make six consecutive stitches, and then make a loop by twisting it over. Pull the string through the slipknot and pull inwards. Yo...

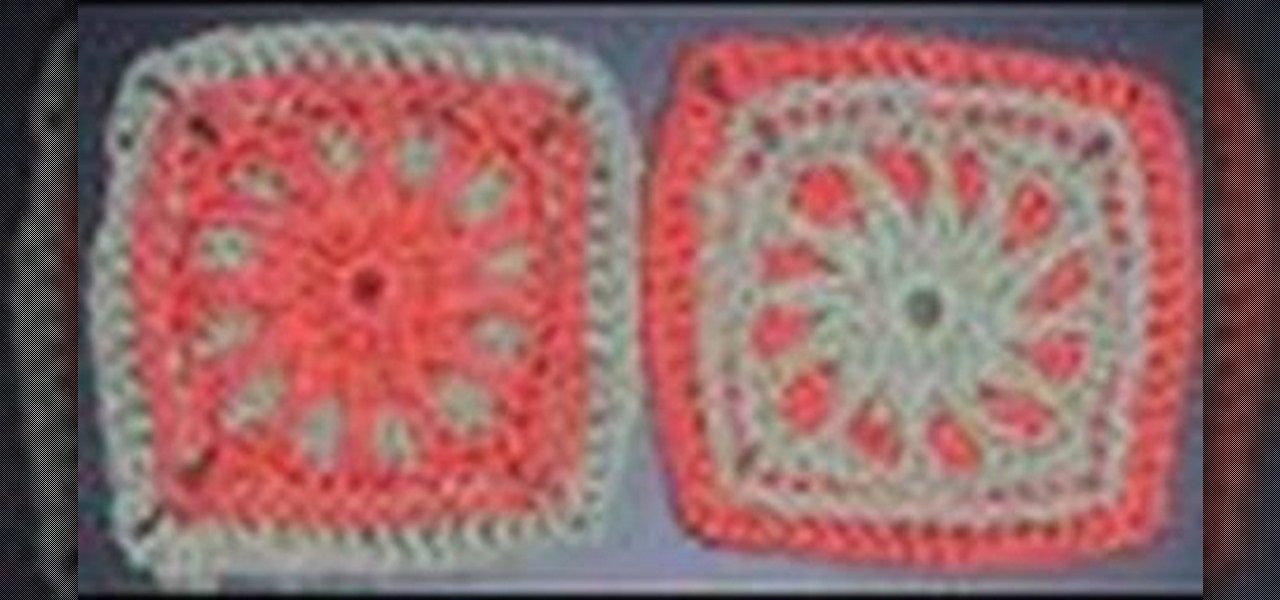
How To: Crochet a circle to square
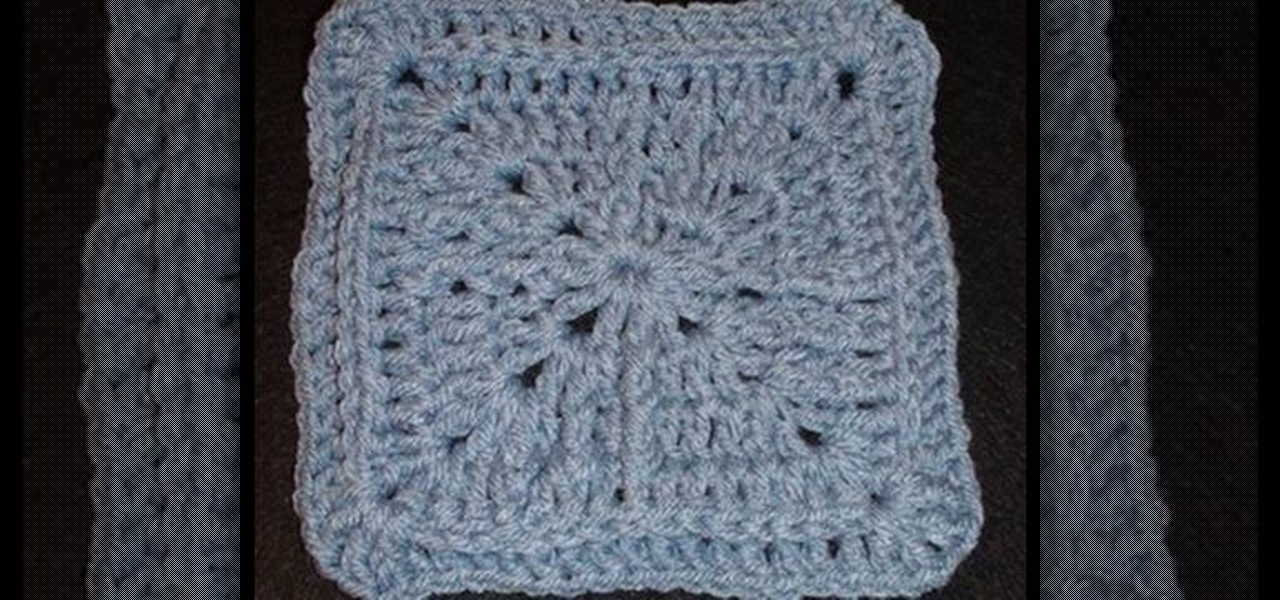
Are you old enough to remember crocheted Granny Squares? If not, tjw1963 shows left or right handed crafters how to create a unique square that starts as a circle. The viewer can click the video to change the orientation, from left handed to right handed, to view the presentation piece worked from either hand. The closeups provide the viewer a detailed look at all of the crochet moves necessary to make the piece. She also provides links to many of the wonder pieces and designs that are contai...

How To: Knit a color-graded hat
When it comes to knitting patterns, simple algorithms can have very aesthetically pleasing results. Take the simple color-graded hat. See how to knit a color-graded hat with this easy, up close demonstration by Judy Graham, Knitter to the Stars.
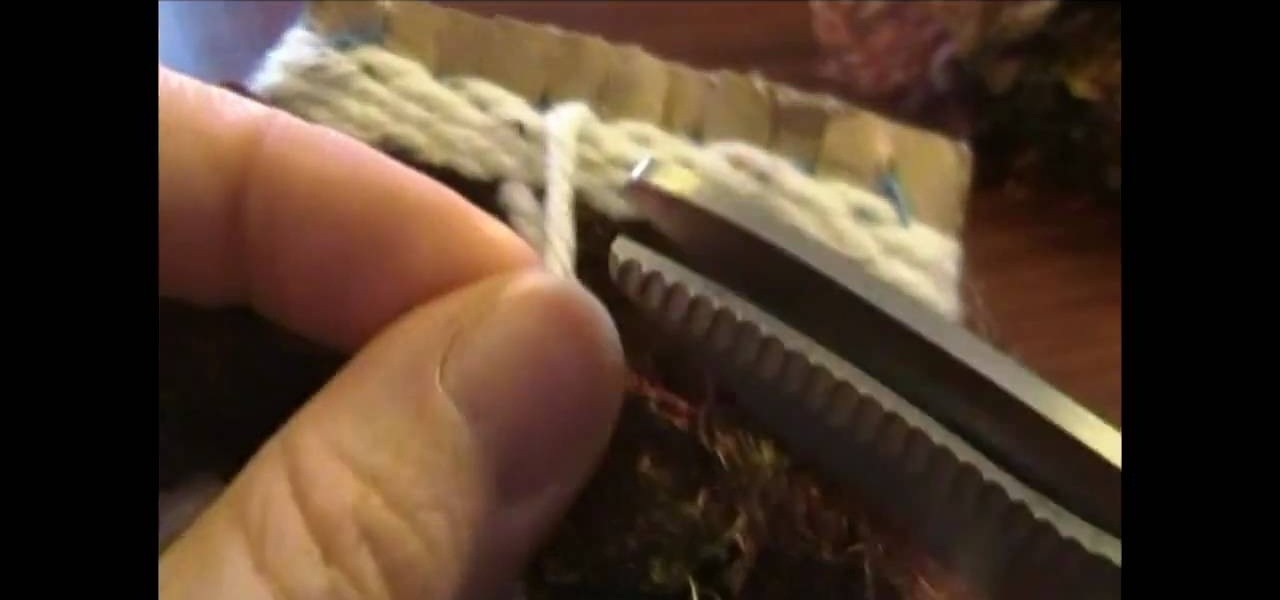
How To: Weave a pouch for an MP3 player
In this video tutorial, viewers learn how to weave a pouch for an MP3 player. The video lists all the materials required to make the pouch. The required materials include: cardboard, a ruler, scissors, yarn needle or bodkin, scraps of yarn or 10 crochet yarn and a marker or pencil. This video provides voice narration and a visual demonstration for viewers to easily understand and follow along. This video will benefit those viewers who enjoy homemade accessories. This is for those who enjoy we...

How To: Read a written crochet pattern
Can't make heads or tails of a written crochet pattern? Don't despair; this easy-to-follow (but nevertheless exhaustive) how-to video will get you crocheting up a storm in no-time.
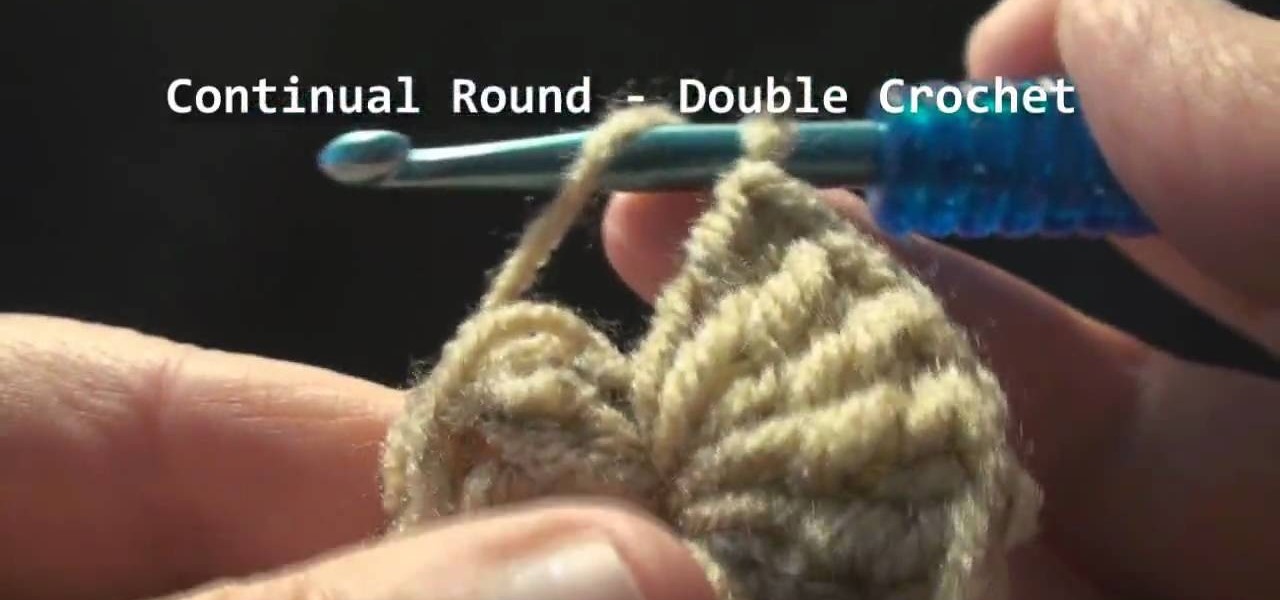
How To: Crochet the start of a continual round
This video shows how to start a continual round in single crochet, half-double crochet and double crochet. The photography on this video allows you to see the motion of the crochet hook and the thread and really see observe the techniques as they are explained. Techniques are explained for starting and ending the continual round. This continual round technique including transitions between single, half-double, and double crochet allows you to crochet projects like skullcaps and hats using one...

How To: Crochet a miniature holiday stocking
In this how-to video on crocheting, you will learn how to make a miniature holiday Christmas stocking! Theresa from The Art of Crochet will guide you through the various steps needed in order to make your very own miniature stocking. Using an "I" crocheting hook, you will learn to use single crochet starting in the second chain of the hook, followed by eleven SC on each side. If you're into crocheting or other similar hobbies, then this video is for you!

How To: Perform a knitted bind-off on the "wrong side"
This video teaches the viewer how to do a knitted bind-off on the back side of the piece, the side that this is not usually done on. In other words, it is a pearled bind-off. First, do two pearl stitches, then go into the first of the two stitches and pull it into the second of the two. Repeat the procedure with another pearl stitch and putting the needle into the stitch before it and pulling the yarn through the second one. On the last stitch, use a crochet hook to pull the yarn through the ...

How To: Crochet a eight-point snowflake
Steps on How to Make a Crochet Snow Flake in minutes! 1) Prepare the materials needed: Size 3 Steel Crochet Hook, Crochet Cotton, and a Small Needle2) Make a loop, place the hook below the left string and pull it up. 3) Make a Single Crochet in a loop, then a chain 3. Repeat this 8 times. 4) Work a Double Crochet (2x) in the same loop and another chain 3 loop. 5) Work another Double Crochet (3x) and a chain 2 loop. Repeat this 7 times. 6) Join the beginning chain and work a cluster through th...
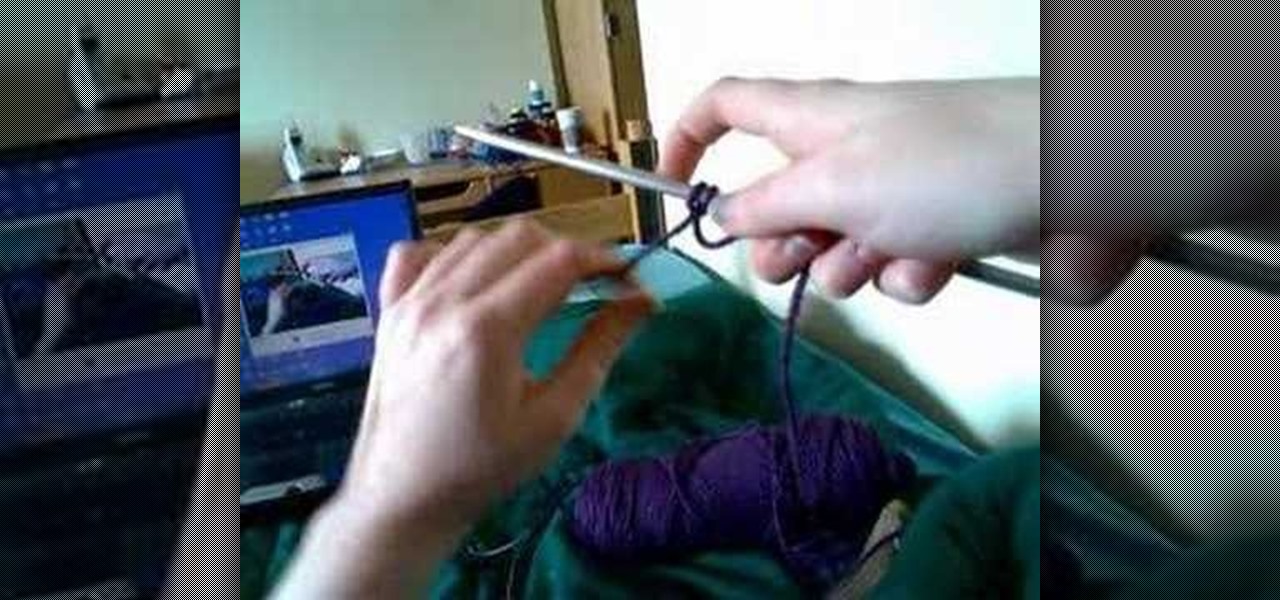
How To: Do a single cast on
This is the video about how to perform a single cast on. To work this open cast on you'll need one needle a couple of sizes larger than the needles you'll be using to knit with (or alternately, two needles held together) and a spare length of sturdy yarn several times longer than the length of the finished cast on. Make a slip knot with the working yarn and place it on the needle. For this cast on you only need to leave a short tail -- you'll be working with the yarn coming from the skein. Ho...
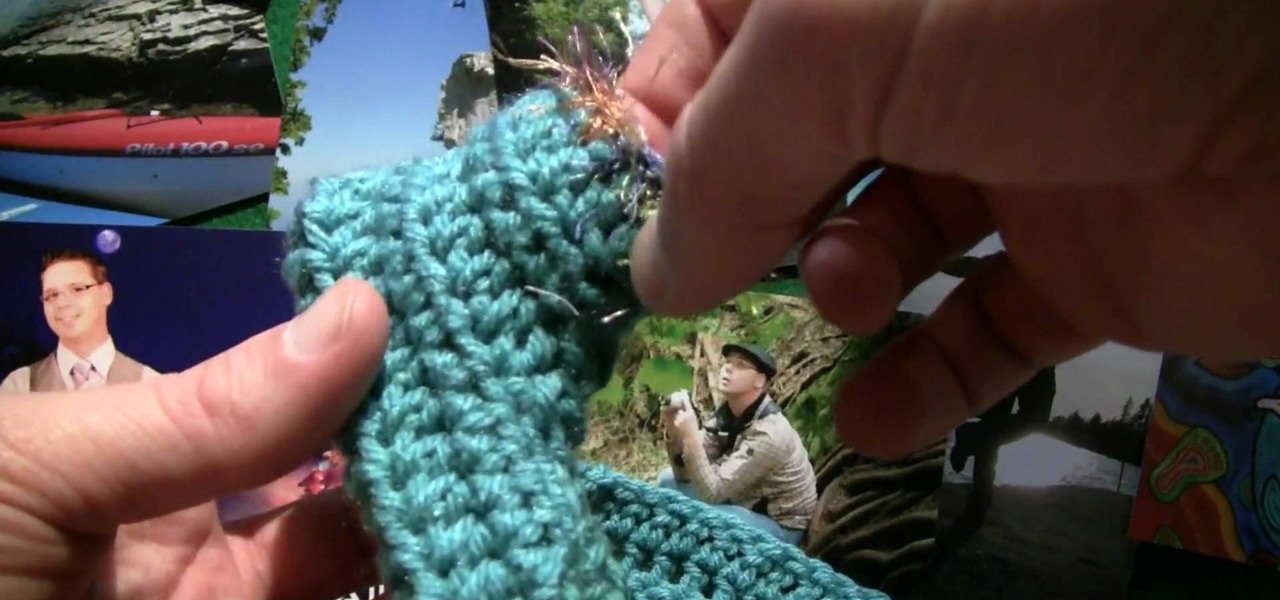
How To: Crochet a baby booty
Mike shows you how to recreate a pair of baby booties in a design style he has created himself. He uses different yarns to create different sized booties. Thicker yarn will create larger booties than thin yarn does. He adds a row of eyelash yarn on row eight to beautify the design, yet it is optional. You can leave it off if you like. Also, on the finished booties he plans to add lacing on the front by weaving baby shoe laces, cords or string through the front area in a shoe lace pattern unde...

How To: Change your color at the end of your crochet row
This video teaches the secret to change the color at the end of a crochet row. An excellent summary is given below. First do the last double crochet by wrapping around, stick it through your last Stitch, wrap around again, pull through and stop. Grab the second color, leave a little bit of tail, put it on your hook and pull through all the loops. Grab your new color leaving the tail, wrap around and pull through for chain 1, again do the same for chain two and turn it around. To continue wrap...
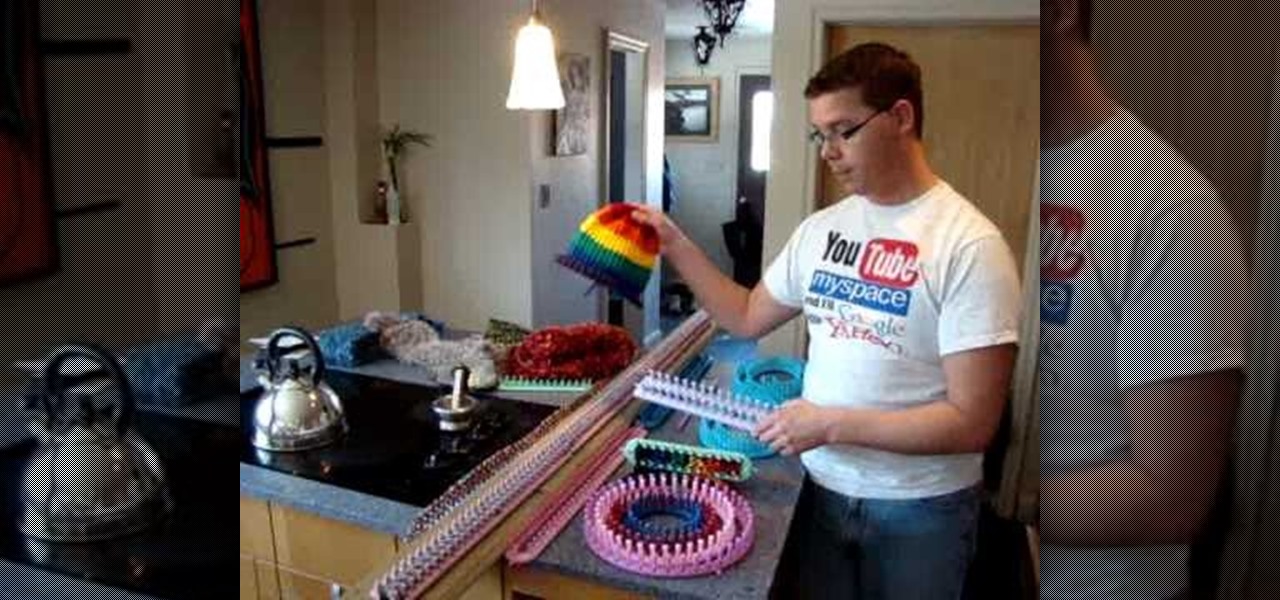
How To: Choose a loom
Deciding which type of loom to buy and size isn't always easy. Looming is a lot of fun and addictive. But you don't want to buy a loom for the sake of buying a loom. This will help you make better choices instead of buying out the store and realizing you have looms you will never use.

How To: Knit with double pointed needles
Have you ever wanted to knit with double pointed needles? Don't be intimidated by them anymore! Follow along in this great how to video, and you'll be on your way in no time! Learn how to knit with double pointed needles: We are starting with forty stitches. Be sure that stitches are divided as evenly as possible. Transfer ten stitches onto to another needle. (Slide the stitches down the needle so they don't fall off). Using another needle, slide another ten stitches to it. Repeat this until ...
How To: Crochet a left handed sun beam granny square
make a left handed sun beam granny square crochet in minutes! 1. Prepare the materials, two different yarn colors are needed. 2. Start off with a chain 1 stitch. 3. Make a half double crochet through a chain 4 stitch (12x)4. Work another chain 1 stitch5. Make 2 half double crochets to join the chain 1 stitch (24x)6. Cut the yarn and change the color. 7. Work 2 half double crochets on the new color and join together with the chain 1 stitch. 8. Change yarn color again. Insert the hook from the ...

How To: Crochet a slip stitch to end the round
Are you having trouble ending the round when you are crocheting? Shred Betties shows us how to crochet a slip to end the round. You will need the following: crochet hook, yarn. Procedure: Use a slip stitch to end a row. Insert the hook in the middle of the third stitch of the chain that started the row yarn over and finish round 2 by pulling the yarn through the loops on the hook. Follow these steps and you will no longer have trouble ending the round the next time you crochet.

How To: Knit garter eyelets
Iknitwithcatfur teaches viewers how to knit perfect garter eyelets. Choose worsted, double-knit (DK) or sport weight yarn. A cotton or wool blend without fancy textures is the easiest to work with for this pattern. Use slightly larger needles to show off the pattern's open work. Size nine to 11, depending on the yarn weight you've chosen, is ideal. Cast on 25 stitches for a good-sized swatch. The garter eyelet pattern requires an odd number across and you work it over six rows. Knit the first...

How To: Half-double crochet
Learn how to make the half-double crochet stitch in this tutorial about the basics of crocheting. You will need: crochet hook, yarn. Procedure: Make two chains. Turn your work, then go back across. Chain 2 is counted as a stitch so skip the first stitch, yarn over and insert your hook the next stitch. Draw up a loop, yarn over and draw through all three loops on the hook. Repeat the steps and do that all the way across. Follow these steps and you will be another step closer to your goal of ma...

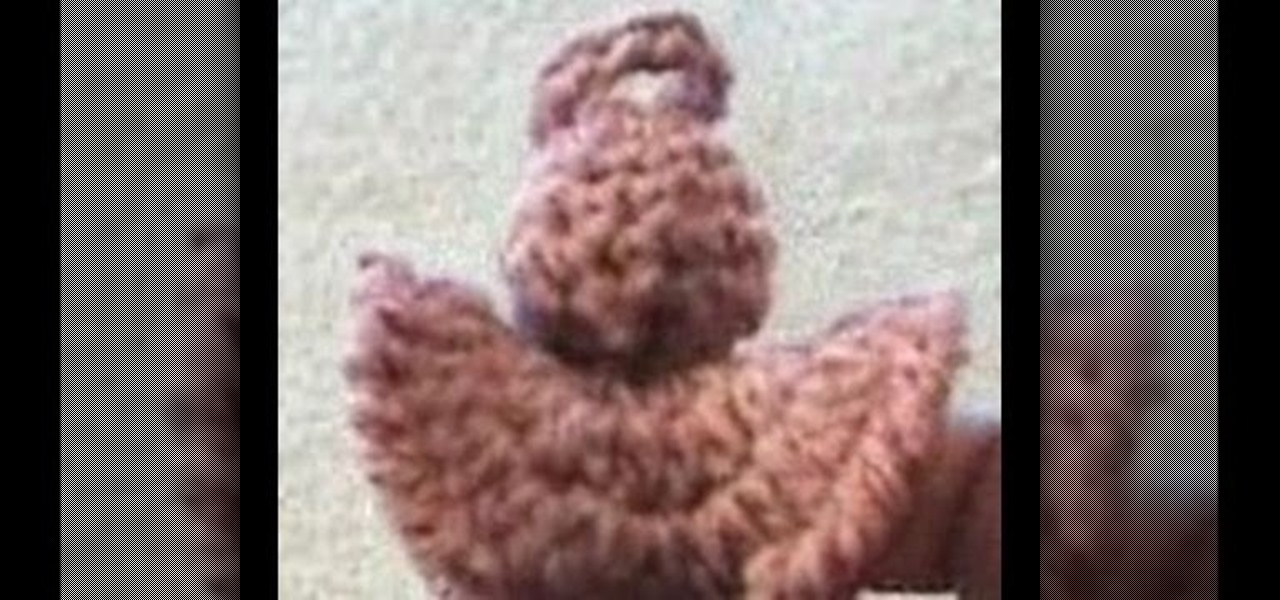
How To: Crochet baby socks
This video is one of a series of steps involved in crocheting cute woolen baby socks. In the beginning of this step, which is in fact step number seven, the shape of the baby socks can already be seen quite clearly. Use yarn or woolen thread of the thickness and color of your preference. Also prepare the hook you are going to use to make the stitches. Start by applying a chaining up twice. Then you have to apply half double crochet in each step around, always going round and round the circumf...

How To: Crochet the half-double stitch
Crochet the half-double stitch with these easy steps and achieve that beautiful design you've been longing for. Insert your crochet hook to the two loops found at the end of your cross stitch. Yarn over your stitch and make three loops wrapped around the crochet hook. Always count the number of stitches that you do and continue step number 2 to the rest of the yarn. Skip the first loop at the end of every row and insert your hook on the second loop. repeat the process until your desired desig...

How To: Crochet a snowflake
This is an instructional video on how to make a snowflake crochet, try and enjoy. Use a yarn and a size 8 crochet hook, follow the instructions on this video to make a snowflake crochet which you can use as gifts for holidays and personal use. The steps are in segments that are easy to follow. Be careful on counts to avoid mistake, just follow the video and you can have a personally made snowflake crochet. Follow these simple tips and you will no longer have to worry what gifts to buy on the ...
How To: Jacmel crochet a granny square
In Access 2010 you can now create a navigation form (like a home page) for your database without writing a single piece of code or logic! Great for busy people who need to organize their database quickly, but who don't have code writing skills. It's just drag and drop. There are predefined layouts which help you design the form and then simply drag the information you want into the form. Reports can be added and accessed quickly from the navigation form so you can analyze the data simply and ...

How To: Crochet a headband
Basic and simple steps yet elegant in making Crochet Headbands. Start with a chain of two, put the hook through the first chain, wrap the eye over and pull it through, wrap the eye over and pull it through once, and wrap the eye over and pull it through twice. Continue to make 54 foundation single crochet. Connect the two ends together. Work the shell and single crochet in the same space as the opposite side. If you want to add flowers. Chain three slip stitch in the loop. Complete five chain...
How To: Crochet a double crochet stitch into the starting loop
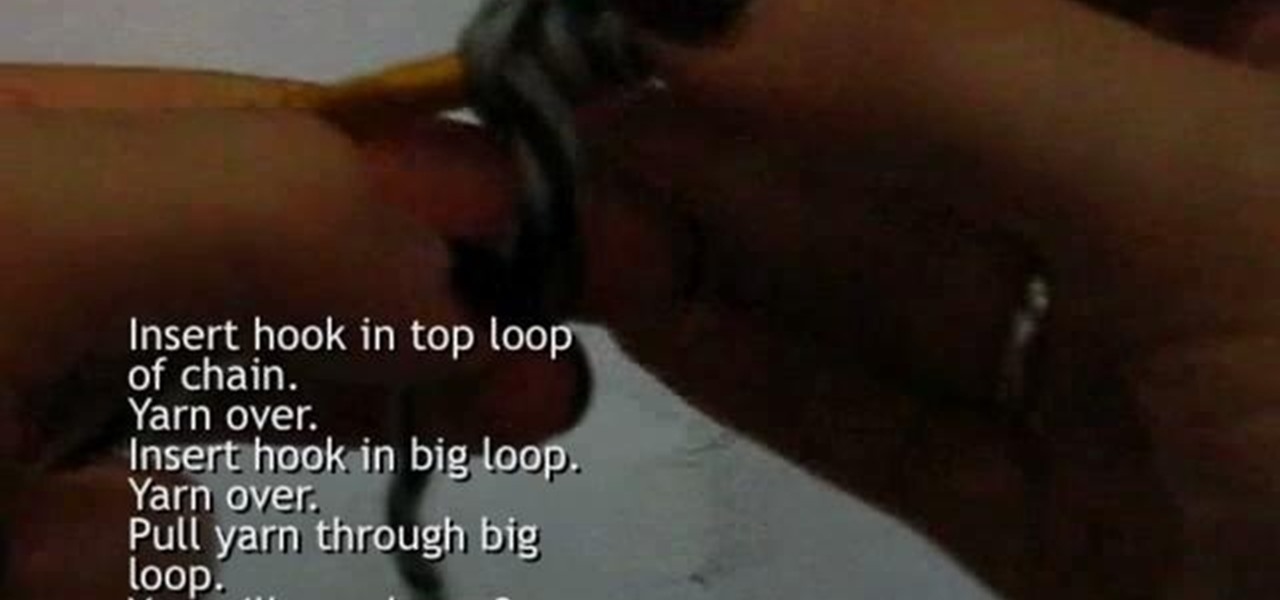
Shred Betties demonstrates crocheting a double crochet stitch into the starting loop for making a beanie step by step. It's as easy as simple math! You'll need the following: crochet hook, yarn. To have 3 loops on your hook: insert hook in top loop of the chain, yarn over, insert in the big loop, yarn over and pull yarn through big loop. Pull yarn through 2 loops on your hook so there will be 2 loops left on the hook. Yarn over and pull yarn through the 2 loops remaining on the hook. This com...
How To: Knit pick up stitches
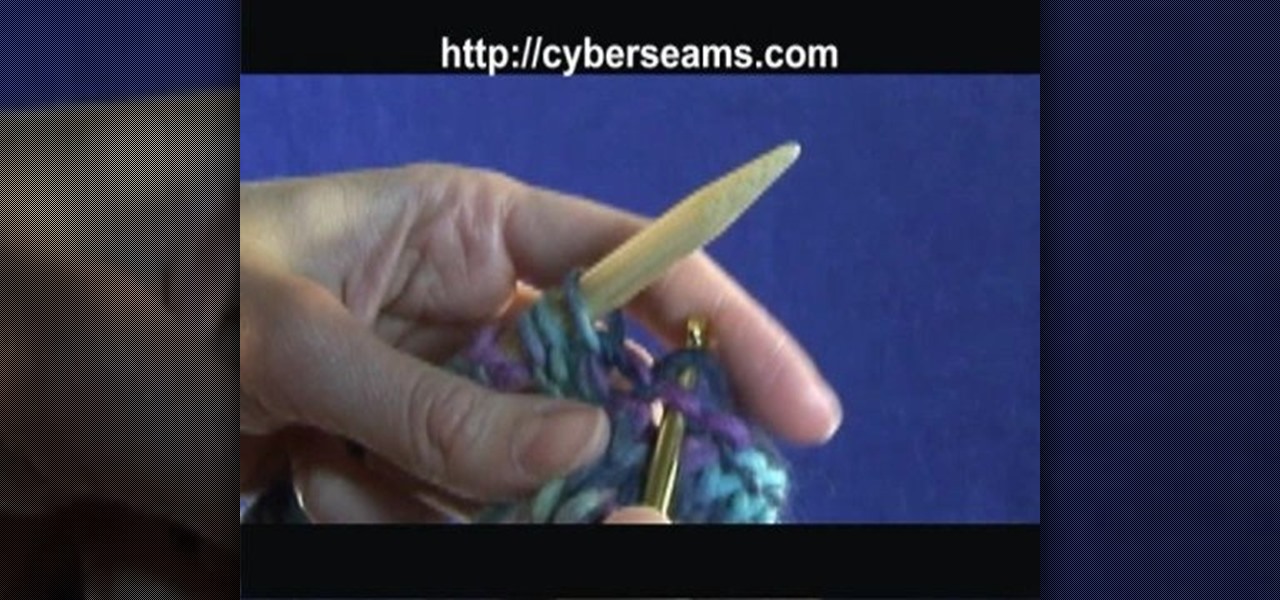
Cyberseams explains here how to knit pick up stitches. It is actually about joining sections together. You can use a knitting needle or stick for joining sections together. Take a piece of wool section which is already done. Now you are thinking to join it with new one. Insert the stick with one hole. Turn the new wool part and stick it together. Then do it again. Get the wool from back and bring it to the front. Be sure your seam is correct. After watching this video you can easily join part...

How To: Take out purl stitches in your knitting
KnitWitch.com will show you how to take out purl stitches in your knitting on this easy to follow video. Tinking, tink, which is knit spelled backwards, is the actual knitting term for removing stitches. This shows how to tink purl stitches and gives great advice on how to hold the yarn to make it easier to see and remove the stitches. As you can be sure that at some point you will have to take out stitches when you knit by following these steps and tips it will be a much easier process.
How To: Tell the difference between a knit & purl stitch
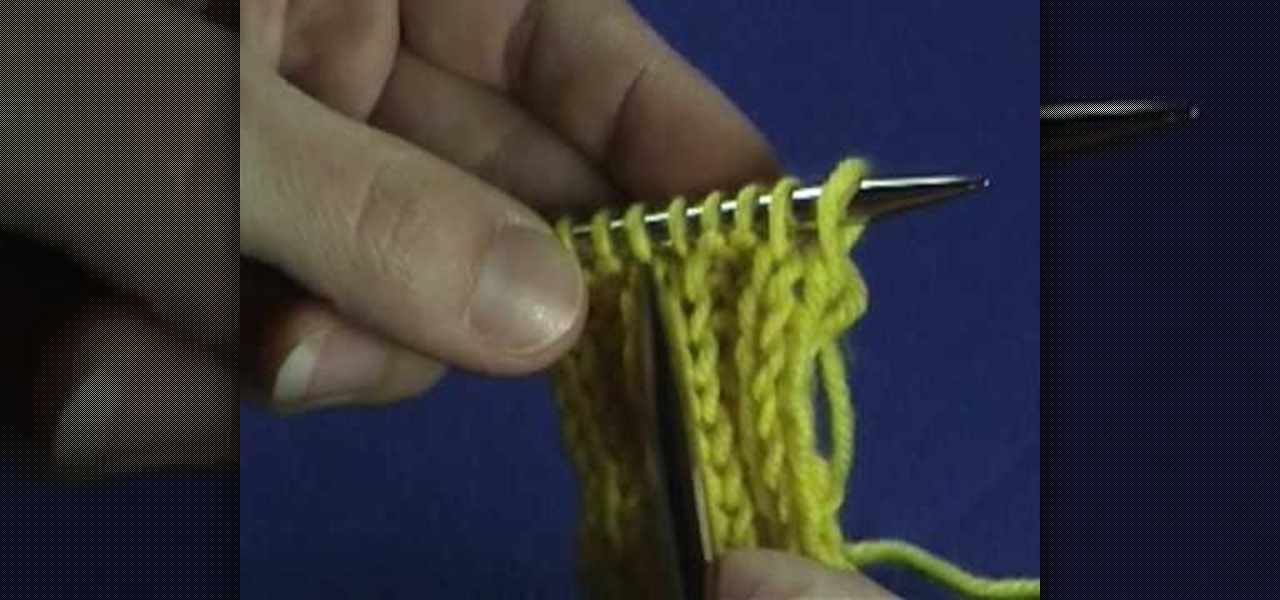
This video involves making the distinction between two different types of stitches that are used in knitting. To be more specific, the video explains how to differentiate between a knit stitch and a purl stitch. The video is a part of a series of videos that deal with knitting; the speaker mentions that the subject at hand was touched on in a previous video. The speaker explains that is important to understand the difference in knitting so you can keep track of your work. The speaker explains...
How To: Purl through the backloop
Purling through the back loop has never been easier now that this video has cleared up the confusion. Most standard knitting practices have you purl through the front, but when it calls for purling through the back this video describes in detail how to successfully complete the task. After watching this video, you will be able to follow step by step on purling through the back loop. When you purl through the back loop the fabric twists and creates a stronger fabric. Watch and learn first hand!

How To: Crochet a radiant flower
A 10 minute video showing how to crochet a radiant flower. You will only need a crochet and wool. The flower can be made with one or two different colors of cotton or wool. The size of the flower can be adjusted a some point as she explains. The tutorial is well filmed but the woman goes a bit too fast some times and her hands are also some times off screen making it hard to follow. The explanations are still easy enough for a beginner to follow.

How To: Bind off your knitting when working in a pattern
This video by KnitWitch.com demonstrates how to bind off with patterns or in other words shows how to end off two different types of knitting stitches. You want to bind off by working the stitches the same way as if you were still working the pattern. Not only does this video show you how to bind off using multiple stitches, it also shows you how to finish off the last stitch in the row so that all of your finished work doesn't unravel.

How To: Left-hand crochet a cupcake hat
This is a long video explaining how to crochet a cupcake hat. This video should not be used for beginners. This video should not be used for someone who is right handed. She includes a convenient link for right handed people but this video was made for lefties. She slowly goes by teaching how to crochet this hat. The video close ups provide close detail as to where the material goes and how it should be placed.

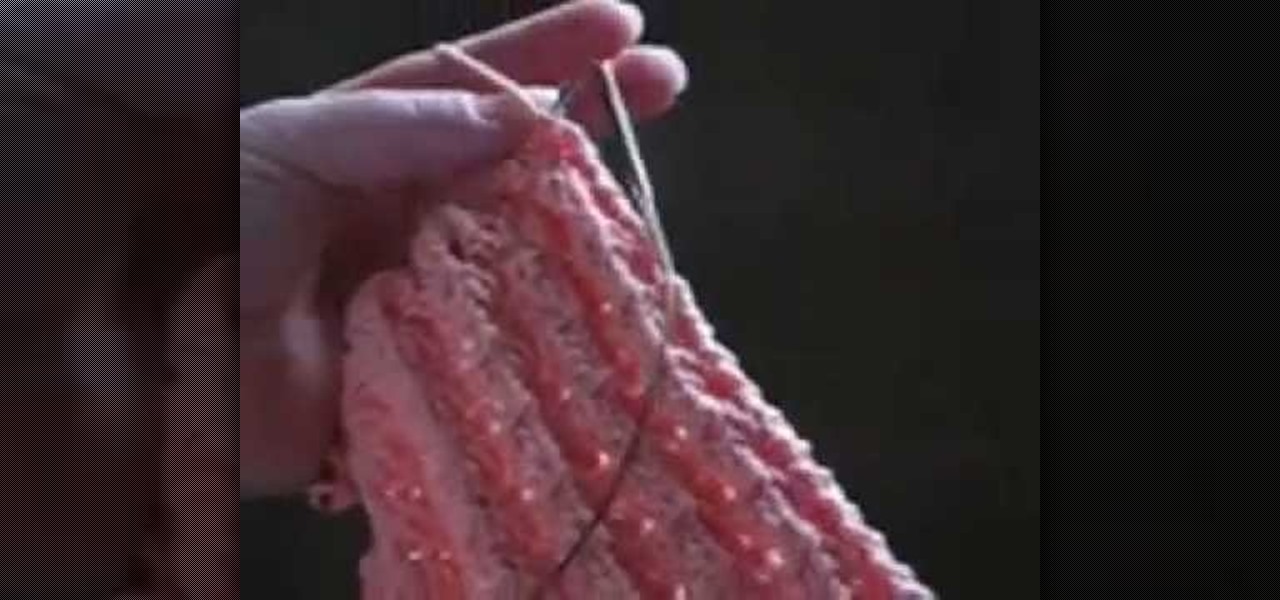
How To: Knit a ribbed scarf
You can knit a scarf by learning how to combine two of the basic stitches that make up a knitters repertoire. One of the easier scarf patterns can be made by simply doing a garter stitch or stockinette stitch. You can take it to the next level by combining patterns to make a ribbed scarf. You begin by casting on a number enough stitches to make up the width of the scarf. The rest of the answers lie ahead in this video tutorial which will show everything you need to know to knit your own ribbe...

How To: Knit the purl stitch left handed
This video will explain how to knit a left handed purl stitch.
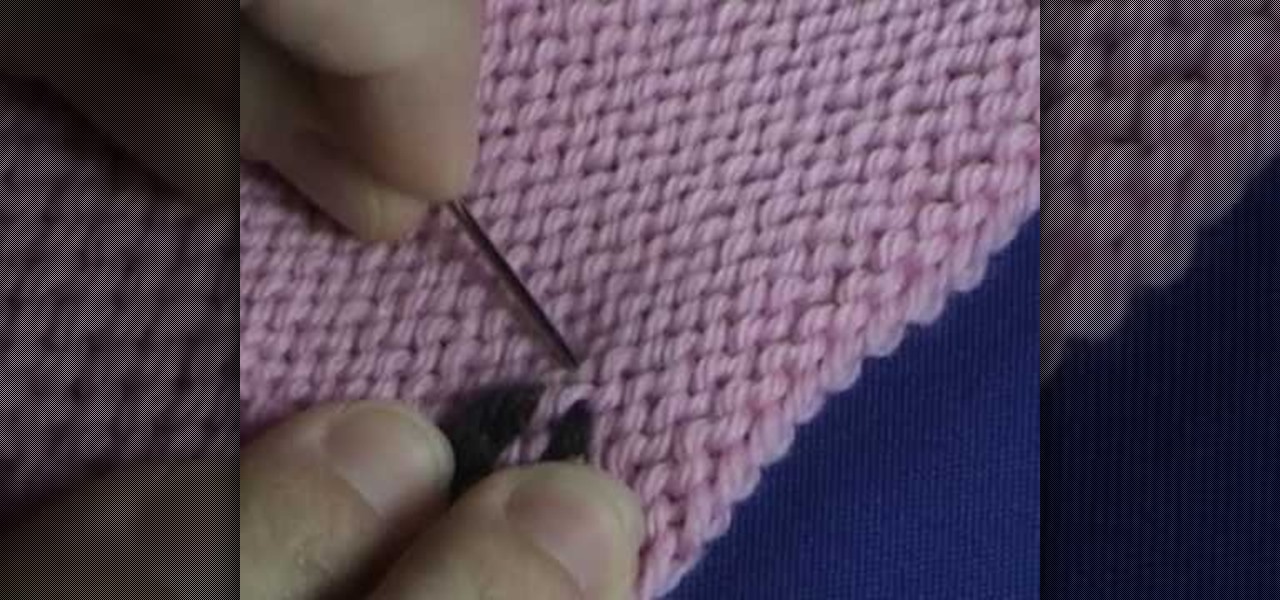
How To: Weave in ends on a stockinette stitch project
Let the Knit Witch show you how to weave the ends on your stockinette stitch project with this video tutorial. She takes a simple swatch of knitted pink fabric and shows you how to accomplish this simple but useful trick with black yarn so that it can be easily seen. Don't let your yarn unravel or ruin a project by skipping this easy to learn step! She explains it so clearly and demonstrates the technique so thoroughly that you'll be sure to have mastered it in just a few short minutes!