

Hot Knitting & Crochet How-Tos


How To: Knit a lace-like stitch for your next scarf or knitting project
This is a fun and easy stitch you can use to stitch scarves, shawls and other accessories you want to have a lace-like look. This knitting stitch leaves large gaps in the pattern, which look quite pretty and gives it a lace like look. There's two different variations of the like-lace stitch, so check out both videos for details. Judy Graham, Knitter to the Stars, shows you how it's done!
How To: Start your first crochet project, even for a beginner
For people who are completely new to crochet, this tutorial series shows you everything you need to know to get started. From going over the basics of yarns and needle sizes, and then showing you how to execute a few basic stitches, this will get you started on your first project in no time.
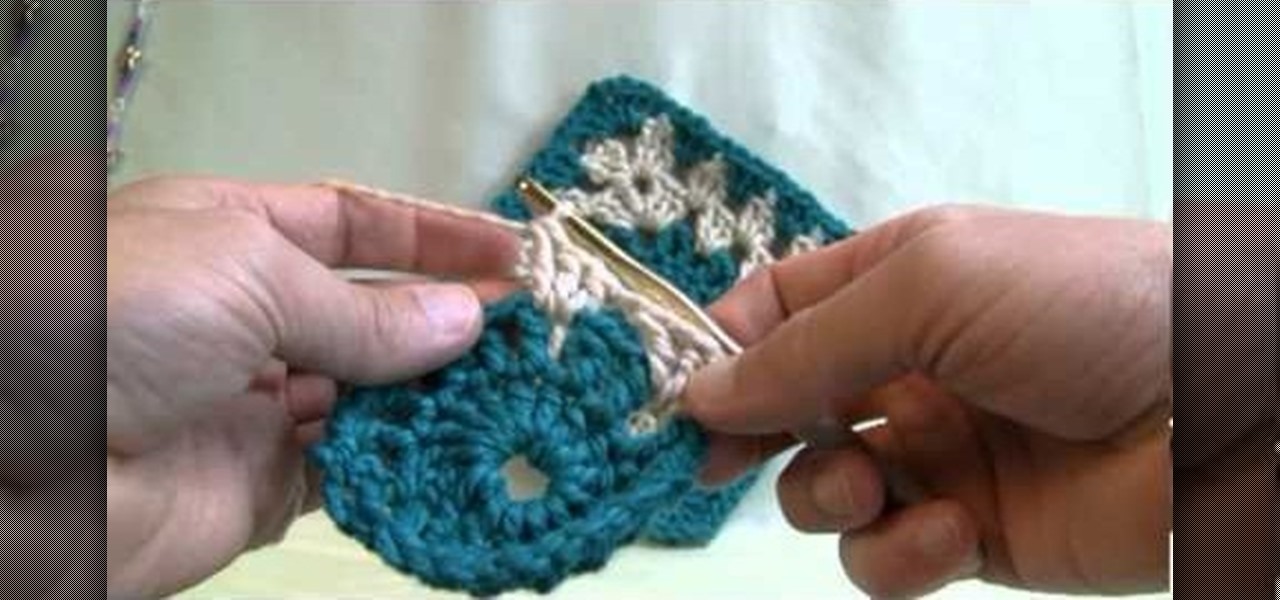
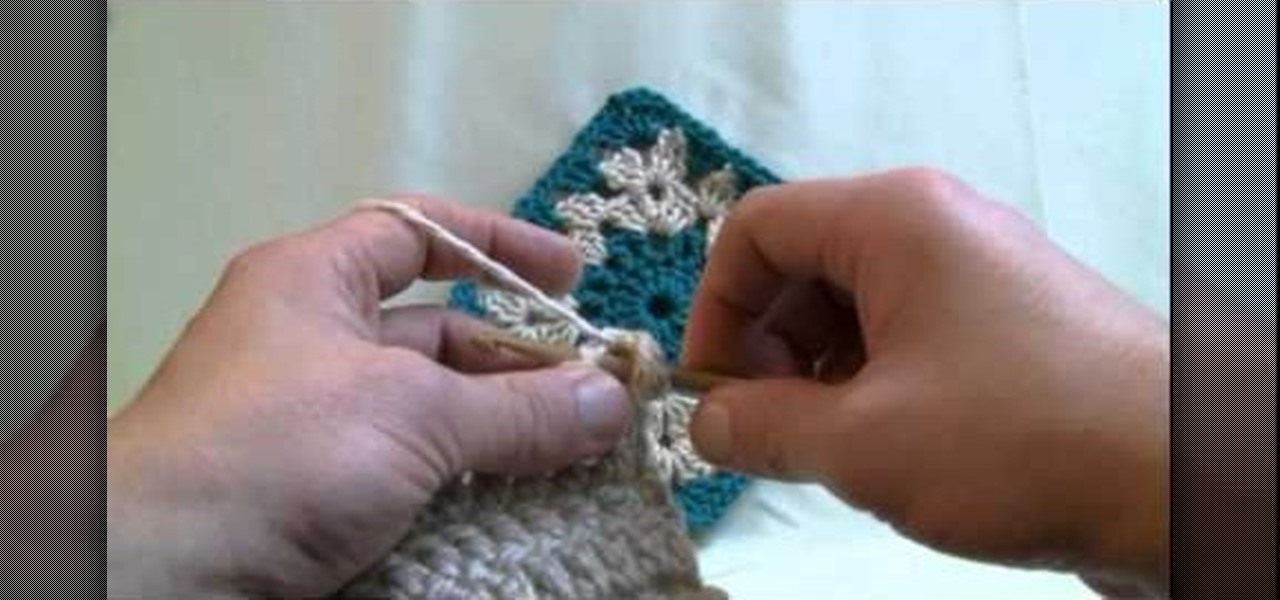
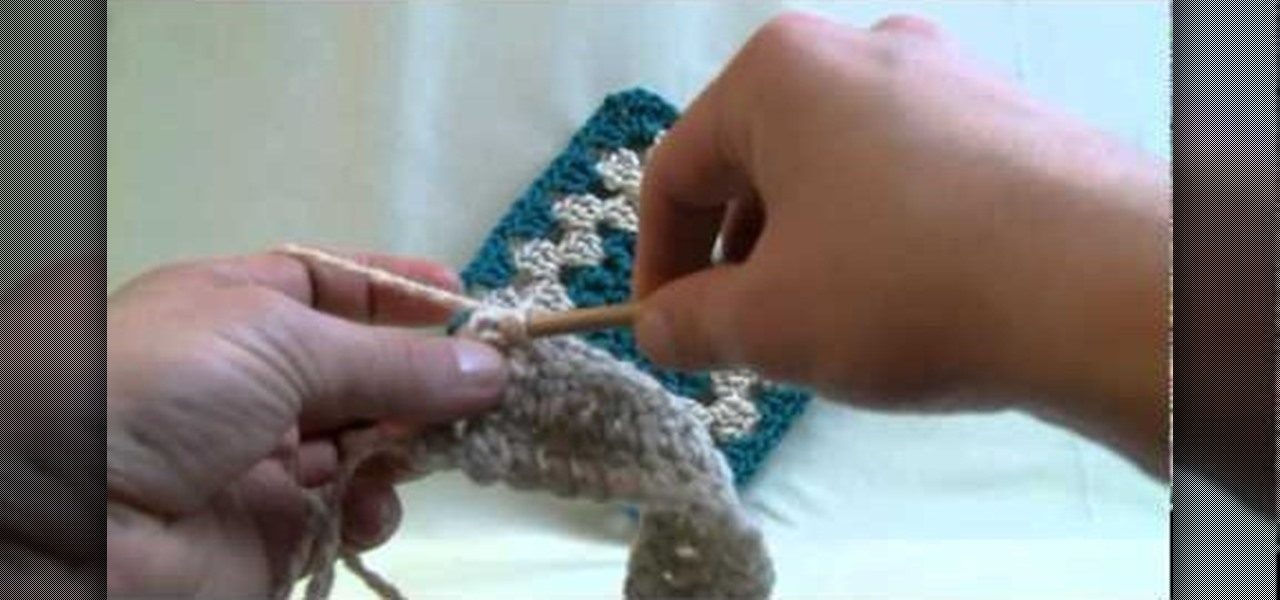
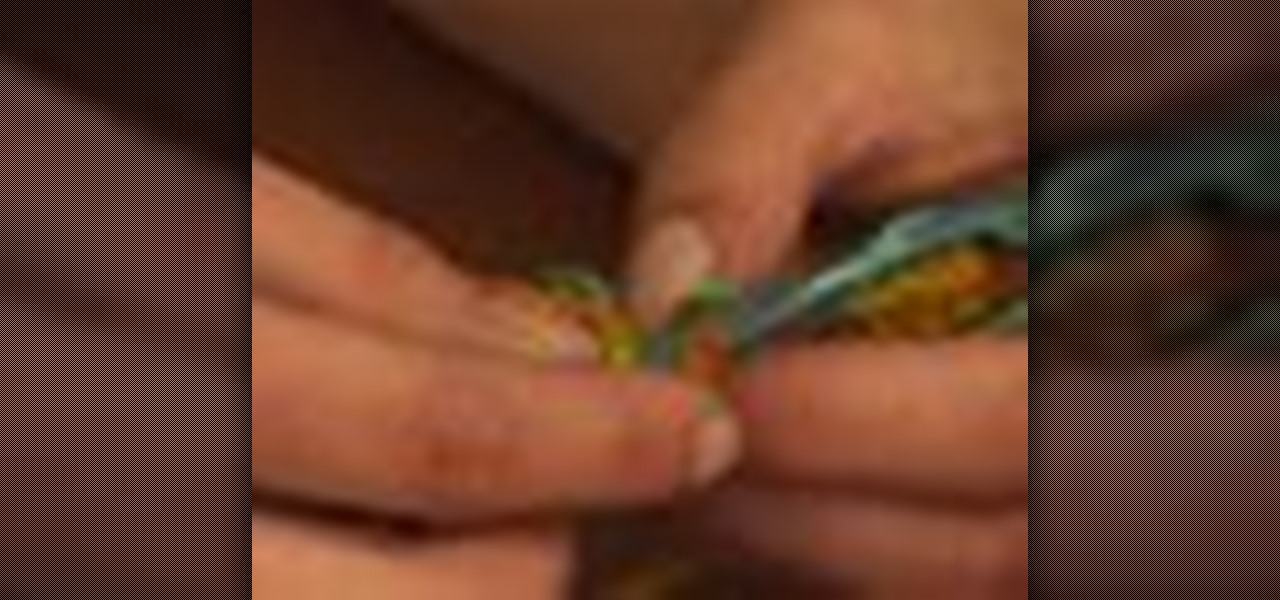
How To: Crochet a two-color granny square with a circle center
Granny squares are a basic crochet project, which you can use to make doilies, coasters or even connect together to make an afghan or blanket. This tutorial shows you how to make a basic granny square with two separate colors and a circle in the center.

How To: Make a crochet project using the double crochet stitch
The double crochet is a simple and easy stitch to execute. This tutorial has been designed for people who are just starting to crochet, and it will show you how to execute a tight, uniform double crochet stitch for your starting crochet projects.

How To: Execute the half double crochet stitch in your crochet project
A half double crochet stitch is not the same as a single stitch, and this tutorial demonstrates exactly not only what the difference is, but how you can execute your own half double crochet stitches for projects which require a great amount of detail.
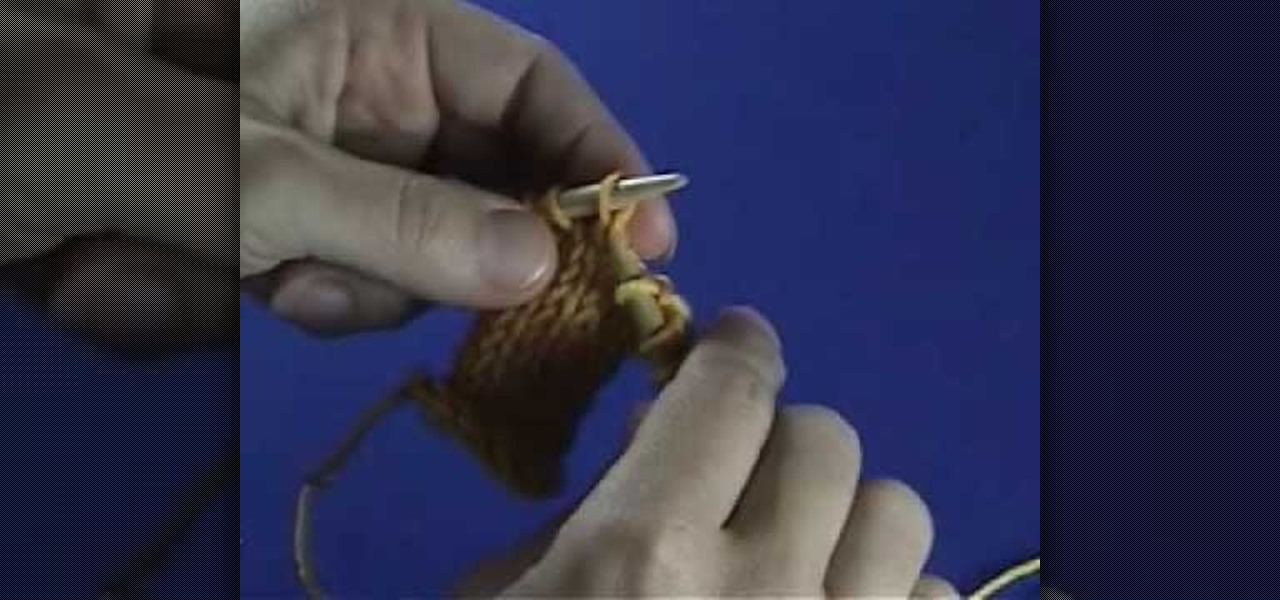
How To: Control the yarn tension in your crochet projects
The key to controlling the tension in your crochet project comes from the yarn ball. This tutorial shows you a couple tips on how to set up your yarn, and then a few techniques on using your hands to add the right amount of tension to your projects.
How To: Crochet the single stitch for a beginner at crochet
After you've mastered the basic double stitch, this tutorial shows you how to execute the single crochet stitch. Single stitches are smaller than double stitches, and used often for baby accessories and other small projects. It takes awhile, but adds a lovely touch to your project!

How To: Hand crochet your first project with a crochet needle and yarn
Interested in learning how to crochet? This video has been made with beginners in mind. All you need to start is a crochet needle and some yarn or thread in the color of your choice. Then follow this tutorial, and you'll be well on your way to completing your first afghan!
How To: Crochet a swirl pattern out of thread for left handed artists
Crochet beautiful afghans, doilies, lace, or other accessories and projects using an elegant swirl pattern. Designed specifically for left-handed crochet workers, this tutorial shows you several different patterns which are all variations on the same basic swirl. All you need is a crochet needle and thread in the color of your choice.
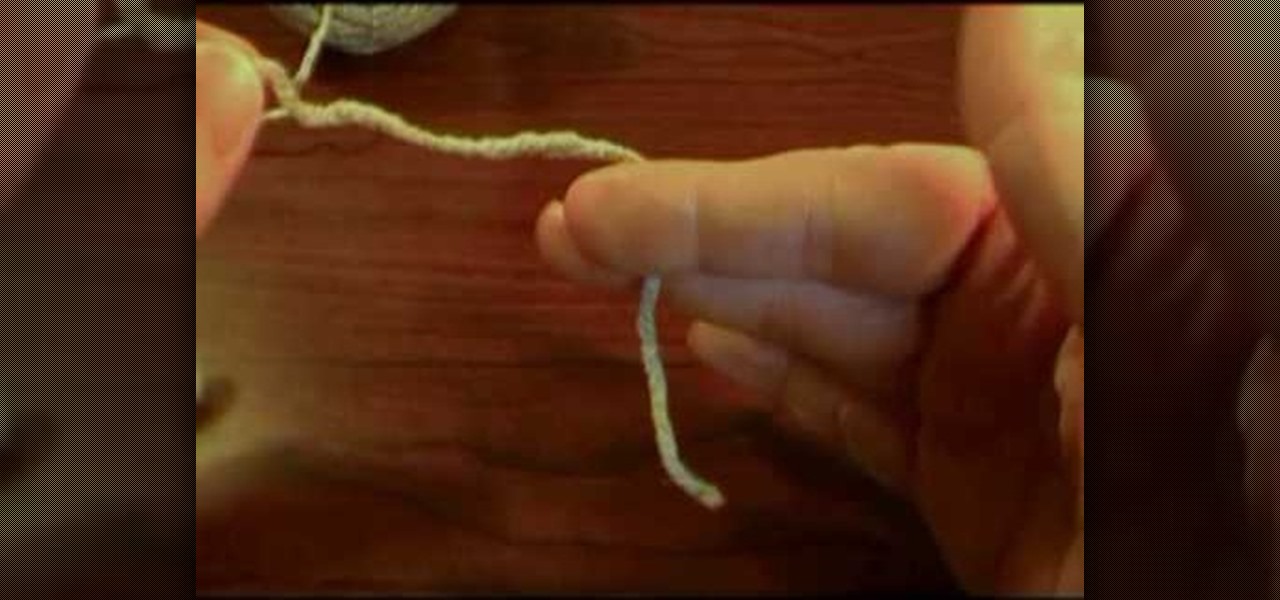
How To: Change thread in crochet for changing colors or joining skeins
Most crochet projects are going to require you to change colors of threat or join two skeins at some point, and that means changing threads. Watch this video to learn an easy trick to changing thread that will make your crocheting life easier.
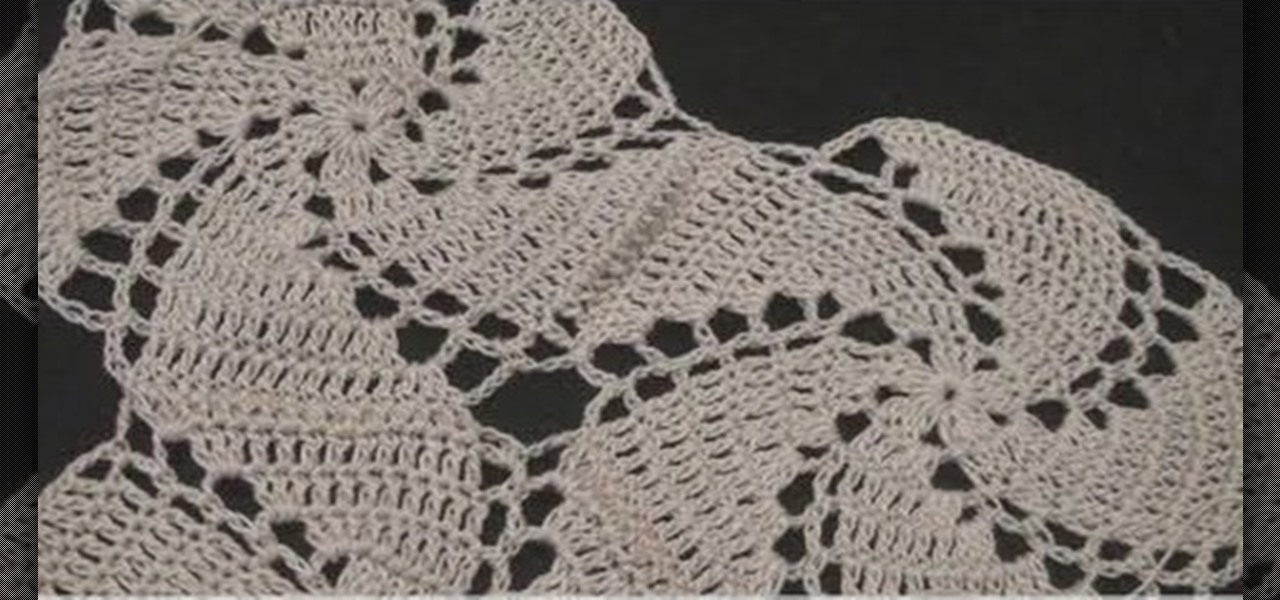
How To: Choose the right filet crochet pattern for your skill level
Choosing a good pattern for your next crochet project is crucial to that project coming out beautiful. There are lots of factors to consider, and you will learn all about them in this video. Watch it now before you start your project and realize you got the wrong pattern!
How To: Knit a blanket from scratch
Knit blankets are comfortable and scream home and security, but they are expensive and making them is an arduous task. If you want to get started on a major knitting project, watch this video, and learn in general terms how to knit a blanket.
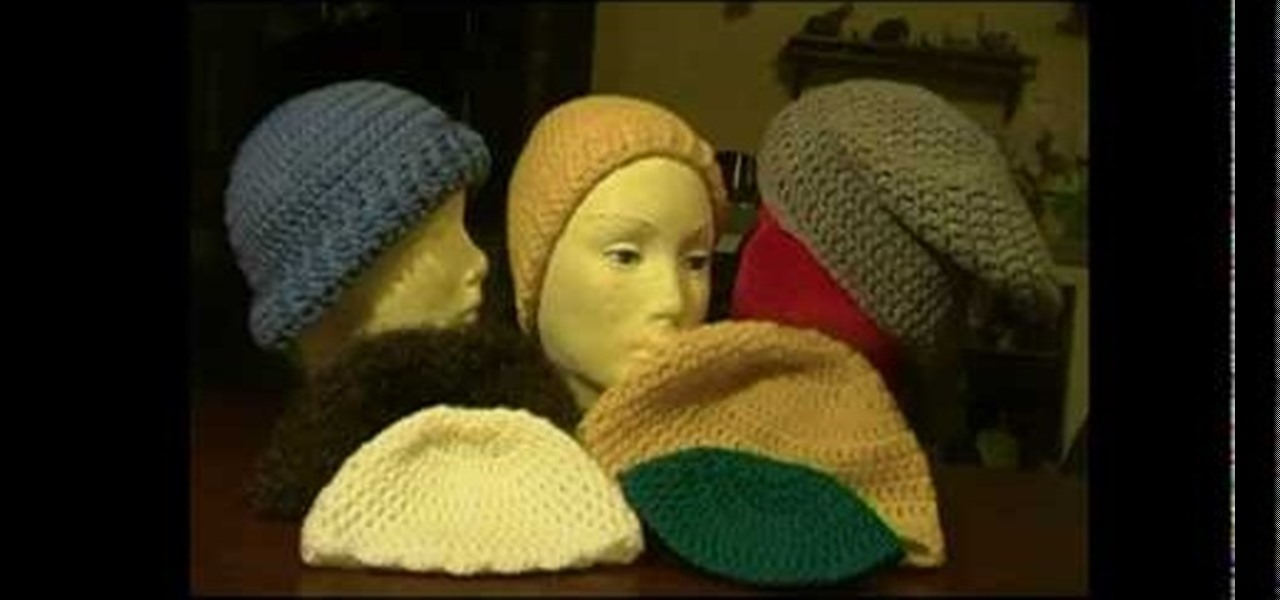
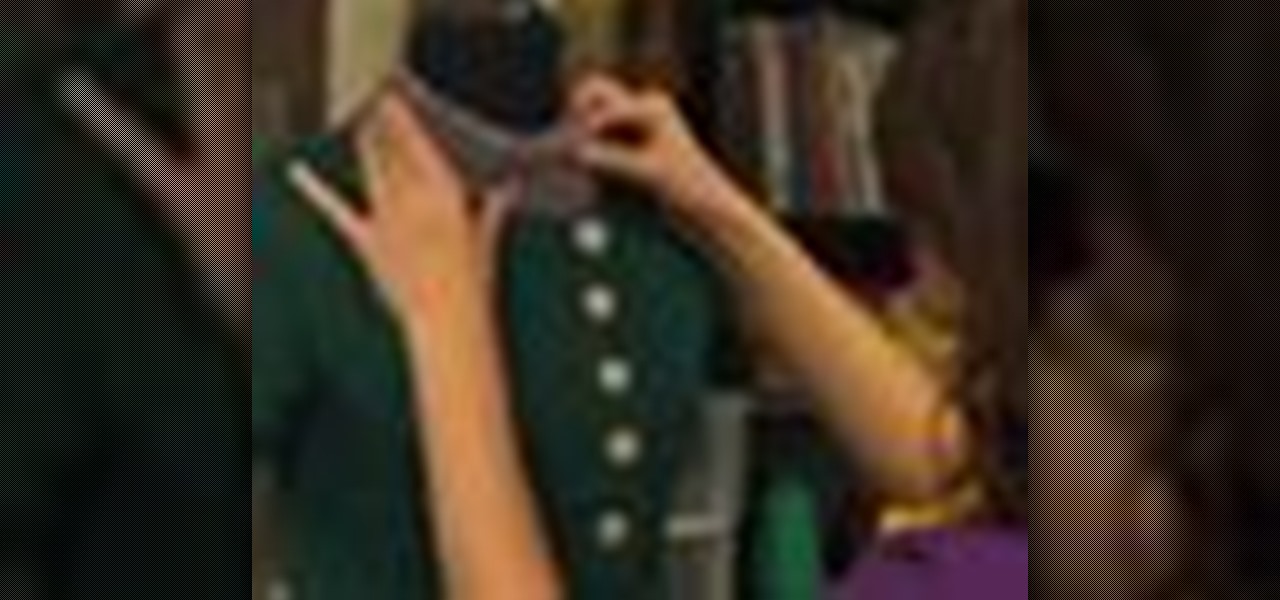
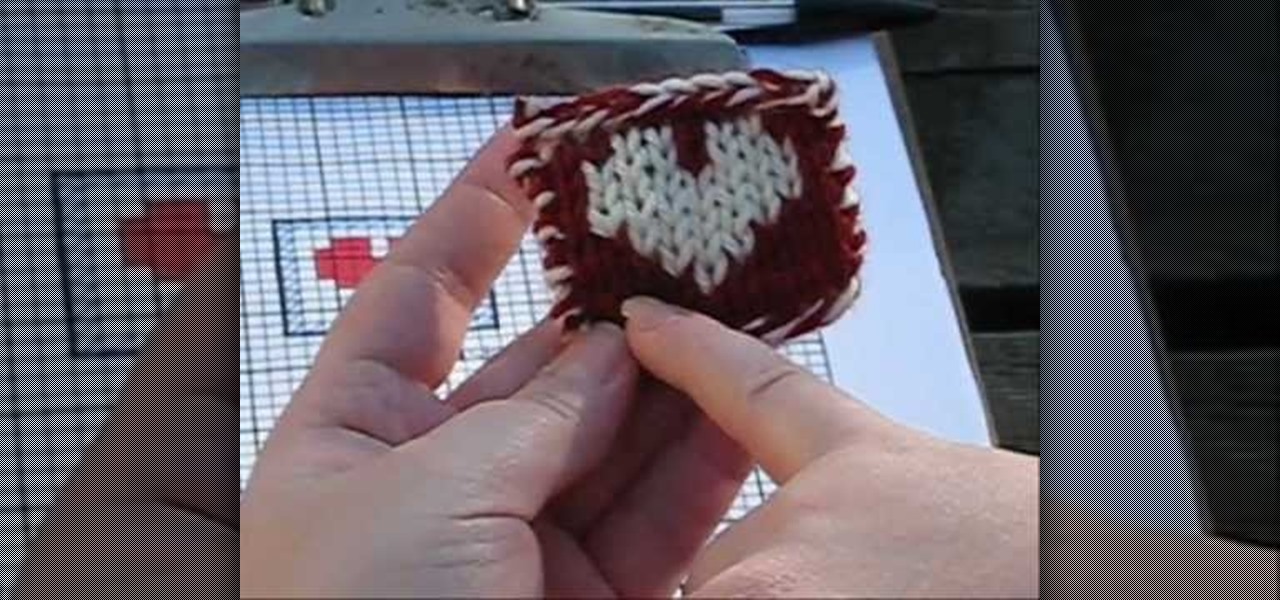
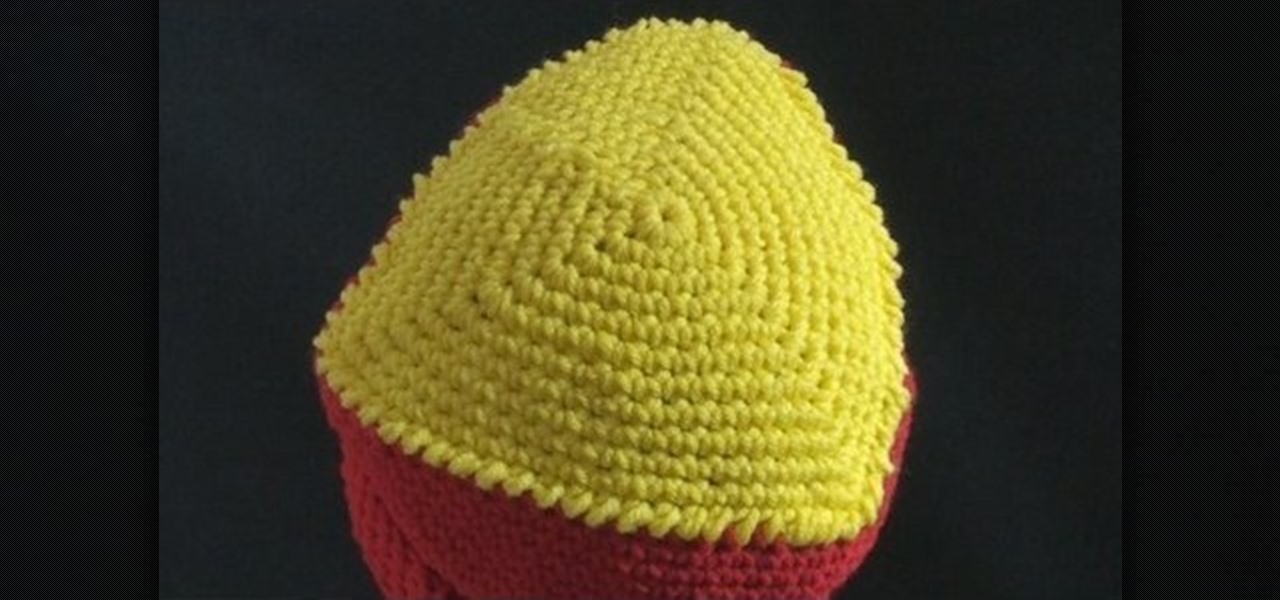
How To: Crochet seven different kinds of hats using a double stitch
This interactive tutorial series shows you how to make a basic double crochet stitch, and then expands on this technique to show you seven different variations. Learn how to make a turned cuff, ribbed cuff, slouch, beanie, wiggie, kippah and child's hat.

How To: Crochet a pair of earrings (for left handed artists)
This tutorial has been specially designed for left handed artists. Make your own pair of crocheted earrings using leftover crochet thread left on your spool - all you need is a #9 crochet needle! This video shows you how precisely how to make yourself some elegant and crafty jewelry.
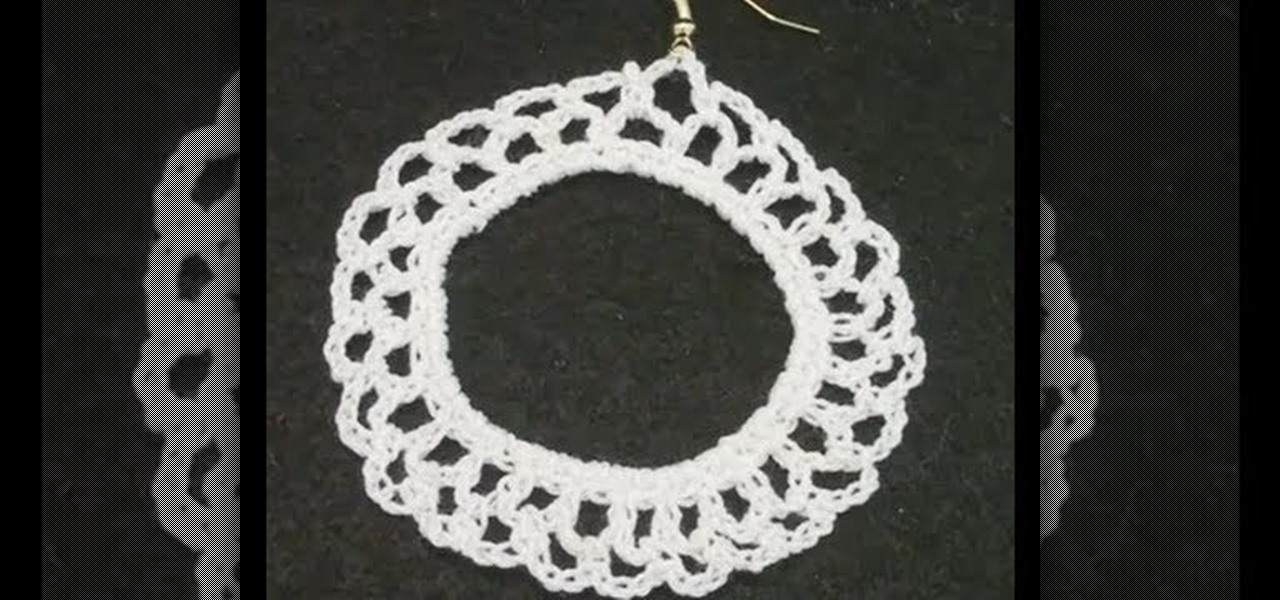
How To: Crochet a pair of earrings (for right handed artists)
This tutorial has been specially designed for right handed artists. Make your own pair of crocheted earrings using leftover crochet thread left on your spool - all you need is a #9 crochet needle! This video shows you how precisely how to make yourself some elegant and crafty jewelry.
How To: Lay out your color squares to create a color burst pattern afghan blanket
Using separate knitted squares in five different colors, this tutorial shows you how to lay out each square on the floor of your craft room in preparation for creating a seven by seven granny square blanket. End the tutorial with a beautiful and colorful blanket!
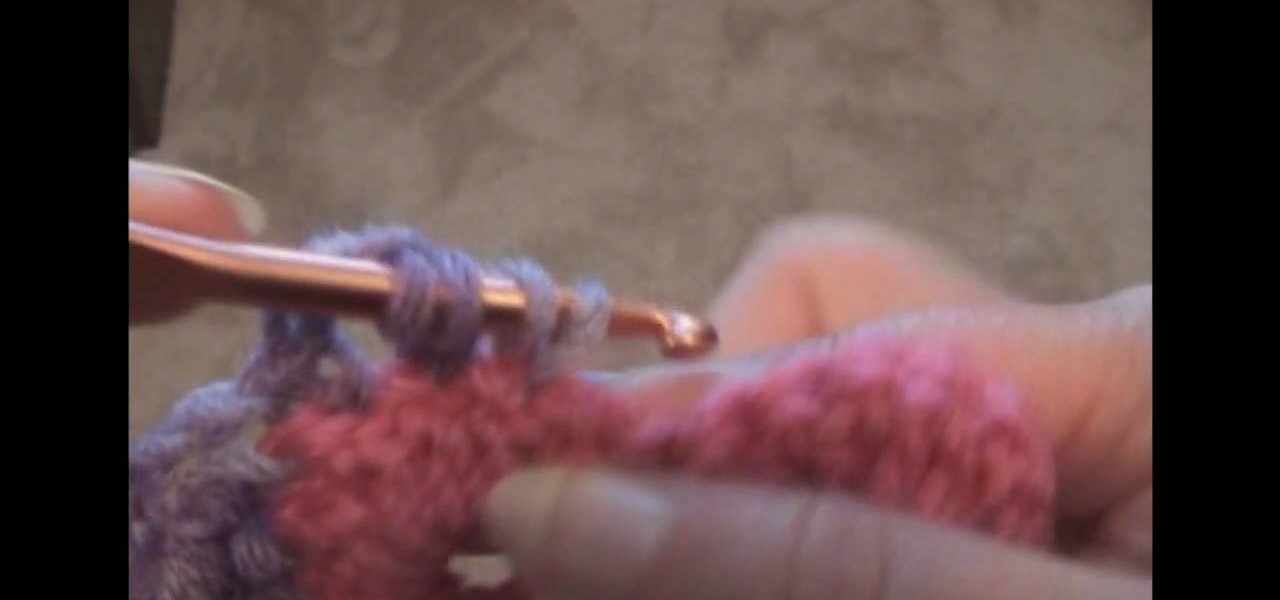
How To: Crochet a round shell Catherine's Wheel left-handed
In this tutorial, we learn how to crochet a round shell Catherine's Wheel left-handed. For the first round you will start by doing four single crochets after the slip stitch. After this, do seven double crochets, then a single crochet followed by seven more double crochets. Make two more chain stitches, then a single crochet and three double crochets. After this, start the next row which will be a chain stitch, then three double crochets. Next, you will do seven double crochets, followed by a...
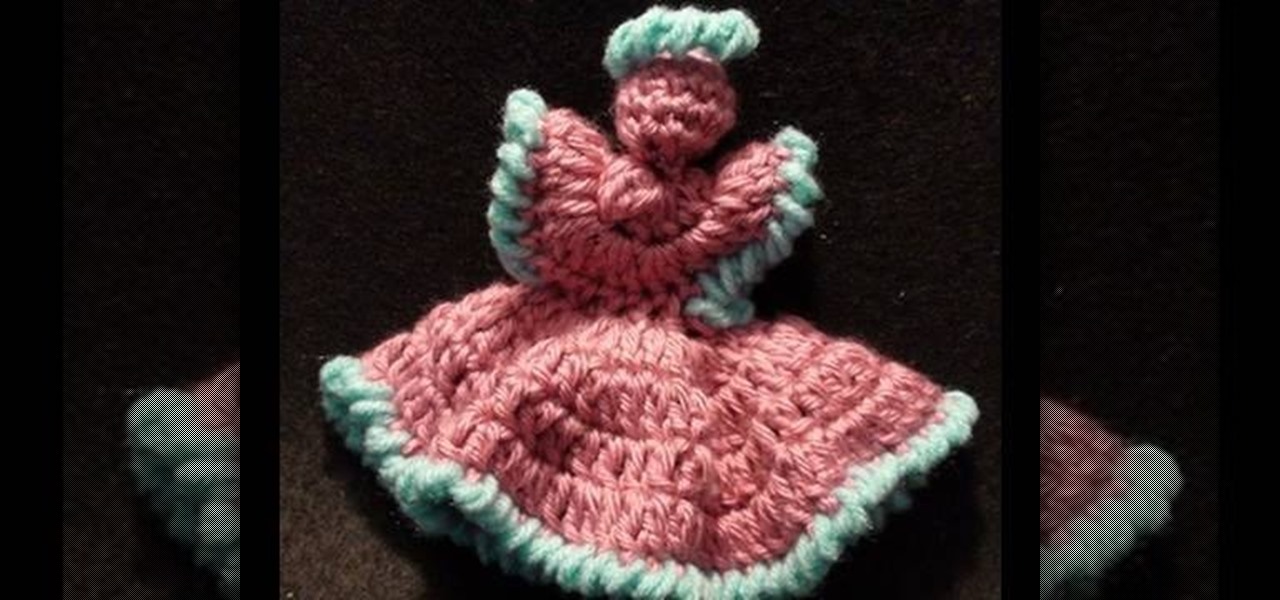
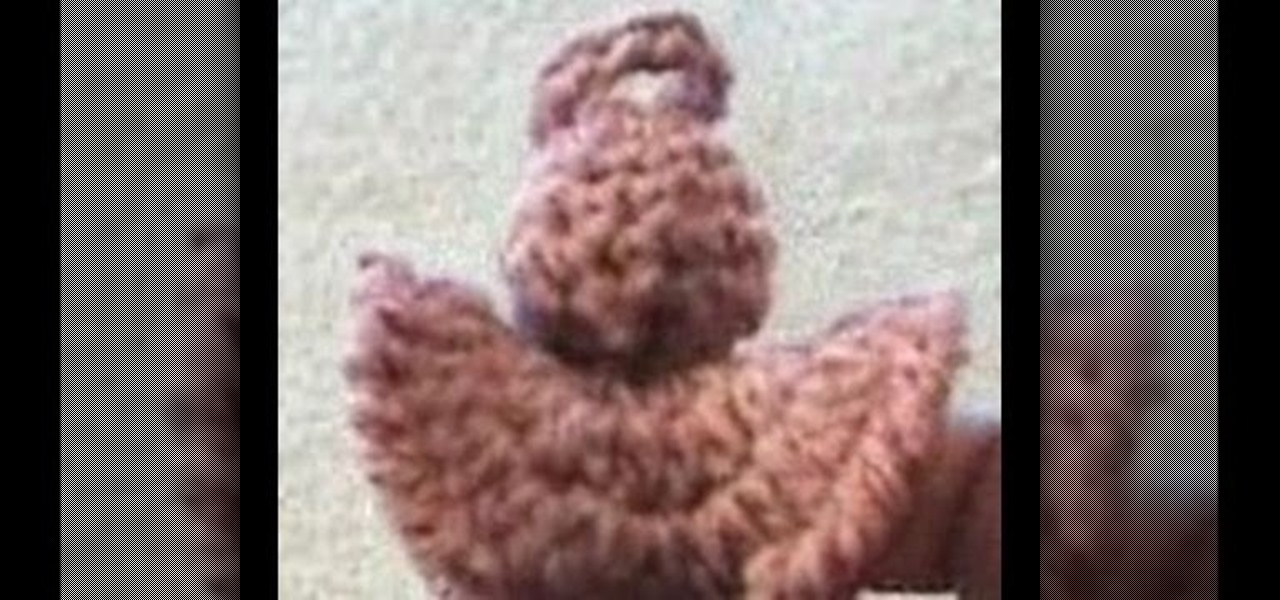
How To: Crochet a dainty angel
In this tutorial, we learn how to crochet a dainty angel. Start out with the first round where you will work 6 single crochets through the chain. Then, work the first single crochet at the top of the next stitch. For round 2, work 2 single crochets in each single crochet until you have 12 single crochets. For rounds 3 and 4, you will work one single crochet in each single crochet for 12 times total. In round five, you will work six single crochets at a decrease, then add filling to the head. ...
How To: Join a crochet round left-handed
In this video, we learn how to join a crochet round left-handed. First, join with the top level of the crochet. After this, half double crochet of the shell and join with the beginning of the shell. Now, join with the beginning of the double crochet. Go around to the beginning and join with the beginning of the single crochet using a slip stitch. Then, slip stitch between the joining. Now you will want to join with the slip stitch in the beginning of the double crochet. To finish, join with t...

How To: Crochet a left handed knobby granny square
In this video, we learn how to crochet a left handed knobby granny square. First, work a chain four, then join and make a chain one. Do three half double crochets, and then chain two and repeat the process twice more. Chain one, then end with a single crochet in the beginning to put you back in the corner. For round two, work in the same space you just ended. Chain one and pull up, then do a half double crochet. Do a quadruple crochet next, then pull your yarn through two, doing this four tim...
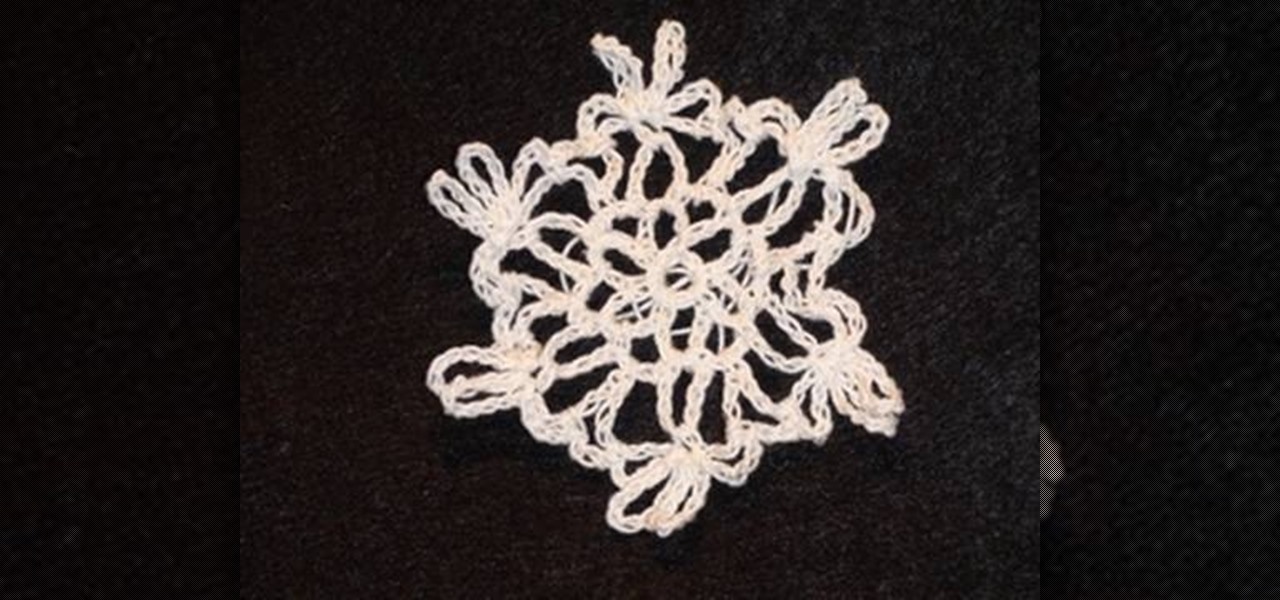
How To: Crochet a left hand snowflake
In this tutorial, we learn how to crochet a left handed snowflake. Start out with a chain 7, then join. For round 1, you will do a chain 6, then single crochet in the loop five times. Then, chain 3 and join at the beginning of the chain. For round 2, chain 3 in the next loop, then chain 8 and single crochet in the same loop, five times total. After this, chain 3 a single crochet and then triple crochet at the base of the beginning loop to join. For round 3, single crochet in the same loop, th...
How To: Recognize a backwards knitting stitch
In this tutorial, we learn how to recognize a backwards knitting stitch. Sometimes if you have to undo stitches, you may need to recognize where the stitches are so you can fix the problem. The front leg will be sitting in front of the one in the back when it's done correctly. If done backwards, you will be able to see the front leg in the back of the back leg. To fix this, you can simply take the stitch off, turn it around, and orient it correctly. Or, you can knit through the back loop to t...

How To: Knit cables
In this tutorial, we learn how to knit cables. You will need to place stitch markers where you are going to begin your pattern for the cable and end it. Now, take a double pointed needle and make sure it's not bigger than the needle you are knitting with. Work your pattern throughout the middle of your project by making a robe one, then begin the cable knit. Purl the first two stitches, then knit the next six. After this, purl one stitch and knit three other stitches. Continue to do this proc...
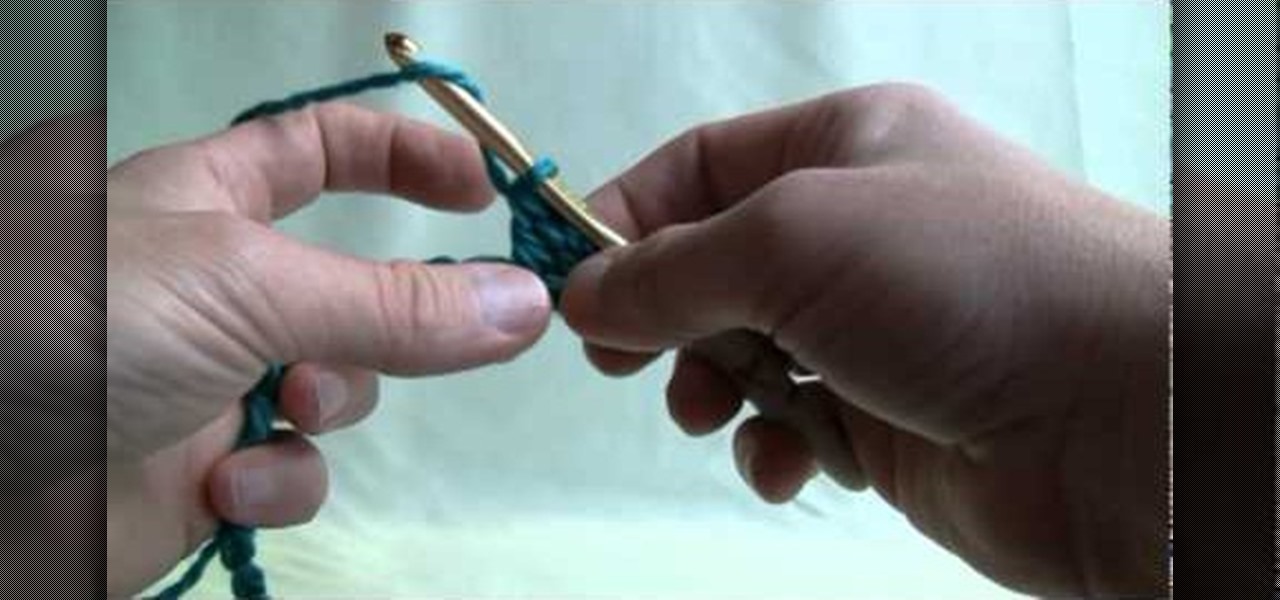
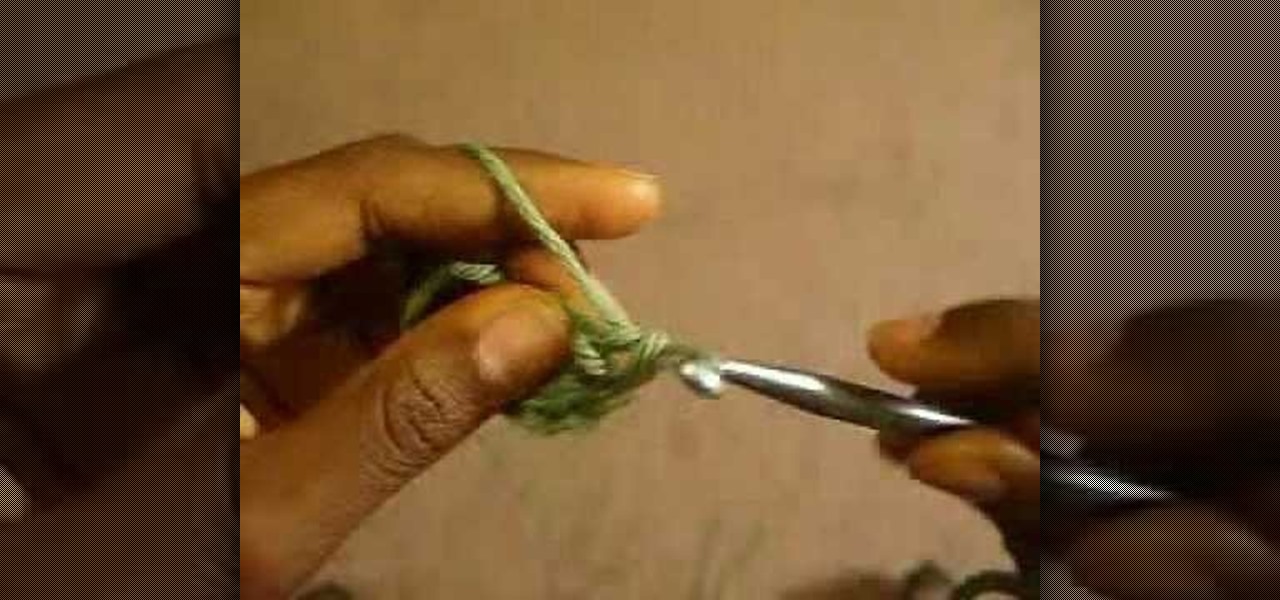
How To: Hold a hook and yarn in crochet
In this video, we learn how to hold a hook and yarn in crochet. First, grab your hook at the thumb grip. Then, practice how you like to hold your hook so it feels most comfortable with your hand. After this, grab your yarn and wrap it around the hook, placing tension in the string. To do this, wrap it around your pinkie then your pointer. Then, hold in between the thumb and middle finger. After this, you will be able to place the hook in the yarn easily to start out your stitch. After this, s...
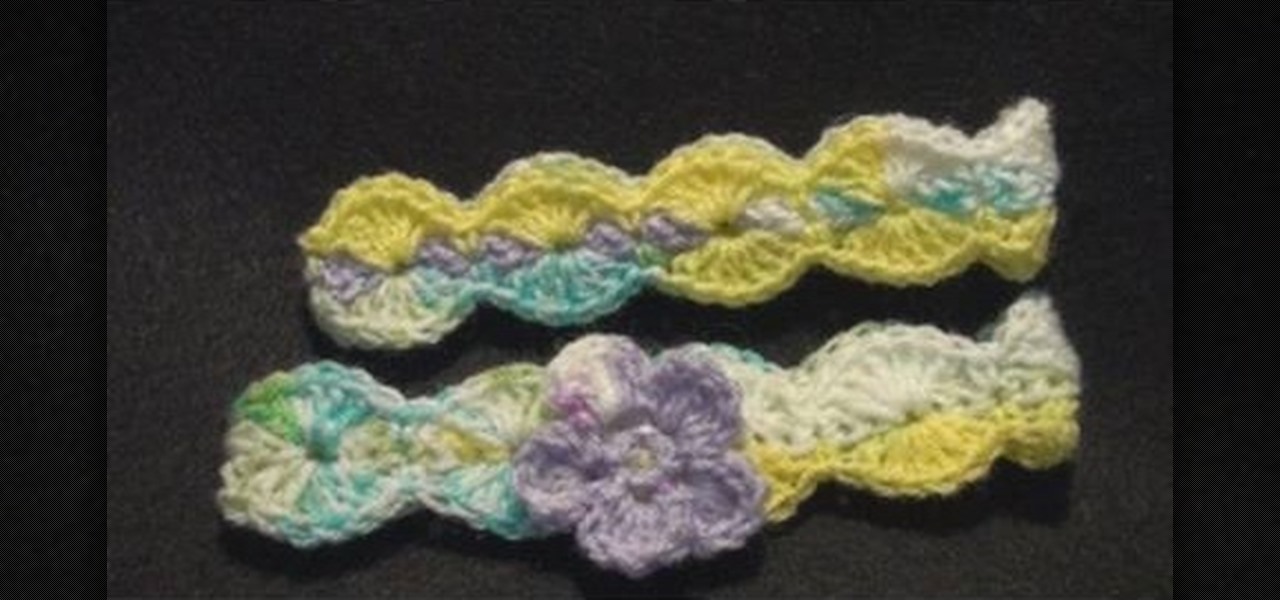
How To: Crochet a left handed headband with optional flower
In this tutorial, we learn how to crochet a left handed headband with optional flower. To start, you will make the foundation by crocheting a single crochet 54 times. Once you have made the base, you can take another color and start to crochet it on top of the first foundation. You will use a single crochet on the top, then to make larger humps double crochet for part of it. When you reach the end, take another color and repeat the same process going over the last color. You can continue arou...

How To: Crochet a left handed streamer hat
In this tutorial, we learn how to crochet a left handed streamer hat. For the first round, you will chain four, then double crochet through the loop. After this, repeat nine times from the beginning then slip stitch to join the beginning chain 3. For round 2, attach contrasting color of yarn, then chain 2. Single crochet in the previous chain 1 then go over the double crochet. Work 2 single crochets in the next crochet 1 then work a single crochet in each space. Slip stitch to join with the b...

How To: Crochet a left handed slinky flower
In this tutorial, we learn how to crochet a left handed slinky flower. You will first start row 1 by working a single crochet in the second chain from the hook. Then, chain 2 and skip a chain. Continue across, then make the last chain 2 and single crochet. After this, start to make the petals. For the first petal, you will do a chain 1, then do a half double crochet followed by a chain one all in the same loop. Continue to repeat the petals until you have seven of them in total. When finished...

How To: Perfom a cable cast-on
In this video, we learn how to perform a cable cast-on. Start this with a slip knot, then grab your working yarn and create your first stitch. After this, go between the two stitches with your other needle, then tighten the last stitch that you just made. Now, go in between the last two stitches and tighten up the yarn again. Continue to do this by making different stitches and as you go down you will have a cable cast-on. As you finish, you will have a longer and longer row, so tie off when ...

How To: Make a pink 2 strand bohemian goddess headband with a bow
We never thought you could wear anything that would make you look cute and sexy all at once, but this bohemian headband with a cute pink bow proves us wrong. Rather than simply teach you how to make a simple two strand bohemian headband in the style of Nicole Richie, your instructor teaches you how to make that headband and attach it to a bow for extra girly appeal.
How To: Craft a Greek goddess/bohemian three strand headband
We don't know about you, but anything that says "Greek goddess" in the label gets us instantly interested. In this tutorial, you'll learn how to look like a Greek goddess by making a knitted headband composed of three strands that tie at the back.
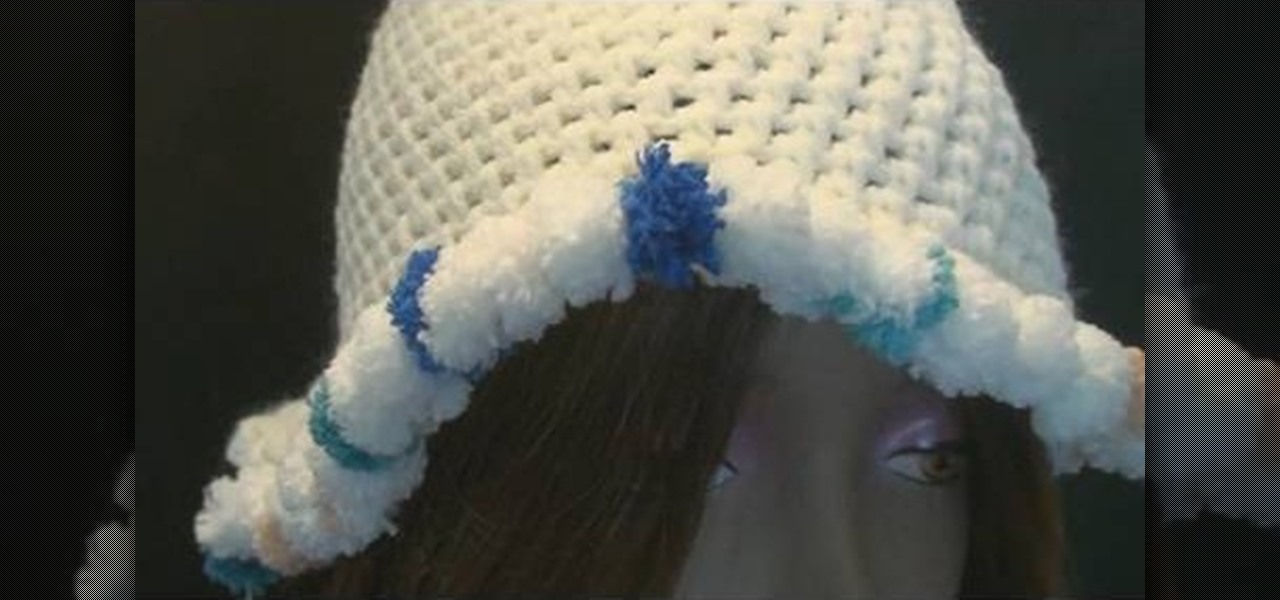
How To: Crochet edging for a cap using Pomp-A-Doodle yarn
Despite what you may believe, making a crochet cap doesn't end at the last knitting row. In fact, crochet caps can be embellished in a number of different ways, including this Pomp-A-Doodle trim.

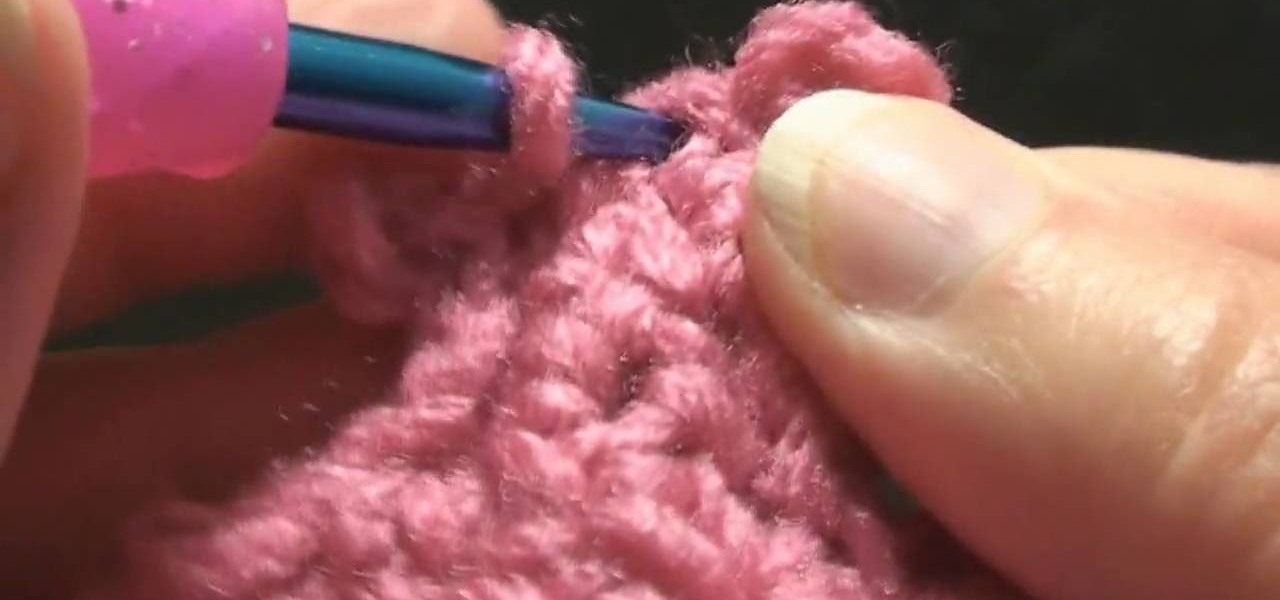
How To: Do a single crochet going through back loops only
In this video, we learn how to do a single crochet going through back loops only. First, do your foundation crochet, then start doing single crochets. With the chain, there is two loops, the back and front. To the back loop, you would go through these with your crochet hook, then pull on the yarn to continue to crochet. Make sure you find the difference between these so you know which loop to go through. Start to do back loop crochets and continue until you reach the end of the line. Make sur...

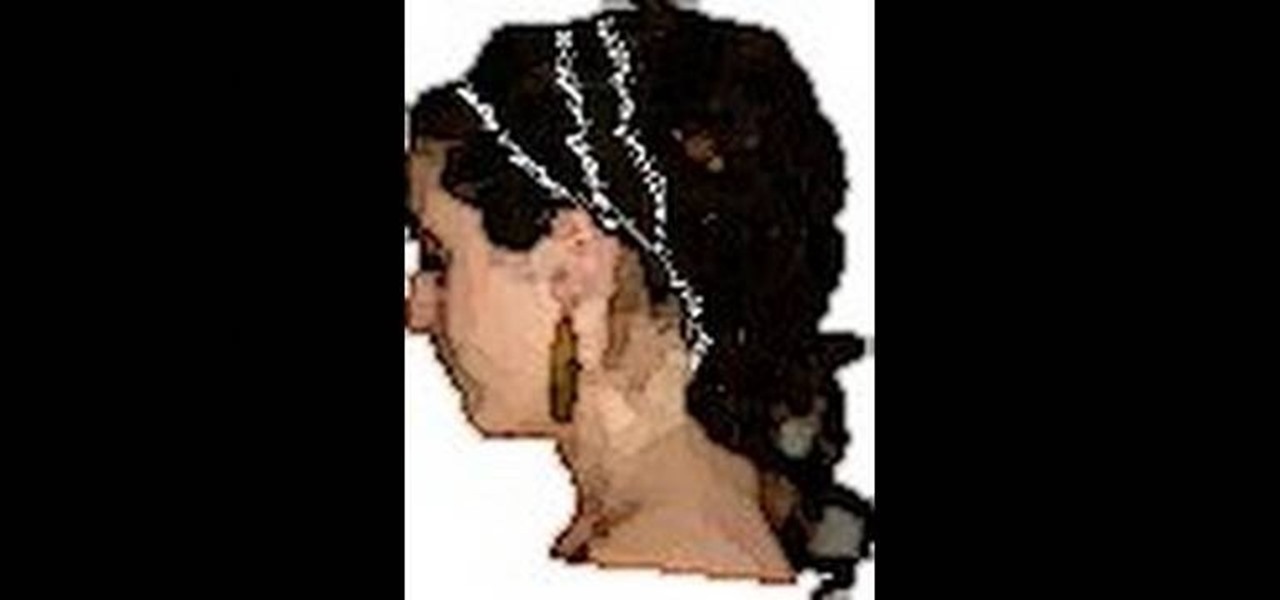
How To: Crochet a headband for winter
In this video, we learn how to crochet a headband for winter. You will need yarn and a size 10 crochet hook to do this. To start, make a slipknot, then hook your needle into it. Start making a simple chain stitch, after you finish this row, stick your needle into the first stitch and make a single crochet all the way down. Continue to do this for several rows, until the headband is thick enough to go around your head the way you want it to fit. When finished, tie it off with a knot at the end...

How To: Use a yarn bowl when knitting
In this tutorial, we learn how to use a yarn bowl when knitting. The side of the bowl will have a slit in it where you can place your yarn while you are working on a project. Use hand wound balls or any other type. First place the yarn in the bowl and then string it through the slit, feeding it through as you do your project. If you have a larger ball, set it on the side and use it the same way. The bowl is glossy and smooth so the ball will roll around and won't get stuck inside. There's als...

How To: Do stockinette stitch
In this video, we learn how to do a stockinette stitch. This is where you knit one row and stitch the row after that. This will curl up if you don't stitch on the side of it as well. When you're on the right side, you will do a knit row making it as large or as small as you want it to be. After this, turn your work around and you will see the wrong side of the work. Now your next row will be purl stitches. Continue to do these until you finish, this is a simple and easy way to learn stitching!
How To: Knit double motifs
In this video, we learn how to knit double motifs. First, make a grid so that you have an even number of stitches all the way around your motif. After this, cast two colors onto the needle, making sure they stay in order. Cast on a total of twenty stitches, which will be just one side of the square for your motif. After this, start to stitch the rows until you reach the middle where your shape will be. Exchange the colors so the pattern in the middle looks how you want it to. After this, bind...
How To: Start crocheting a beanie
In this video, we learn how to start a beanie. During this, you will increase the number of single crochet stitches in a chain. Start off with a chain three, then join them by crocheting a single stitch in the first stitch you made. Do this by pushing the hook through and pulling the yard over, then pulling through. After this, you will have a circle. Start to crochet inside of this by using your circle and inserting the hook into the circle. Crochet around the tail of the circle, then yarn o...
How To: Crochet a triangle-shaped bikini beanie hat
In this video, we learn how to crochet a triangle-shaped bikini beanie hat. First, crochet nine single crochets through a simple loop. After this, join with the beginning single crochet and work a single crochet three times. next, work one single crochets in each of the next two, then three single crochets in the next stitch. Now, go join with the first single crochet. Continue to go around until you have a large circle shape, going down on the sides to make the entire beanie shape. After thi...
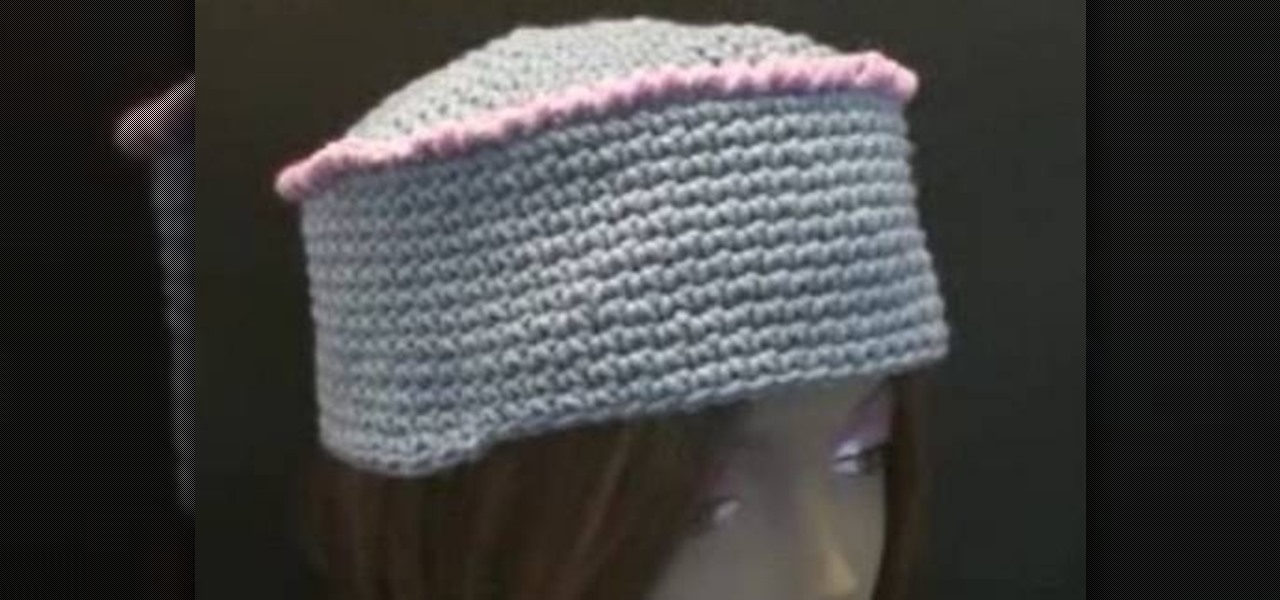
How To: Make a cozy kufi box crochet hat for right handers
Would you like a touch of mod and whimsy all in one? Then this hat is perfect for you because it strikes the perfect balance between the two. Made of cozy, soft blue yarn, embellished with a pretty pink border, and done up in a sort of inverse bowl shape, this is not your everyday baseball cap or beret.
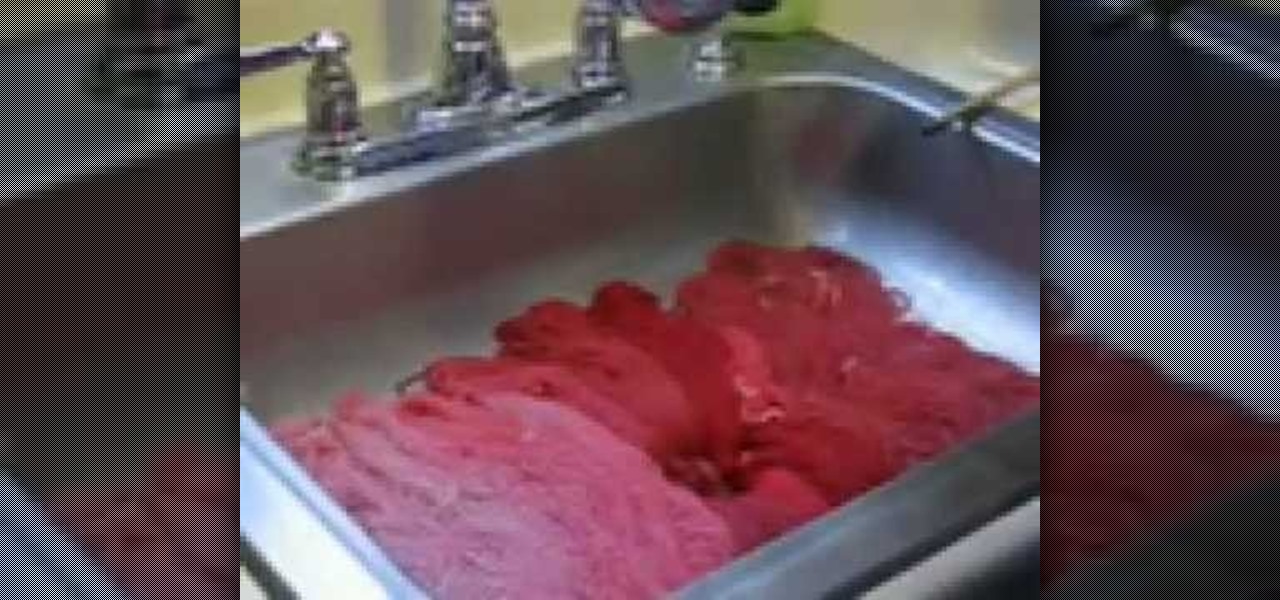
How To: Dye yarn with Kool-Aid
In this video, we learn how to dye yarn with Kool-Aid. First, take two chairs and wrap yarn around them as tight as possible to keep them from getting tangled up. Then, place in a bath of lukewarm water for ten minutes. After this, grab packets of Kool Aid the color you want your yarn to be. Now, take the yarn out of the water and squeeze out any excess water. After this, mix up the Kool Aid and place it into individual jars for each color. Next, place the jars in a large pot of water and the...