

Knitting & Crochet How-Tos


How To: Knit a pretty pillow with large needles and oversized yarns
Here in America, we have this idea that the bigger, the better. Why purchase large fries when you can get them supersized for just $40 extra, for instance, and why not buy the value pack of salsa to save some money when compared to buying individually?
How To: Make a hexagonal illusion cube blanket with Kathy Elkins
Want a knitting project that looks really impressive and complex but is actually much simpler than it appears? Then this hexagonal illusion cube blanket, made with an array of variously colored hexagons. The blanket is made of 100% wool, so it's perfect for covering up and then snuggling with your partner during cold winter nights.
How To: Make a crocheted swirling bag with Kathy Merrick
It's flattering enough to be complemented on your pretty bag. So how awesome would it be to get compliments on a bag you made yourself? Not many people endeavor to craft a homemade bag (for fear of loose ends, things falling out of random holes, etc.), even though it's actually pretty easy.
How To: Knit and easy and cozy wrap sweater (for beginner knitters)
This isn't necessarily a one-size-fits-all sweater, but more like a one-size-fits-"most" sweater, and it's the perfect creation for beginner knitters to try out as they learn the ropes knitting. And this cozy and creative knitted sweater is a great present for anyone! Try it out. Just follow along with the video's step-by-step instructions.
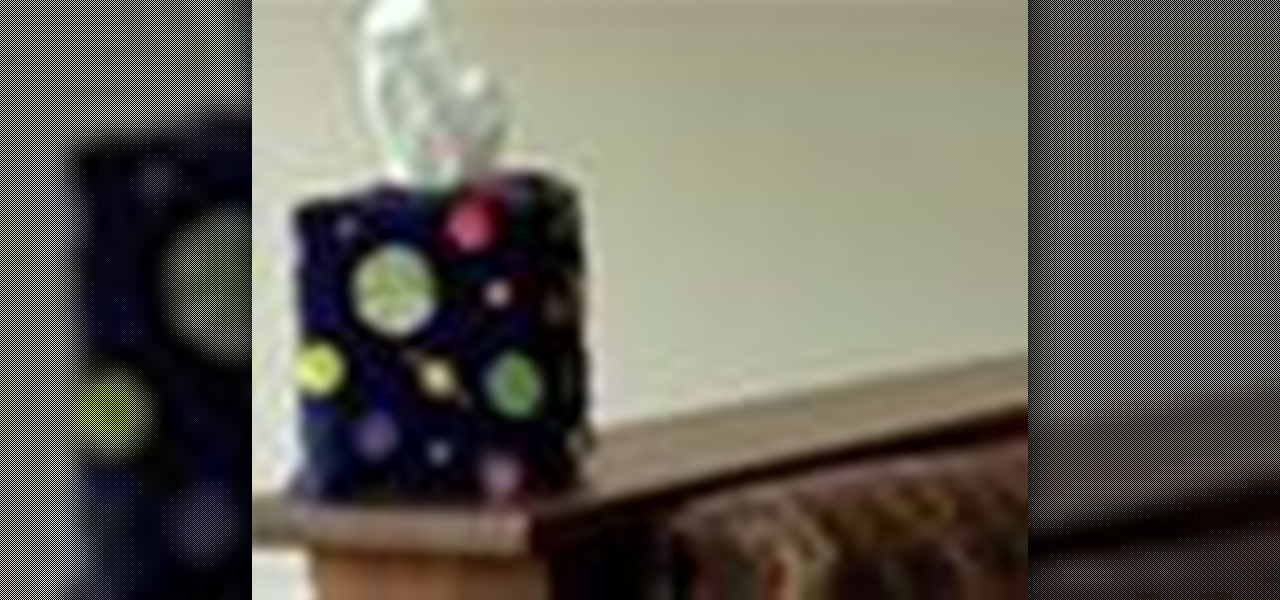
How To: Sew up a tissue box cover
In this video, you'll learn how to sew up a decorative tissue box cover for your standard tissue box. Add some decorative flair to your home. This video will walk you through each step of the way. Pretty soon you'll have a nice and artsy tissue box cover to show off to your family and friends.
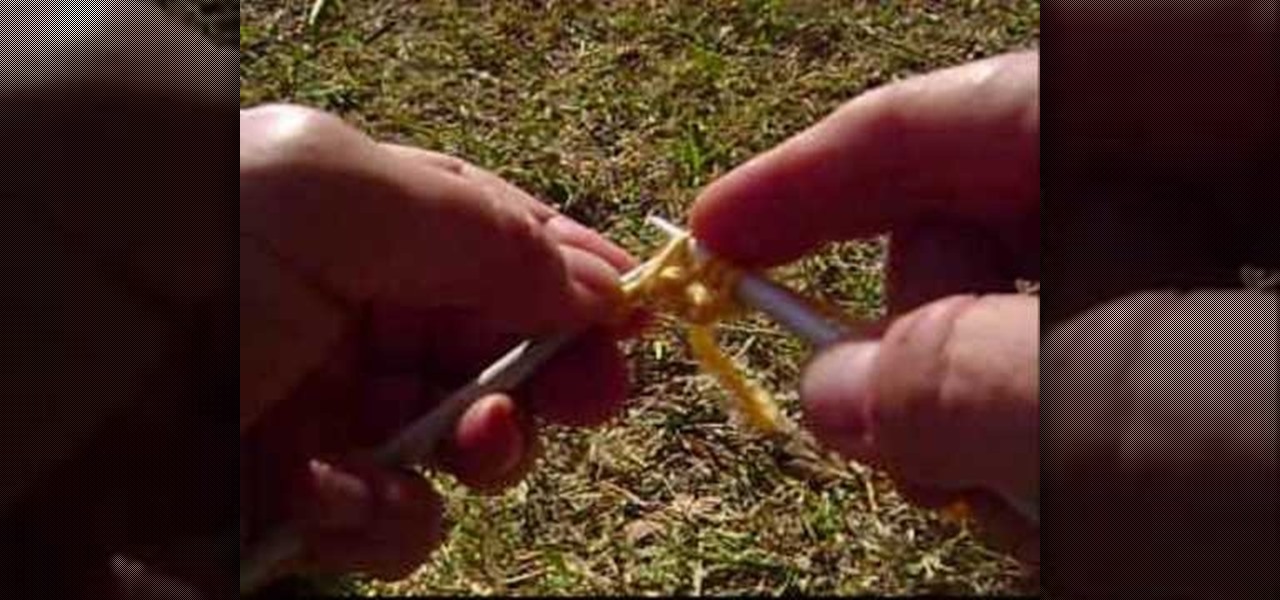
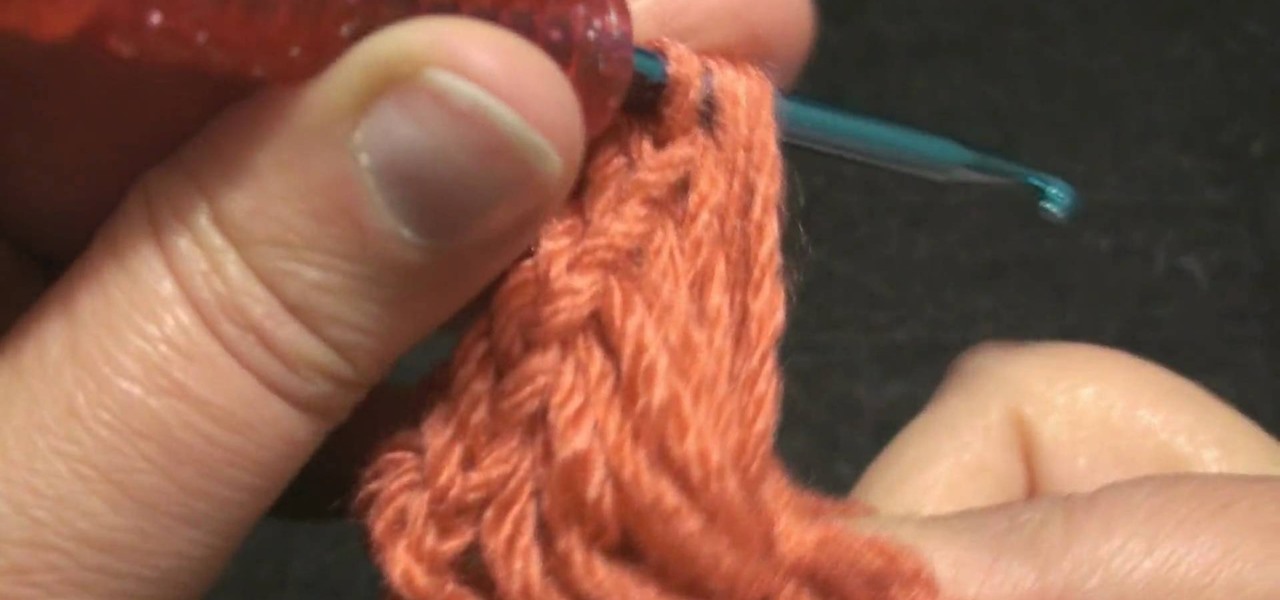
How To: Edge a knitted piece with the crab stitch
In this video, we learn how to edge a knitted piece with a crab stitch. First, attach your yarn to the left edge of your work. After this, work one chain stitch, then go backwards with the hook. Insert it into the fabric and grab the yarn and pull it through the loop. Go around the yarn again and pull it through again. Keep going backwards and grabbing more yarn as you go in reverse. You are working with one loop on the needle while going into the fabric. Make sure you're consistent with the ...

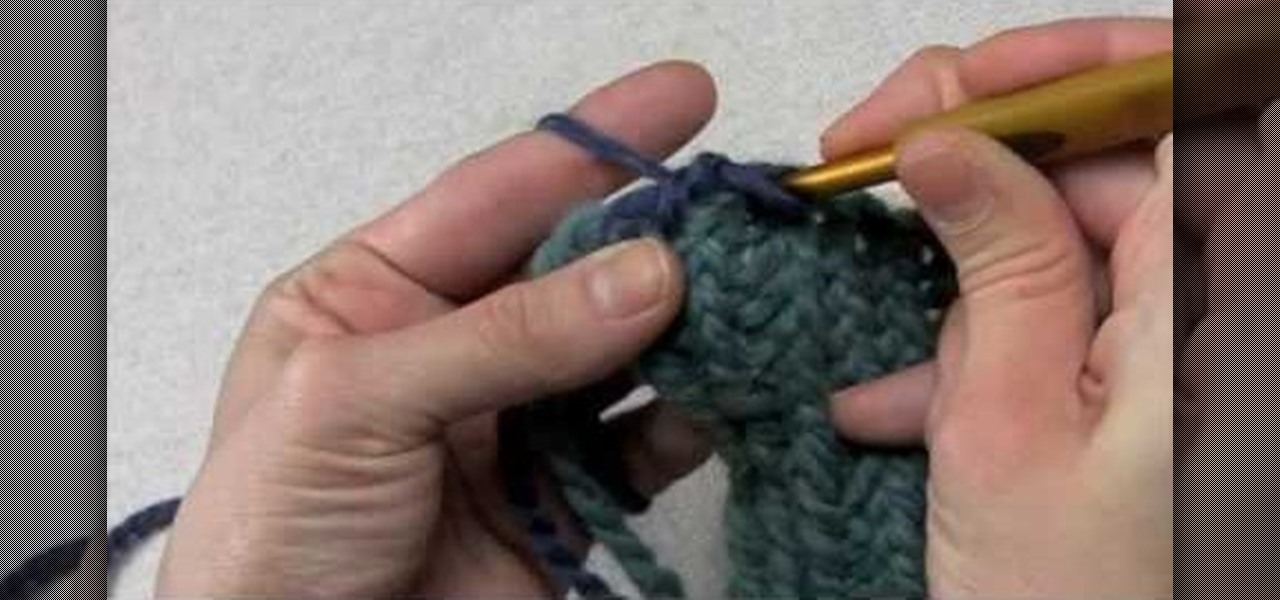
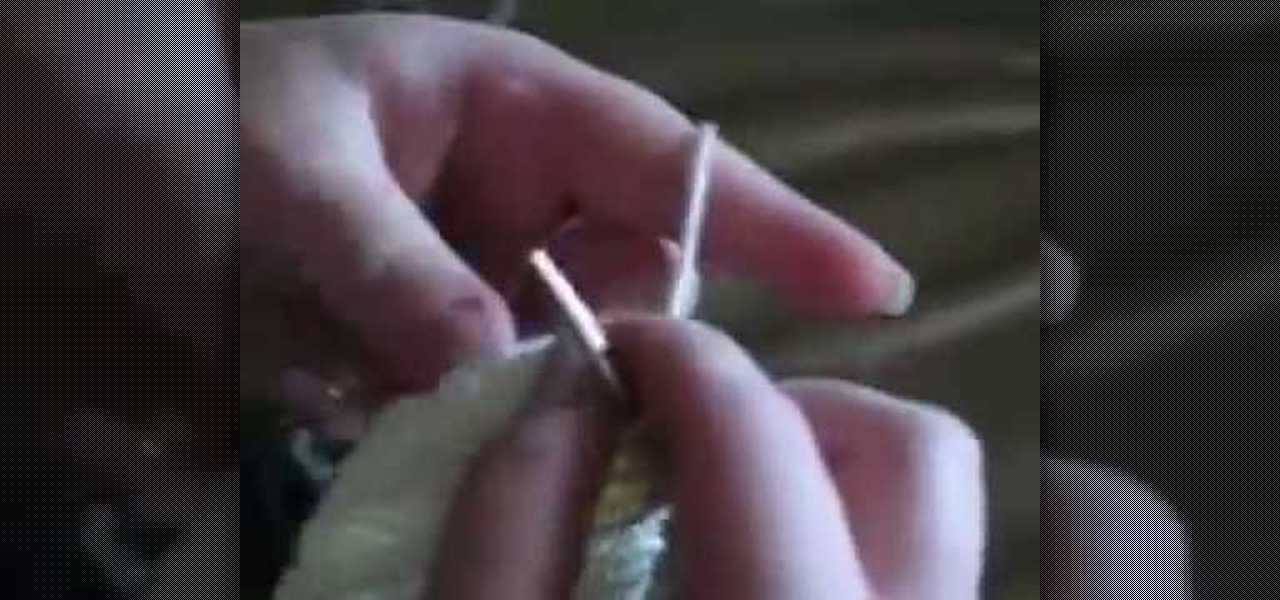
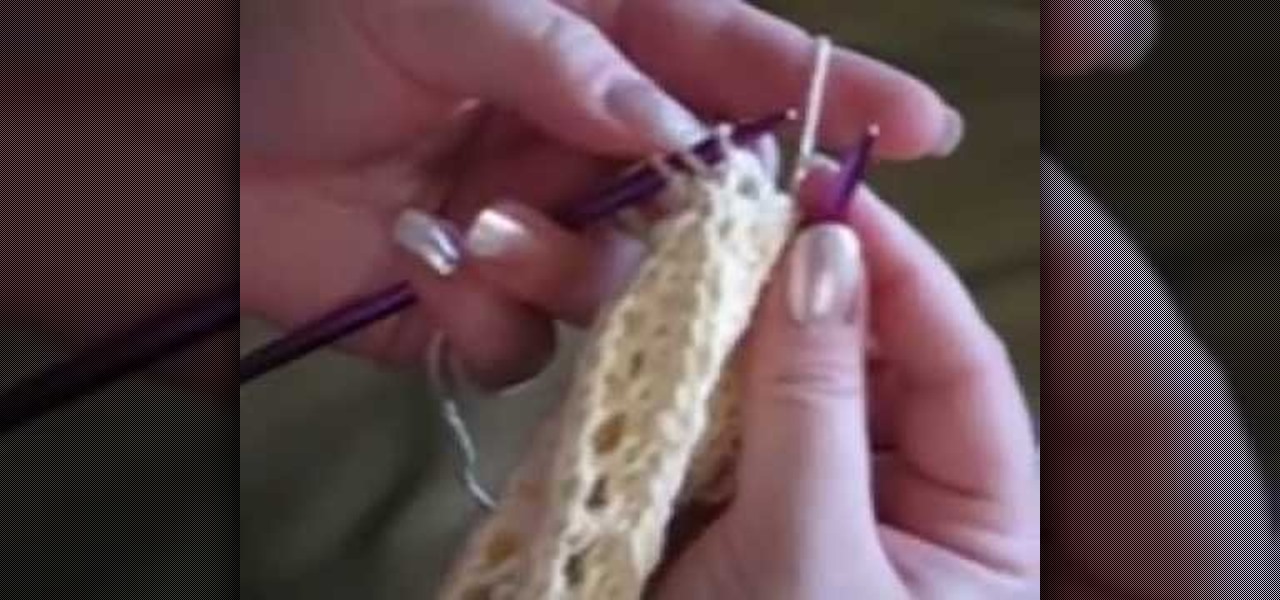
How To: Make knit stitch markers
In this tutorial, we learn how to make knit stitch markers. First, knit to the middle, doing two stitches together, then flip stitch over. When you get to the middle of your item, place your marker on the stitch to keep track of where the loops are at. You can purchase a knit stitch marker from a variety of different craft stores. Use this as often as you'd like, especially if you need help finding the gap when you are creating something. Set this aside when you are finished, and make sure yo...

How To: Fix a dropped stitch in knitting
In this tutorial, we learn how to fix a dropped stitch in knitting. This can be scary if you are a first time knitter, but it can be fixed without having to restart your project and take out all your stitches. First, work back to the place where the stitch first dropped. After this, push the needles back and insert a crochet hook into that dropped stitch. Next, hook the hook into the above stitches and pull it through until it's stitched back up. After this, remove the crochet hook from the y...
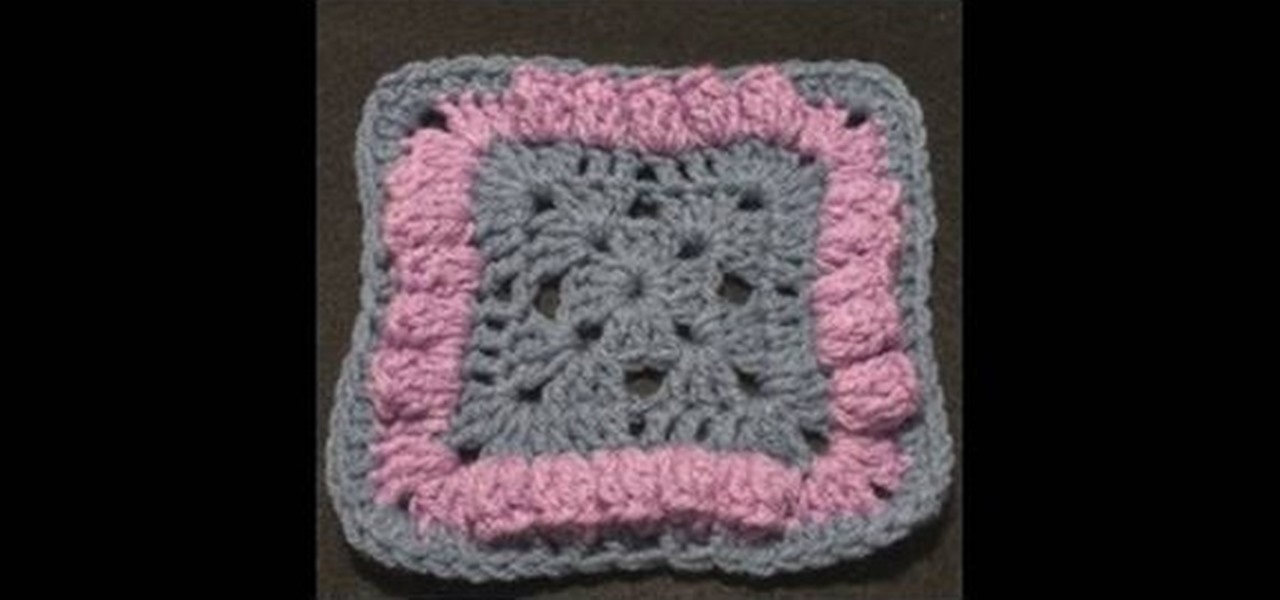
How To: Crochet a bellevue granny square
In this tutorial, we learn how to crochet a Bellevue granny square. Start by adding the slipknot to the crochet hook. Work a chain of four and join with the beginning chain. The first two rounds are going to be a traditional granny square. Chain, pull up, then work three double crochets. Continue doing this for all of them. Chain two, then work three more double crochets. Work the last three double crochets and you will have the base of the granny square complete. Continue doing this, but end...
How To: Crochet left hand radiant butterfly
In this video, we learn how to crochet a left hand radiant butterfly. First, attach the slipknot to the crochet hook and chain four. Next, work four chain four loops. Slip stitch through the center of the chain four, then chain four again. Continue to do this until you finish one side of the butterfly wing. Next, continue on to create the next butterfly wing by chaining seven, then cut off the additional string after you knot it off. Now, use a pipe cleaner to shape it into the shape of the b...

How To: Do a cabled pleat
In this tutorial, we learn how to do a cabled pleat. First, do three stitches onto the cable need and hold them in front. Then, slide the needles together and start knitting on each needle with the separate needle. Continue to do this until you are done. You will then put four stitches on the cable needle and then hold them parallel again. You will continue doing this process until you have reached the end of your row. This may take you a few times to accomplish, but practice can help. If the...

How To: Take out knitted stitches
In this tutorial, we learn how to take out knitted stitches. First, pull your yarn tight and insert your two crochet needles. Take the left needle and go into the stitch, then pull it out with the right needle. Continue to do this for each stitch, until you have removed each one you don't want. Although you may think you won't need to do this, it's very important to learn just in case you make a mistake while creating something. make sure to work slowly, so you don't end up removing more stit...
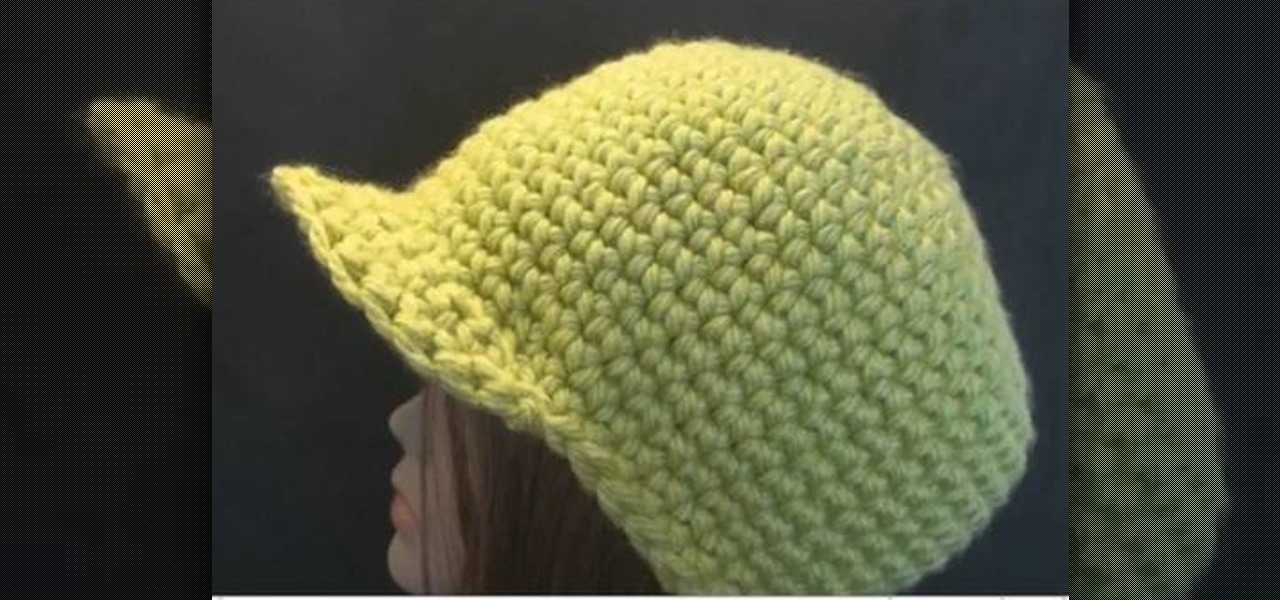
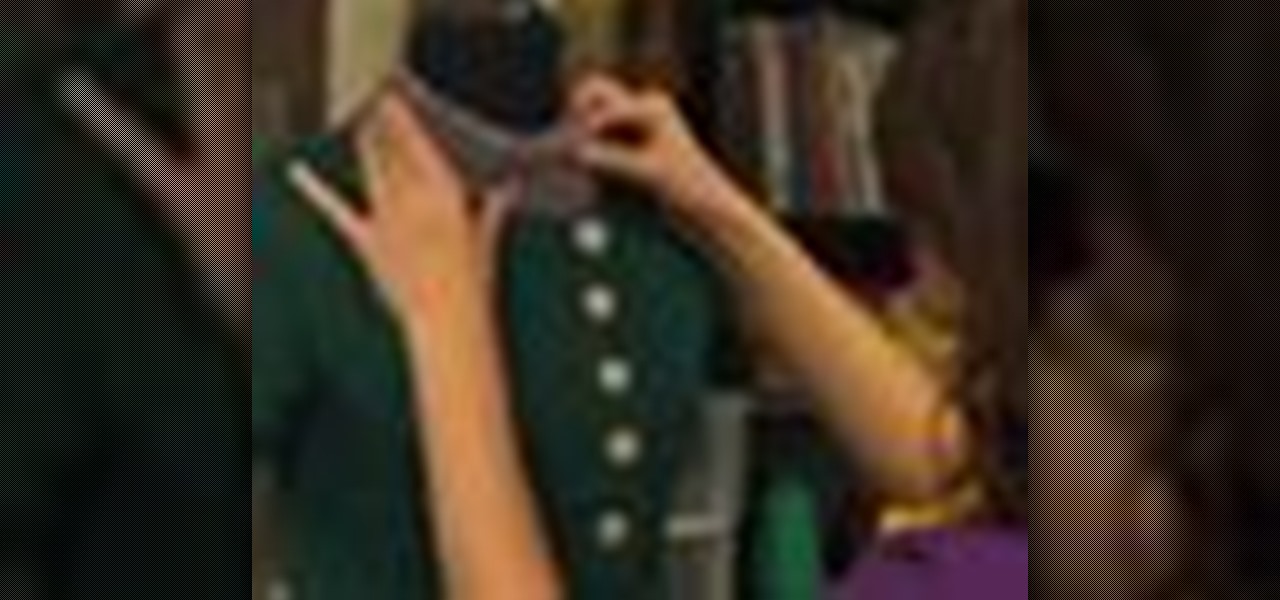
How To: Knit a chunky yarn newsboy cap for left handers
You usually don't hear the words "skater" and "crochet" in the same sentence, but these two rather opposite realms collide within this crochet tutorial. You've probably already seen newsboy caps before: lots of skaters don it because it's cool and also very comfortable. But did you know these skater hats can be made with yarn?
How To: Knit a daisy stitch
In this tutorial, we learn how to knit a daisy stitch. First, you will knit all the stitches for one row. On the next row, you will purl three together making yarn over, then purling the same three stitches together again. Having looser stitches in the first row will help with the ease of knitting the second and third row. Continue to do this process until you are finished. Knowledge on how to do these stitches is extremely important. If you don't know how to knit before this, you won't know ...
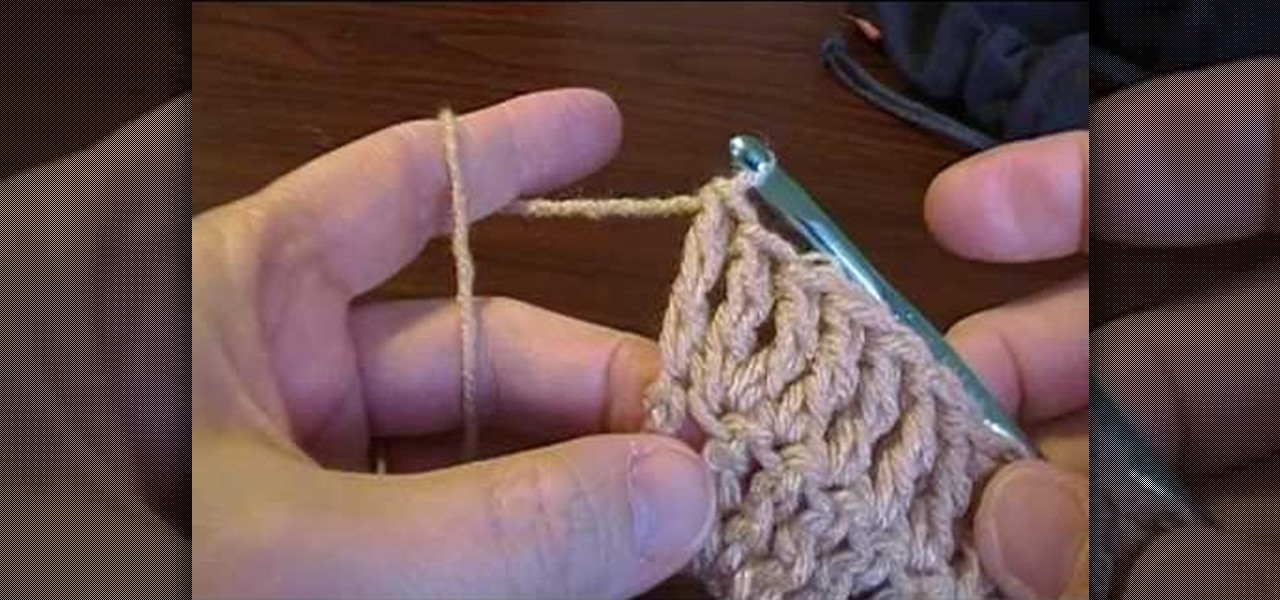
How To: Increase and decrease treble or triple crochet
In this video, we learn how to increase and decrease treble or triple crochet. First, make a chain of ten, then do a few yarn overs. Treble into the next stitch by placing the yarn over your hook twice and drawing out the loop. Draw through two three times, then your treble will be completed. Triple crochet is another name for treble, in case you are already familiar with that term. These stitches will take longer because you have to do more stitches to make the chains complete. To increase, ...
How To: Make a diagonal lace stitch pattern
In this tutorial, we learn how to make a diagonal lace stitch pattern. Begin by knitting the first and second stitch. Then, make a yarn over and then slip slip knit, which will create a left slanting decrease. Now, you take your left needle and slip it through these two stitches and knit them together. Then, knit one and continue to repeat the yarn over and slip slip knit until you are at the end of the row. Continue doing this for 6 rows, and when you are done you will have a diagonal lace s...
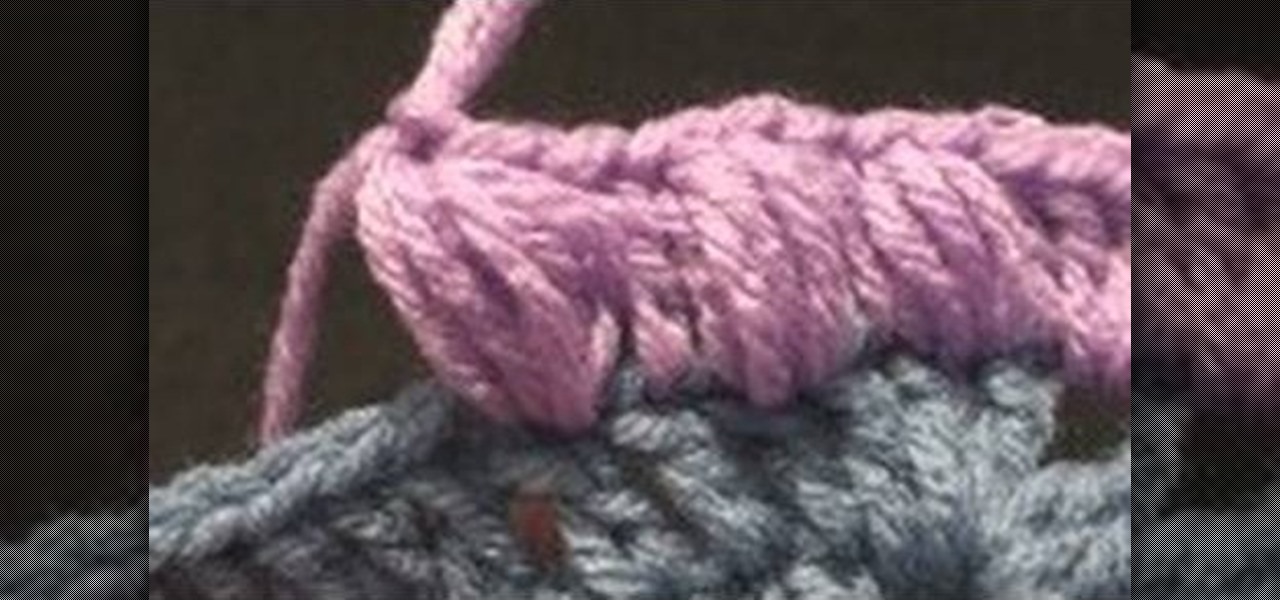
How To: Crochet an extra puffy puff stitch
In this tutorial, we learn how to crochet an extra puffy puff stitch. First, insert the hook and pull it through. Pull all the loops up even so the hook is horizontal, then wrap the yarn over and enter the hook through the top of the stitch. Pull the loop up and then wrap the yarn over, pull it through, then pull the loop up so the hook is horizontal with your work. Continue to repeat this process until you get to the end of the row. Place chains on the top to secure them, then you will have ...
How To: Increase Using the Purl Stitch in Knitting
In this video, we learn how to increase using the purl stitch in knitting. First, take the thread in between two stitches and twist it onto the left needle, then purl it off. Do this over and over again, then purling the next stitch. This is the easiest way to do this, and the most efficient in saving time. When you reach the end of a row, start a new row and do the same process over again. When you are finished, you will have a beautiful type of knitting that wasn't hard to learn and is easy...
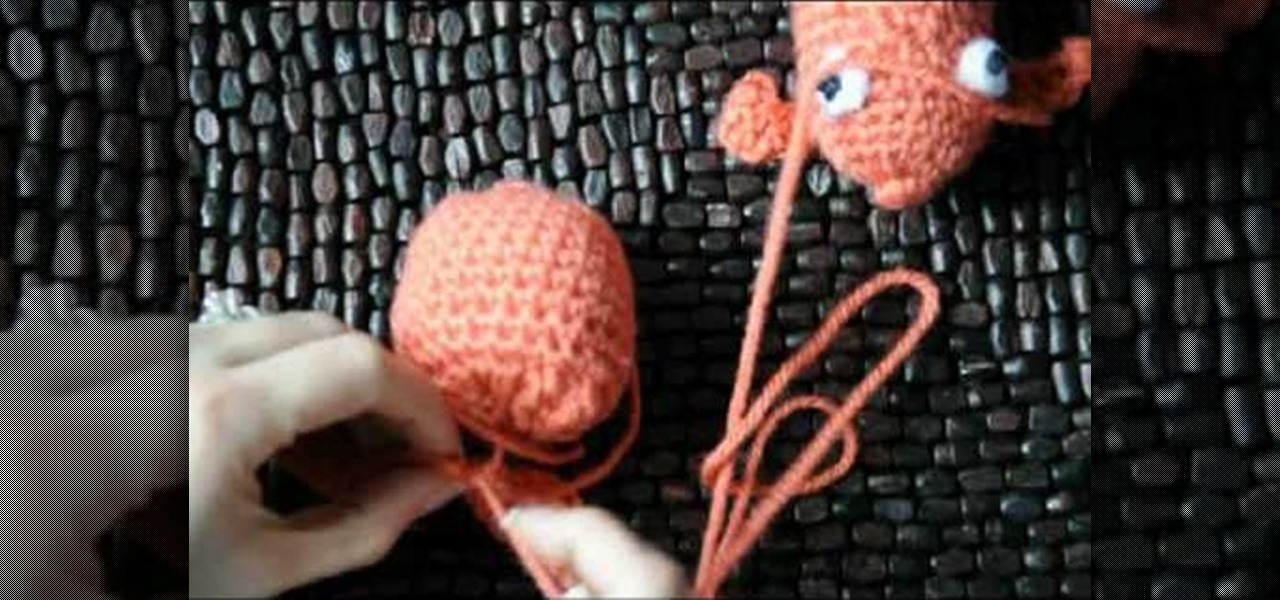
How To: Crochet a goldfish style dog or cat chew toy
In this tutorial, we learn how to crochet a goldfish style dog or cat chew toy. Start with a slipknot, then chain 2. Now, do 5 single crochets next to the hook. Then, do a slip stitch to finish and then knot. Now, make the eyeball by using a yarn needle and black yarn. Go through the center of the eye, then wrap the yarn around the needle and go back into the center. This will give you a knot that you can cut off when done. Repeat this once more to make the other eye. Now, using your yarn nee...

How To: Crochet a left hand radiant flower
In this tutorial, we learn how to crochet a left hand radiant flower. First, make a slipknot, then chain four. After this, join the beginning chain and then chain three. Slip stitch through the center of the chain, then chain three and slip stitch again. Do this over again five times on your row. After this, continue making stitches until you have the shape of a flower. Add on green yarn to the back of the flower, by doing the same type of stitch. Work as many stitches as you would like. The ...
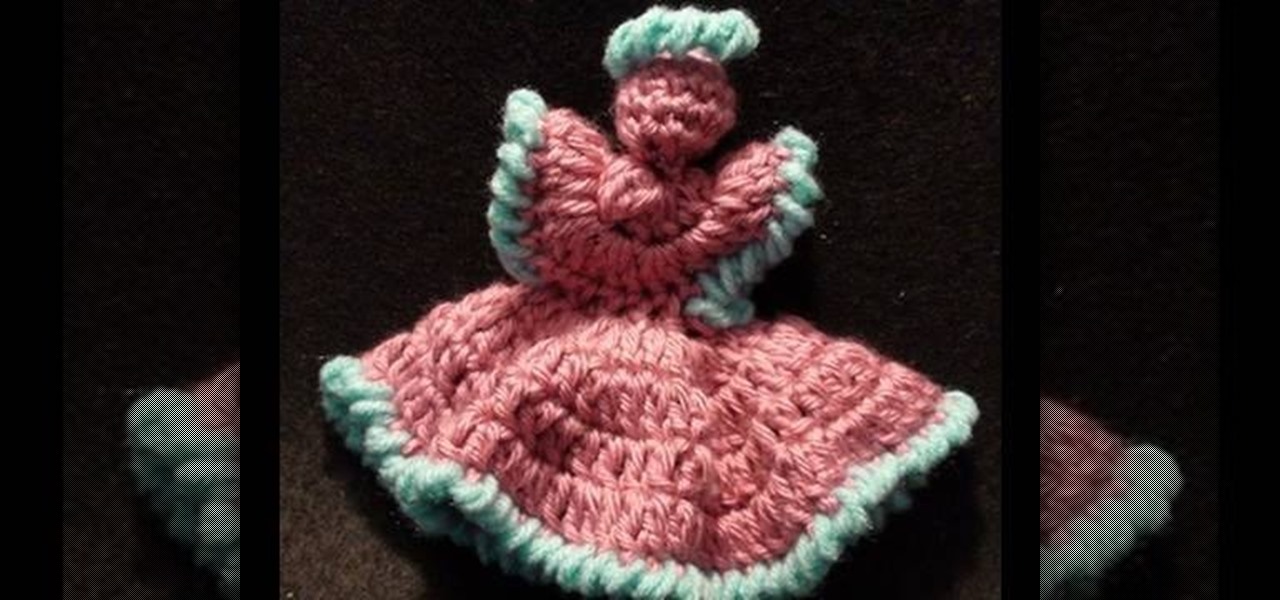
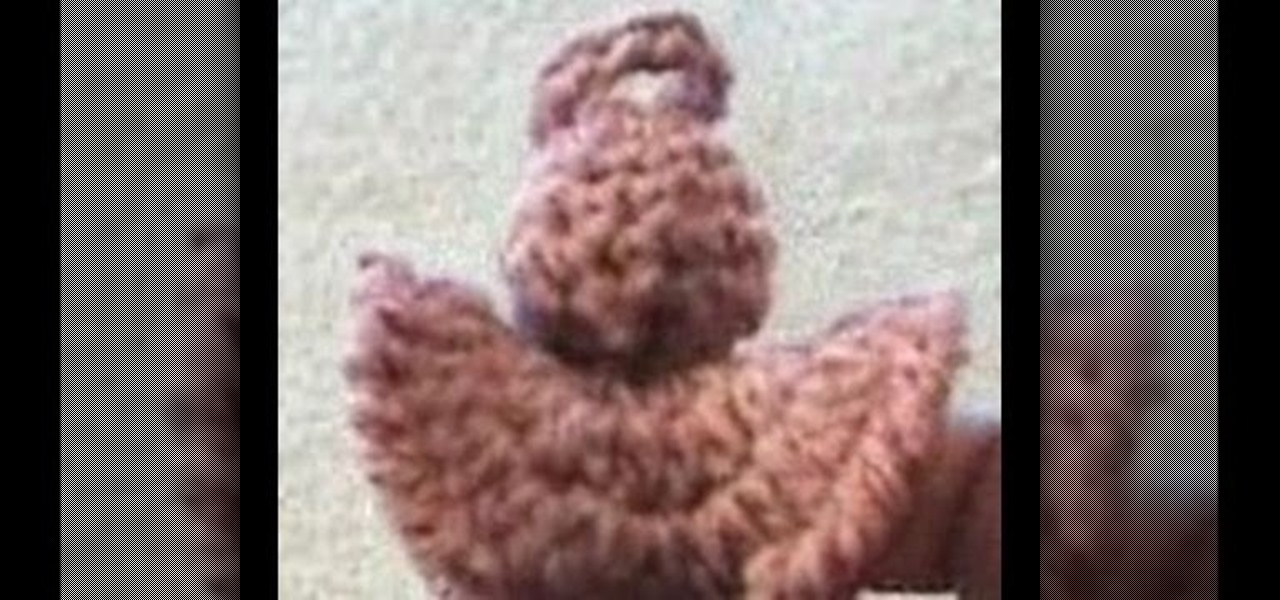
How To: Crochet a left handed dainty angel
In this video, we learn how to crochet a left handed dainty angel. Use a size H 5mm crochet hook. Add a slipknot to the crochet hook, then chain three, join, and chain one. After this, work 6 single crochet through the center of the chain three. Next, join two single crochet for each stitch around for a total of 12.Now do 12 more single crochets and work an additional round with the single crochet. Continue this process until you finish, then create the dress by doing the same type of crochet...
How To: Knit a left handed scarf pattern
In this tutorial, we learn how to knit a left handed scarf patter. To begin, you will cast on 20. After this, you will knit for two rows, then on the next row you will knit once and yarn off twice, then end with a knit one. Repeat this again fro the next row, or how every many rows you want your scarf to be long. When you are done and have the desired length, you will bind off and your scarf will be finished! If you wish, you can change colors between rows to get a colorful effect, or just us...

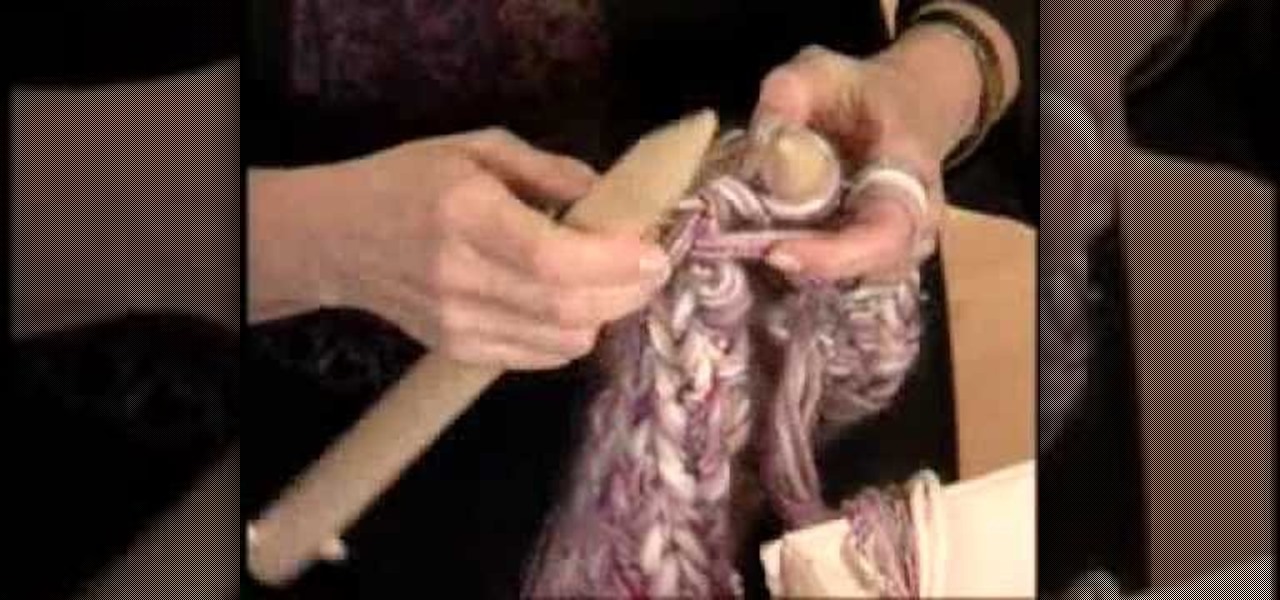
How To: Stitch a complex filet crochet and read graphs
How To Filet Crochet - Part 1 We we first heard the term "filet crochet," an image popped up in our minds of chicken fillets from McDonald's, only made from crochet yarn (yes, we were also quite hungry at the time). Well, we'll have to save the yarn foods for another time, because a filet crochet is actually a very complex, difficult crocheting pattern that requires a graph in order to get the stitches right.

How To: Make a chunky yarn crochet newsboy cap
You usually don't hear the words "skater" and "crochet" in the same sentence, but these two rather opposite realms collide within this crochet tutorial. You've probably already seen newsboy caps before: lots of skaters don it because it's cool and also very comfortable. But did you know these skater hats can be made with yarn?
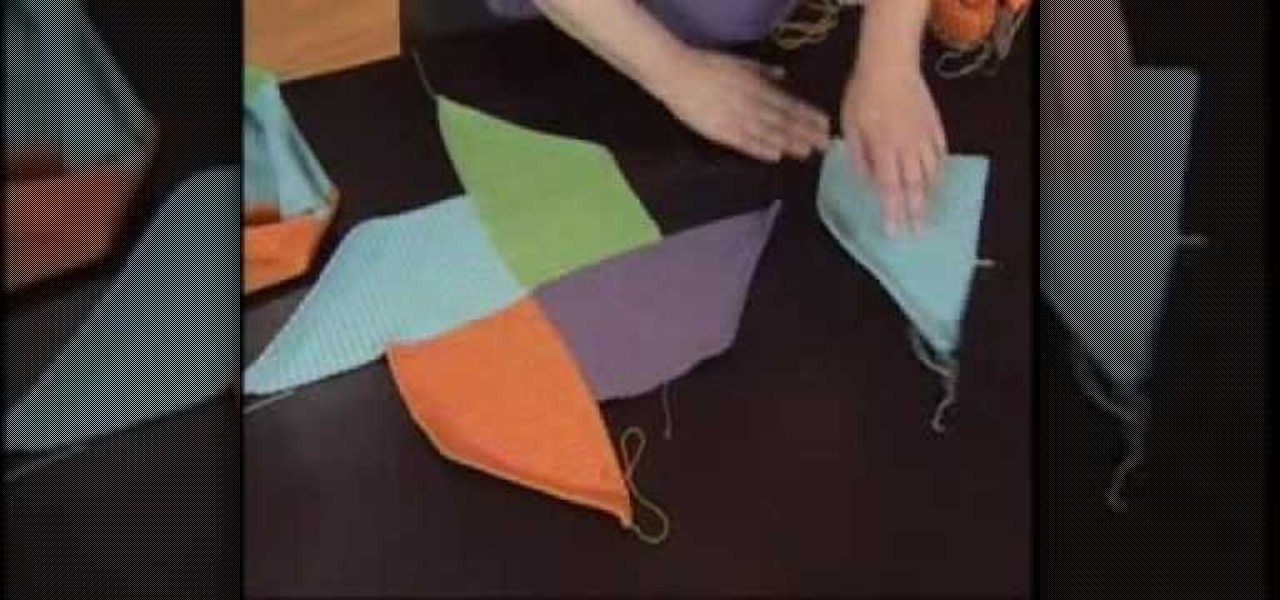
How To: Make an extra large crochet fan for right handers
Fanning things out always seems to add a flirty, attractive effect: fanned out, lush eyelashes make cartoon cayotes' hearts leap out of their chests and their eyes get as big as saucers, while fanned out, cut pieces of paper make pretty snowflakes.
How To: Make an extra large crochet fan for left handers
Fanning things out always seems to add a flirty, attractive effect: fanned out, lush eyelashes make cartoon cayotes' hearts leap out of their chests and their eyes get as big as saucers, while fanned out, cut pieces of paper make pretty snowflakes.

How To: Left-hand crochet a Valentine puffy heart
In this tutorial, we learn how to make a left-hand crochet Valentine's puffy heart. You will need: a size G crochet hook and yarn. Start by working a chain of three then forming a loop and doing a chain one. After this, work 9 single crochets through the center of the ring. Next, do 18 single crochets making the first stitch on a single crochet. Keep doing 18 single crochets around the circle you have created. After this, make one single crochet for a total of 18. The edges will start to curl...
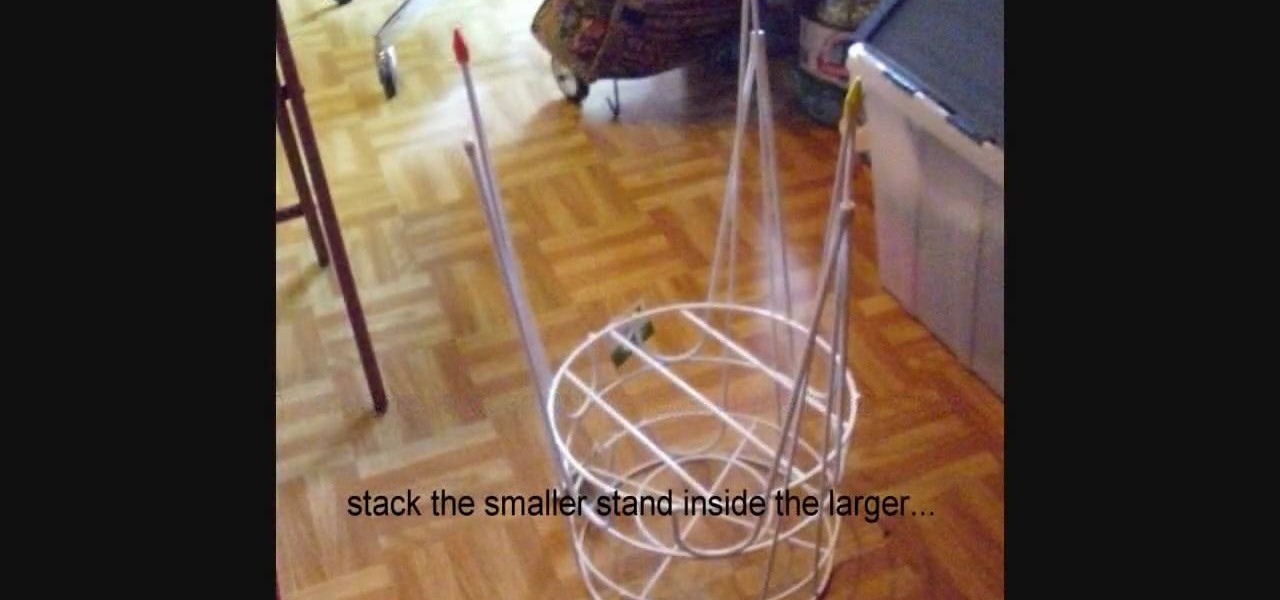
How To: Create a sturdy stand for an Innovations Knitter
Knitting when you're sitting at your table is usually a cinch, since you can rest your elbows on the table when you're tired and also place your knitting needles and yarns closeby within reach. But staying in one place all day long can be boring.
How To: Make a crochet granny square blanket
Babies, unsurprisingly, are extremely fragile their first few months on earth, and so need the best care necessary to help adjust them to living outside their mother's snug womb. While mothers can't always be at their babies' sides to cuddle and reassure them (though most babies cry out loud and often for such pleasures), they can make comfy, warm blankets that serve as good substitutes.
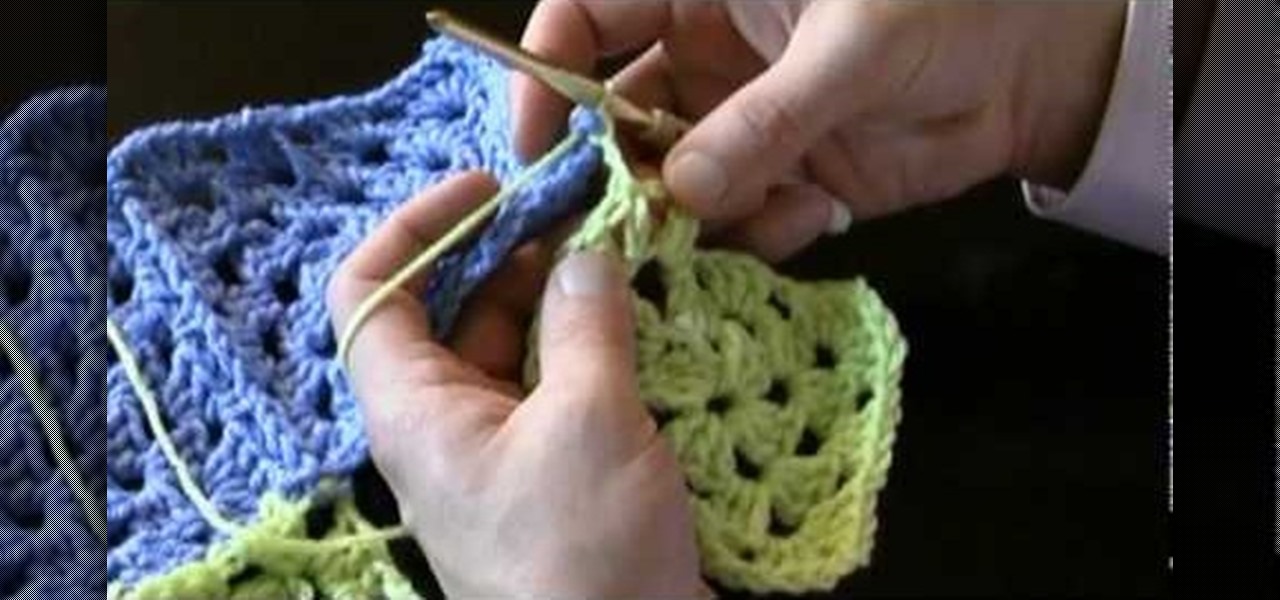
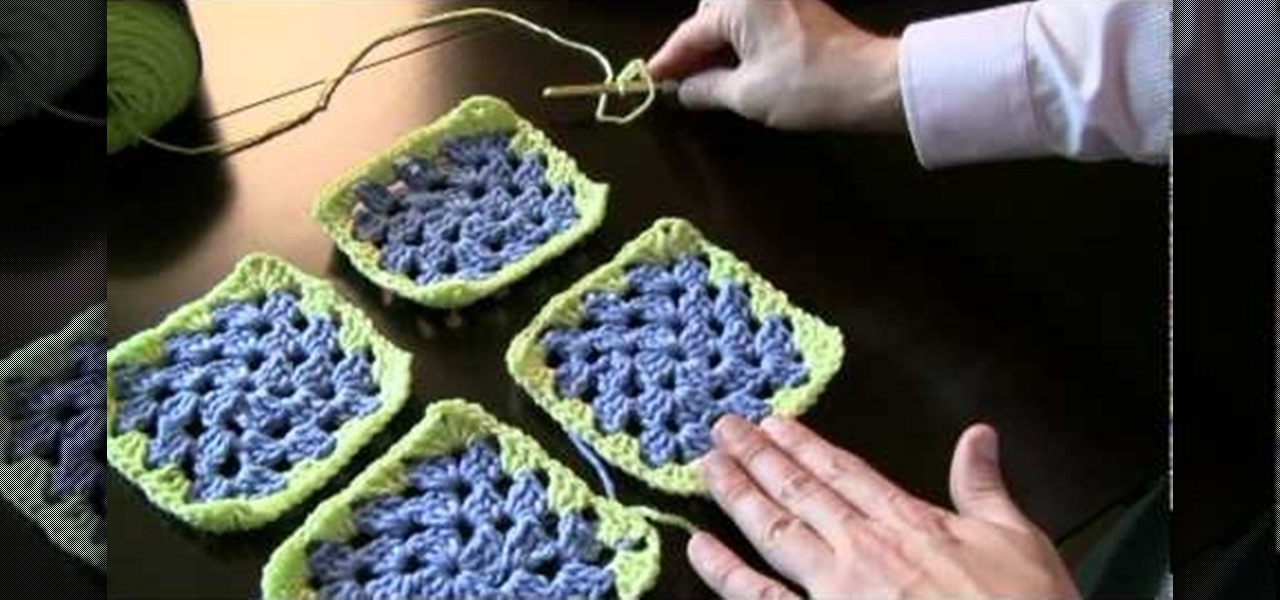
How To: Attach granny squares with a continuous join method
While we think granny squares are pretty and whimsical pieces on their own, there really is power in numbers when you combine a bunch together into a massive quilt or afghan. But how exactly do you go from granny squares to a full-on quilt?
How To: Attach granny squares together with a single crochet
Granny squares are lovely on their own and make funny indie chic coasters, but sometimes it's nice to attach a bunch together and create a quilt or afghan. So after you've crocheted your pretty granny squares, take a look at this tutorial to learn how to attach granny squares together using a single crochet.
How To: Knit a lace crochet pattern
Lace yarn is not a very pretentious crafting medium. Lightweight and delicate, lace yarn is used by knitters to crochet lace patterns for scarves, berets, and other accessories. But turning lace yarn into said final creation is no easy walk in the park.

How To: Crochet a scarf using a left hand galaxy stitch
A galaxy stitch comes from a galaxy far, far away, where on a planet not unlike ours sentient beings with six arms instead of two got tired of our simple and dull-minded single and double crochets and decided to invent a star-shaped crochet that allowed at least two of their arms to remain active at any one time.
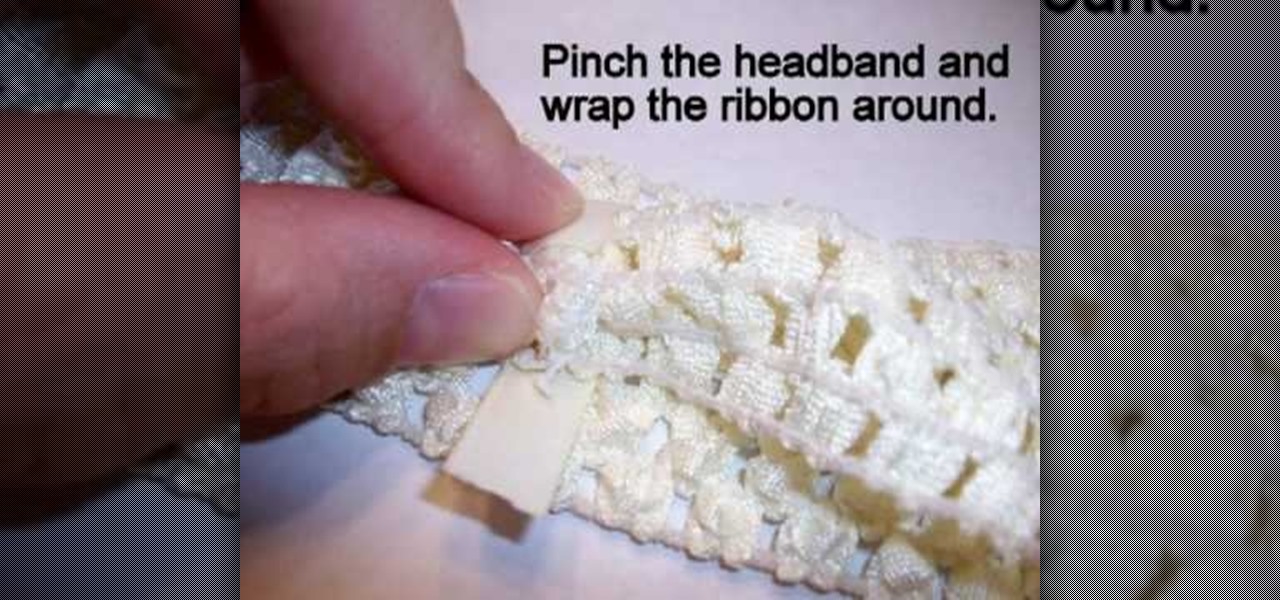
How To: Make an interchangeable crochet headband
In this video tutorial, viewers learn how to make an interchangeable headband. The materials required for this project are a crochet headband or hat and 1-3/4" of 3/8" ribbon. Begin by turning the headband inside out. Then place a small dot of hot glue onto the center of the seam and glue on end of the ribbon to the seam. Now pinch the headband and wrap the ribbon around and place a dot of glue on the ribbon. This video will benefit those viewers who enjoy making crafts and homemade accessori...
How To: Knit a scarf pattern
In this tutorial, we learn how to knit a scarf pattern. To do this, you will first start by casting on the first 20 rows. After this, you will knit for 2 rows, then you will do a k1 knit followed by a k1 at the end. Repeat this until your scarf is the desired length. Bind the knit off at the end and cut off any additional string that is left over. When finished, you will have a beautiful scarf that will keep you warm and was made by you! If you aren't familiar with knitting, you will have to ...

How To: Do a stockinette stitch (St st) when knitting
In this free video knitting lesson, you'll see how to create stockinette stitch (St st) shown in the English or throwing style. For more information, including complete, step-by-step instructions, and to get started using stockinette stitches in your own knitting projects, watch this helpful video guide.
How To: Bind off on the purl side continental-style
This free video knitting lesson presents an overview of how to bind off when your pattern calls for you to bind off on the purl side of your work, shown in the continental style. For more information, including detailed, step-by-step instructions, and to get started binding off on the purl side when knitting yourself, watch this helpful video guide.

How To: Do a continental yarn over or YO knitwise or purlwise
Looking to add to your repertory of stitches? This video shows how to make a yarn over (YO) both knitwise and purlwise in the continental style. For more information, including complete, step-by-step instructions, and to get started utilizing this stitch in your own knitting projects, watch this free video knitting lesson.
How To: Do a continental-style stretchy bind-off when knitting
Need some help figuring out how to create a stretchy bind-off when knitting? In this tutorial, you'll learn how to perform do a stretchy bind-off in a continental or European style. For more information, including complete, step-by-step instructions, and to get started utilizing this bind-off in your own knitting projects, watch this free video knitting lesson.
How To: Perform a continental-style Norwegian purl stitch
This clip demonstrates the continental-style Norwegian purl stitch, an alternative method for purling that may save some knitters time when they are working ribbing. For more information, including complete, step-by-step instructions, and to get started utilizing this decrease in your own knitting projects, watch this free video knitting lesson.