

Everything Else


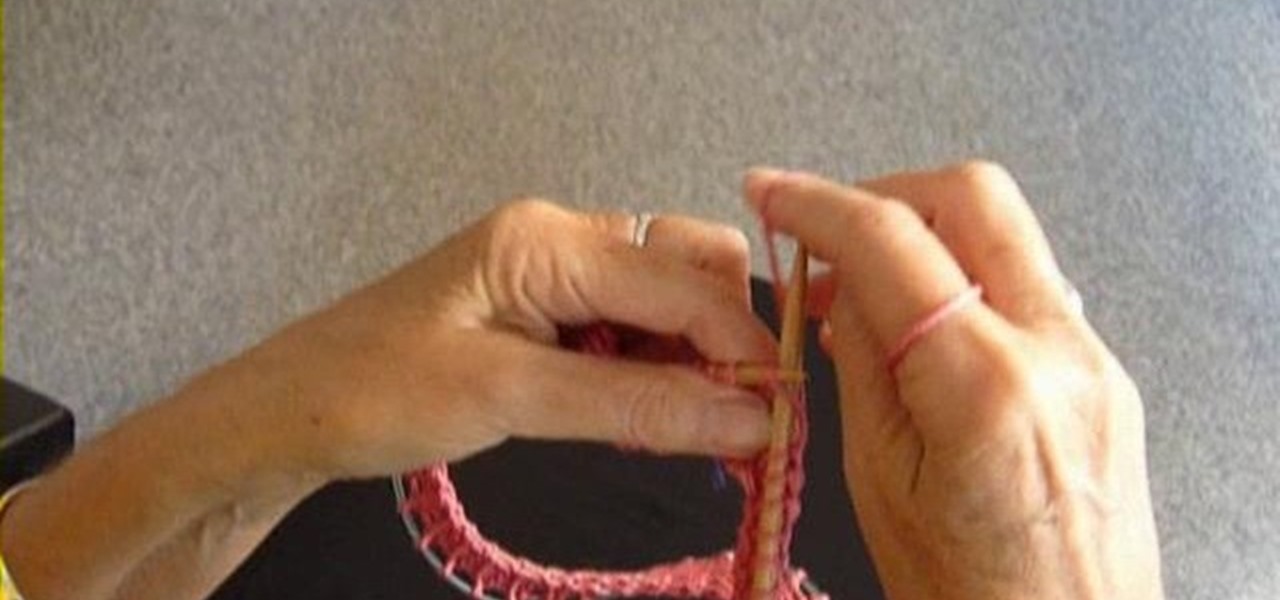
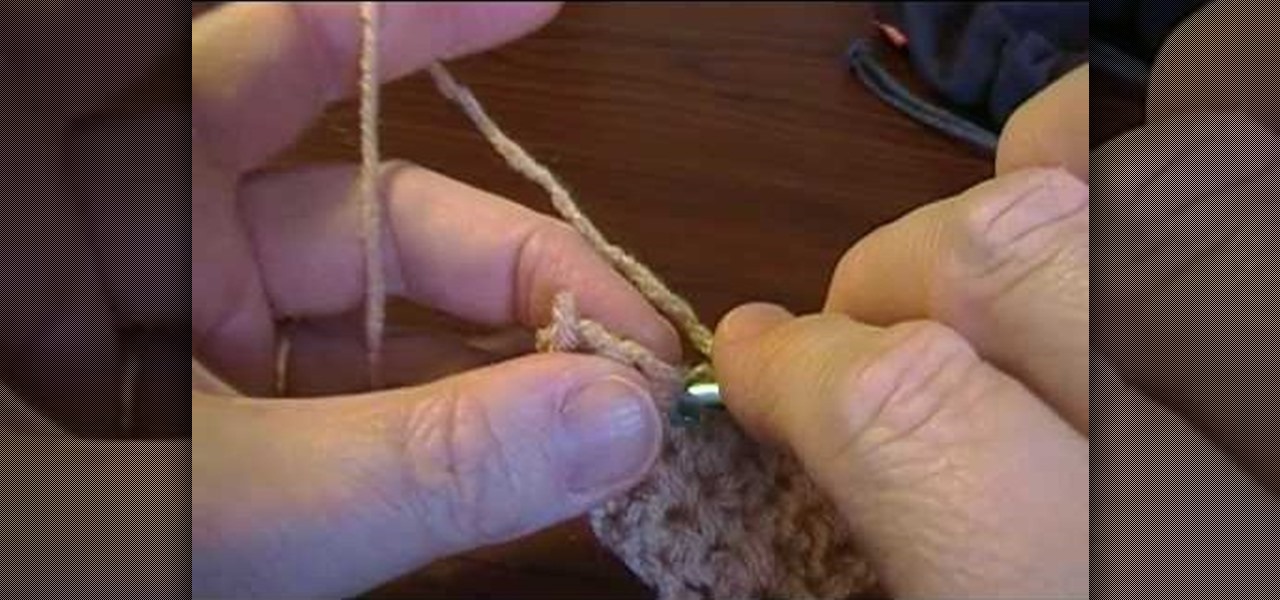
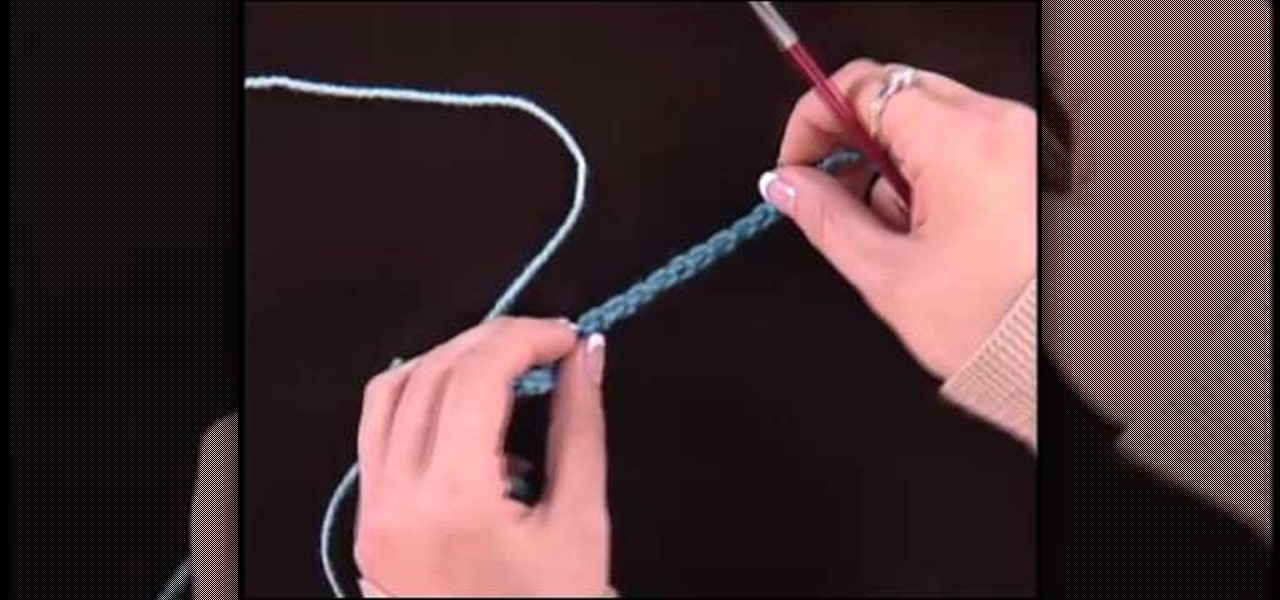
How To: Join a crochet round
In this video, we learn how to join a crochet round. First, you will join with the beginning double crochet. Now, go to the beginning and join with a single crochet doing a slip stitch. Then, slip stitch between to join the two together. Go in with a slip stitch in the beginning, then double crochet. After this, join again with a slip stitch, then go to the beginning of the whole crochet again. By following these steps, you will learn how to join a crochet round in no time! Practice with seve...
How To: Knit a stitch through the back loop
This video shows how to knit a stitch through the back loop. It's the way you can twist your knit and tight the fabric by stitching through the back loop.
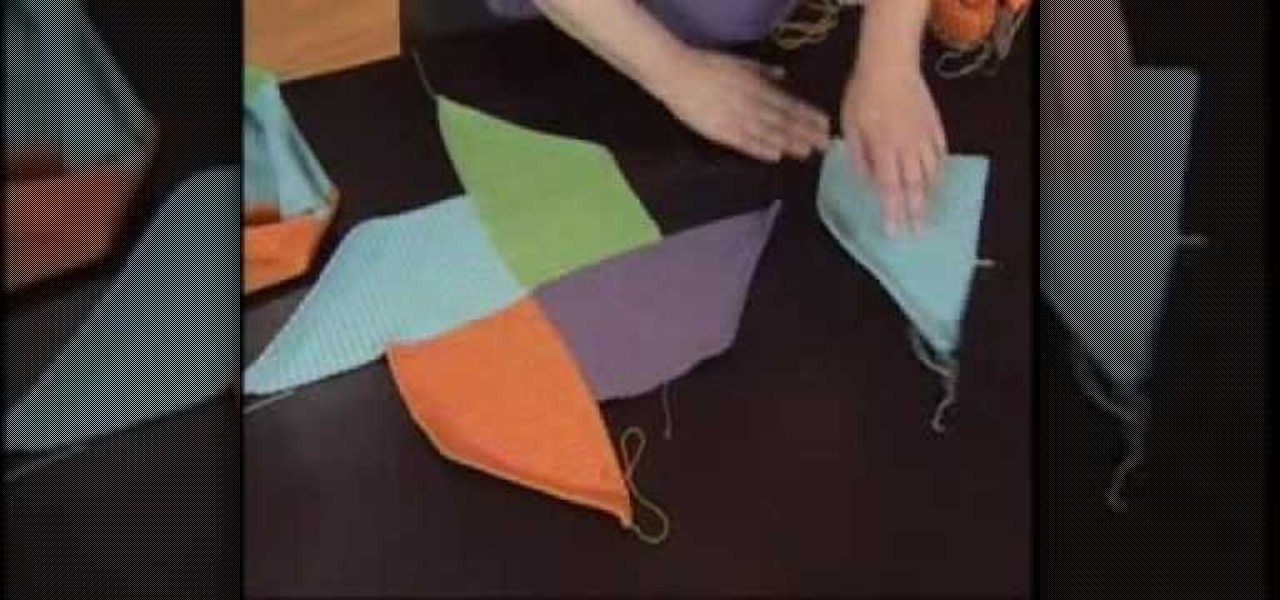
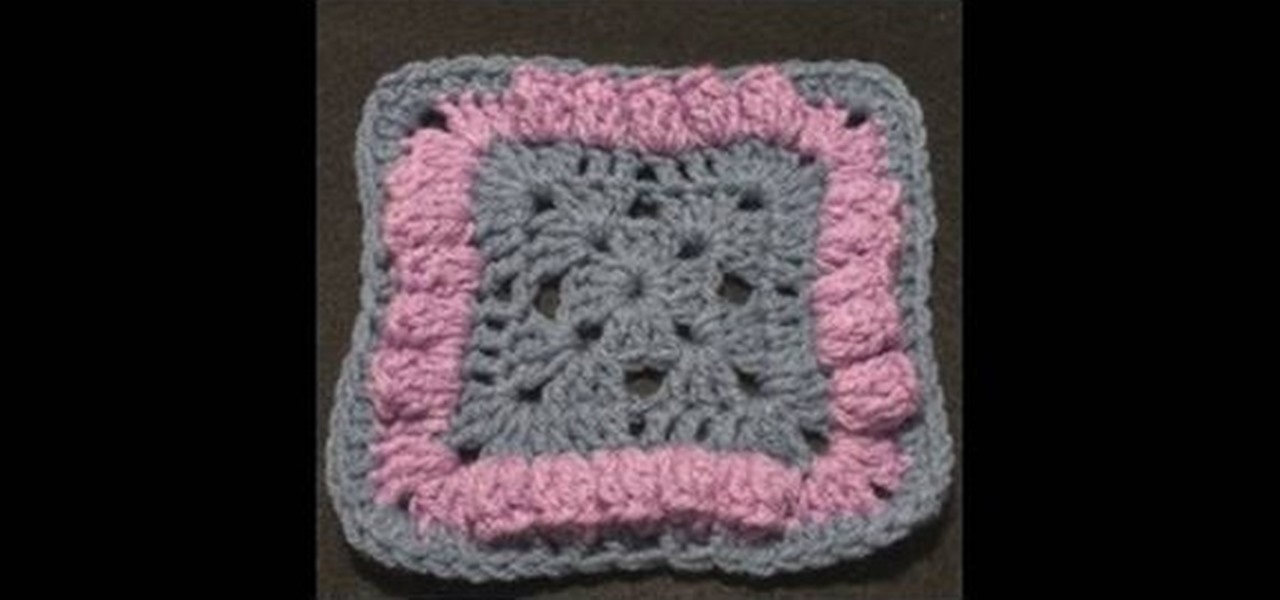
How To: Make a crochet diamond-embellished granny square for left handers
There definitely exists logic behind calling these fuzzy crochet squares granny squares. After all, the cozy texture and delicate, retro motif do remind us of Sundays visiting Grandma while she served us tea and sandwiches and she knitted the day away.
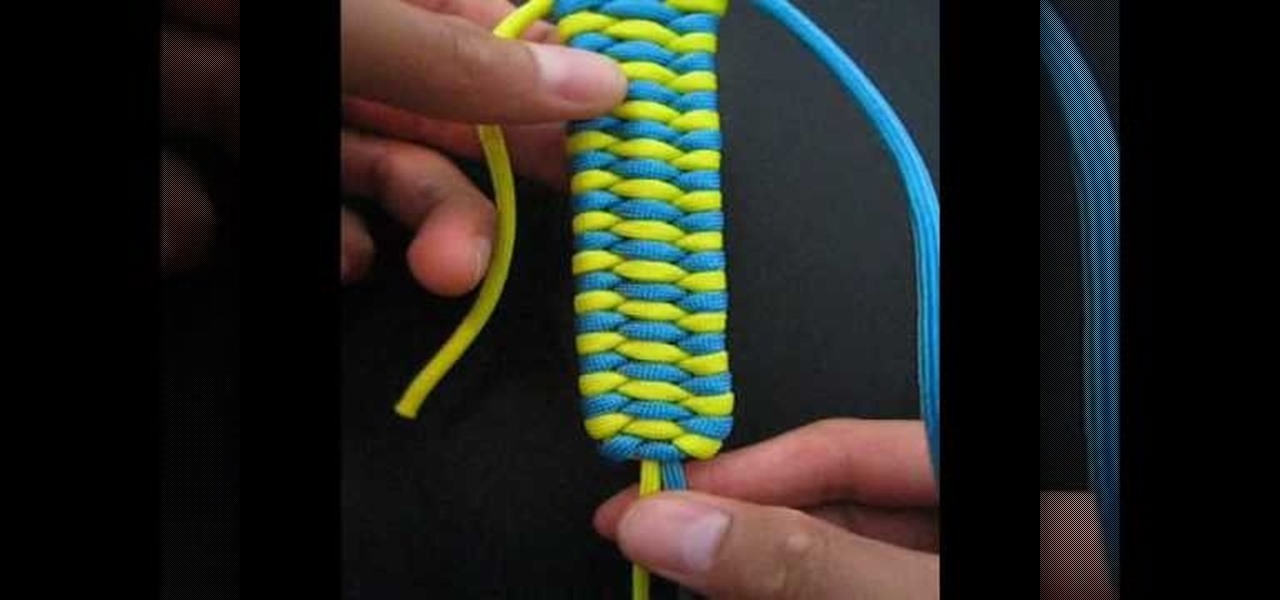
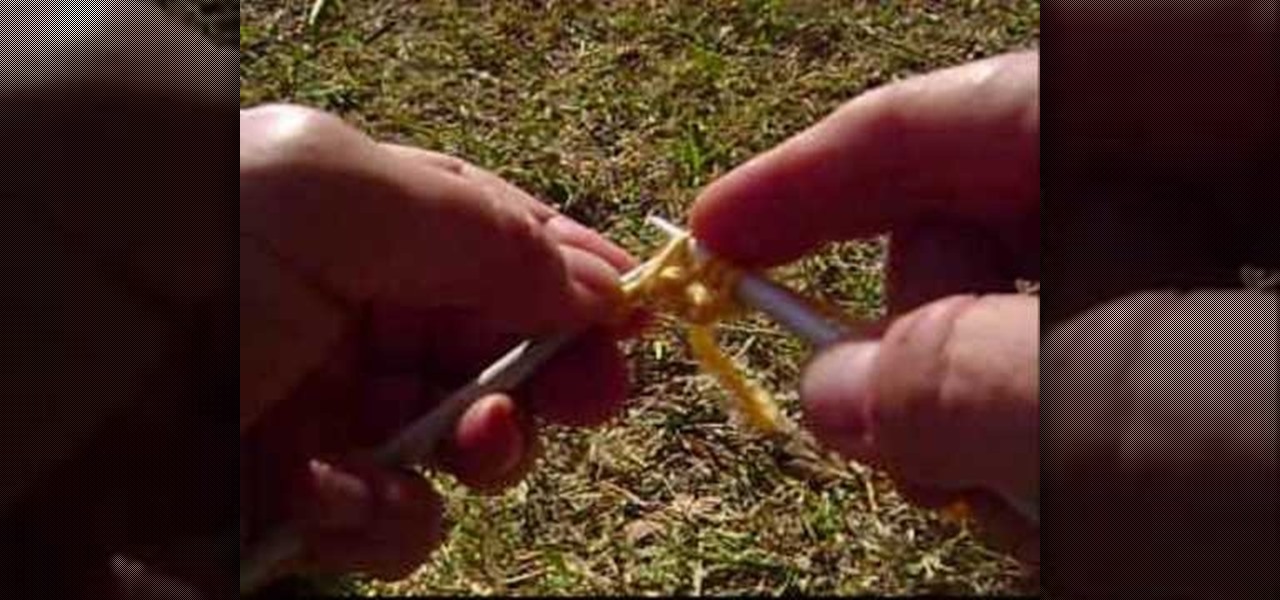
How To: Make a triobite bar using two different colors of nylon thread
Who knew that knots could be their very own art form? According to TIAT, or Tying It All Together, knots can be sexy, sensual, and beautiful. And we're totally getting that by the looks of this pretty triobite bar.

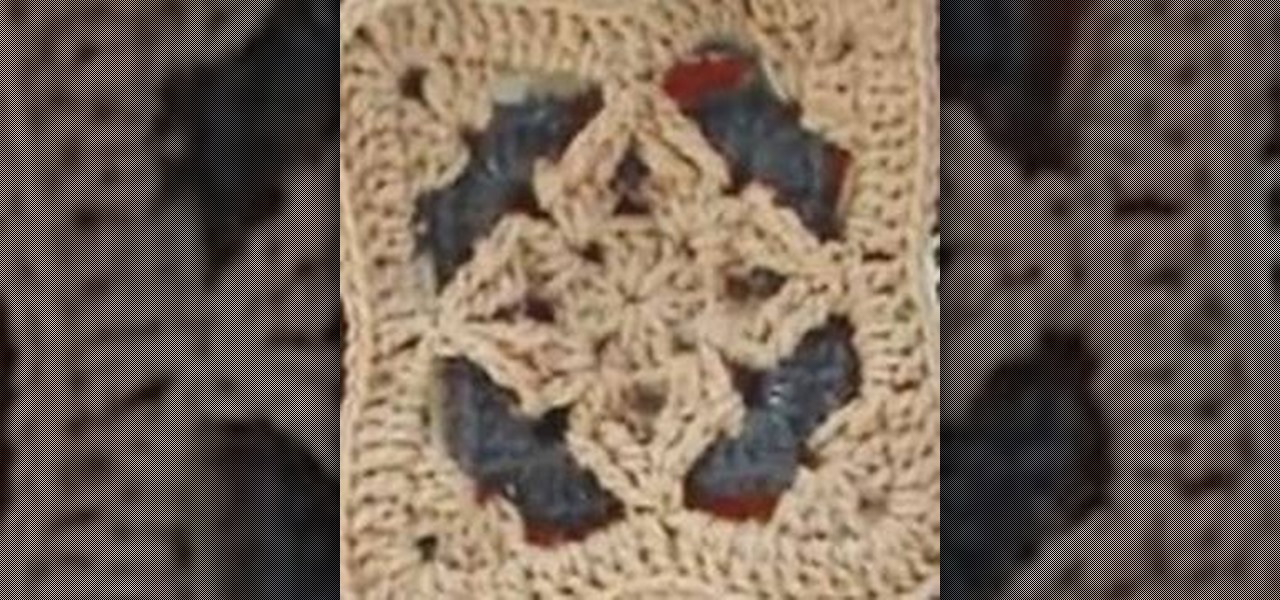
How To: Make a cozy crochet diamond granny square
There definitely exists logic behind calling these fuzzy crochet squares granny squares. After all, the cozy texture and delicate, retro motif do remind us of Sundays visiting Grandma while she served us tea and sandwiches and she knitted the day away.

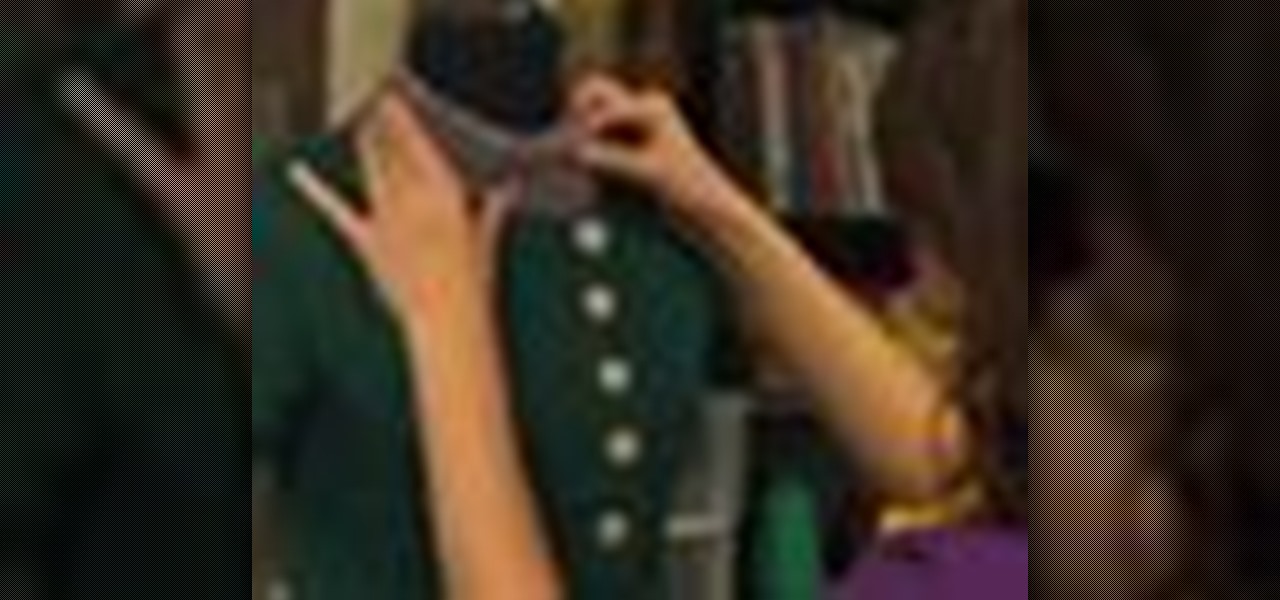
How To: Make a fashionable crochet hoop earring for left handers
Think all crochet projects produce yuppy granny squares and are only done by elderly cat ladies who live alone? Think again. With stars like Amanda Seyfried proclaiming that knitting is their favorite hobby, crocheting/knitting is once again becoming hot stuff, kind of like designer cupcakes or pilates.

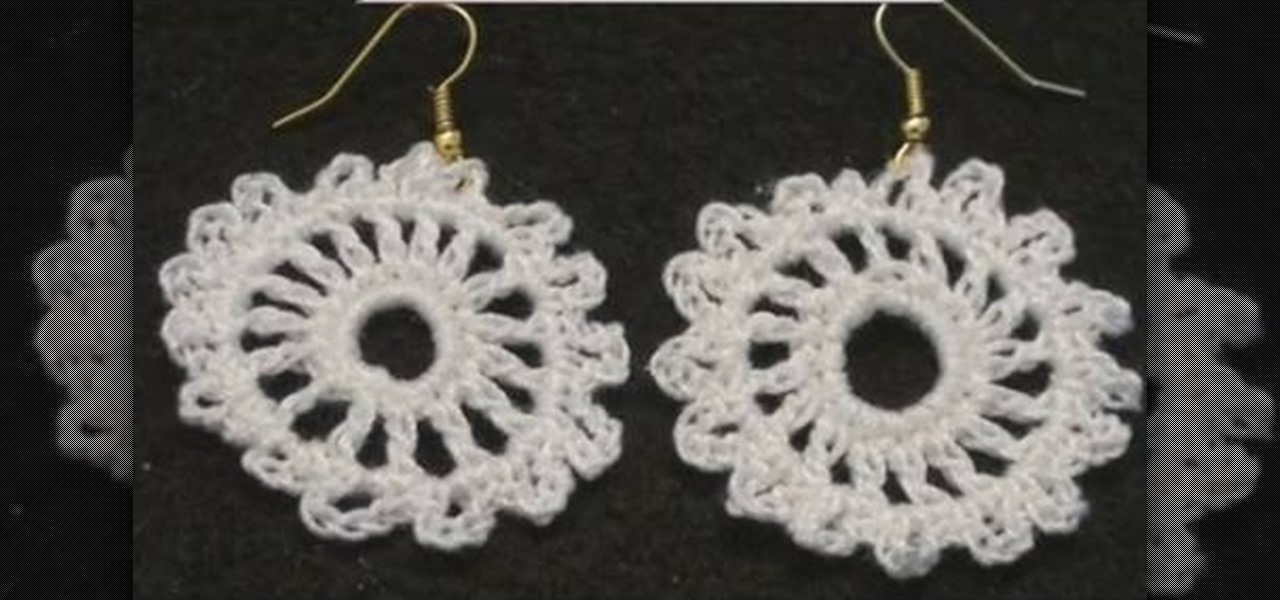
How To: Make a scalloped crochet hoop earring
Think all crochet projects produce yuppy granny squares and are only done by elderly cat ladies who live alone? Think again. With stars like Amanda Seyfried proclaiming that knitting is their favorite hobby, crocheting/knitting is once again becoming hot stuff, kind of like designer cupcakes or pilates.

How To: Knit a crochet granny square for left handers using circle to square four
Granny squares are not in fact grannies who can't think out of the box. When it comes to knitting, granny squares is the terminology for a knit square project. They're termed "granny" because they look old and soft and remind us of that stereotypical image of an old cat lady knitting in her home.
How To: Do a knitting bind off (cast off) on a circular needle
Bind offs, also known as cast offs, are useful tools in knitting because they help you keep one area of your project in place while you work on another section. Bind offs on a circular needle work basically in the same way that bind offs work with straight needles.

How To: Knit a simple garter stitch scarf
Watch and learn the secret behind knitting a simple garter stitch scarf. Garter stitches are great for scarves because all you do is knit every row and both sides are the same. Cast on the number of stitches that you want and just start knitting! Judy Graham, Knitter to the Stars, shows you how it's done!
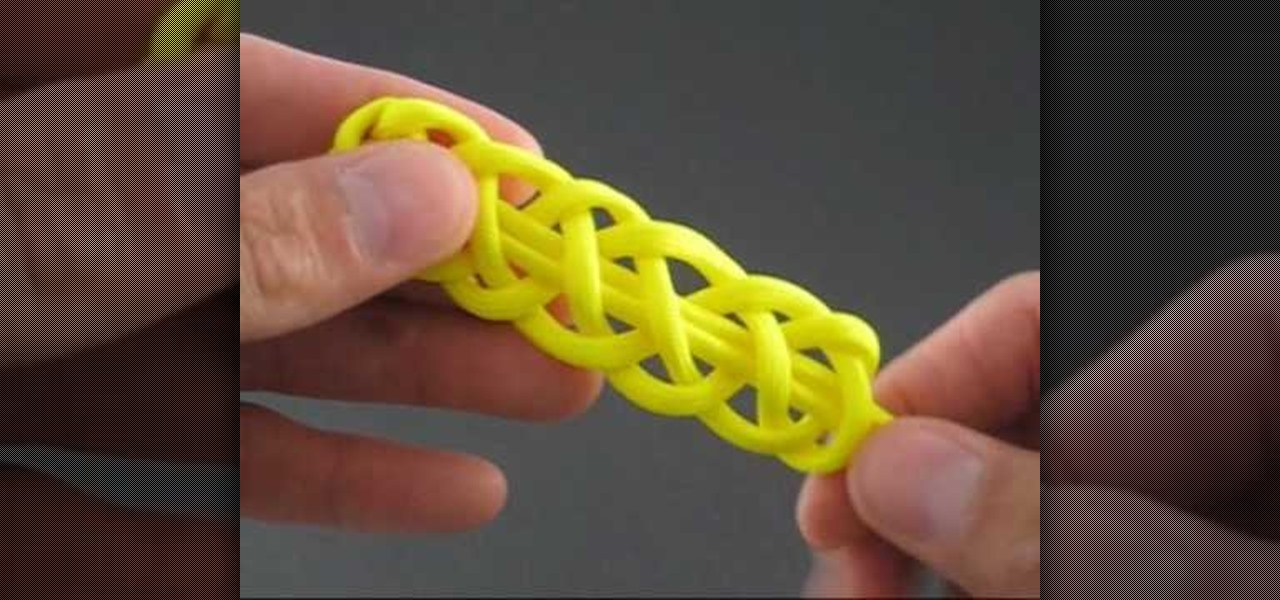
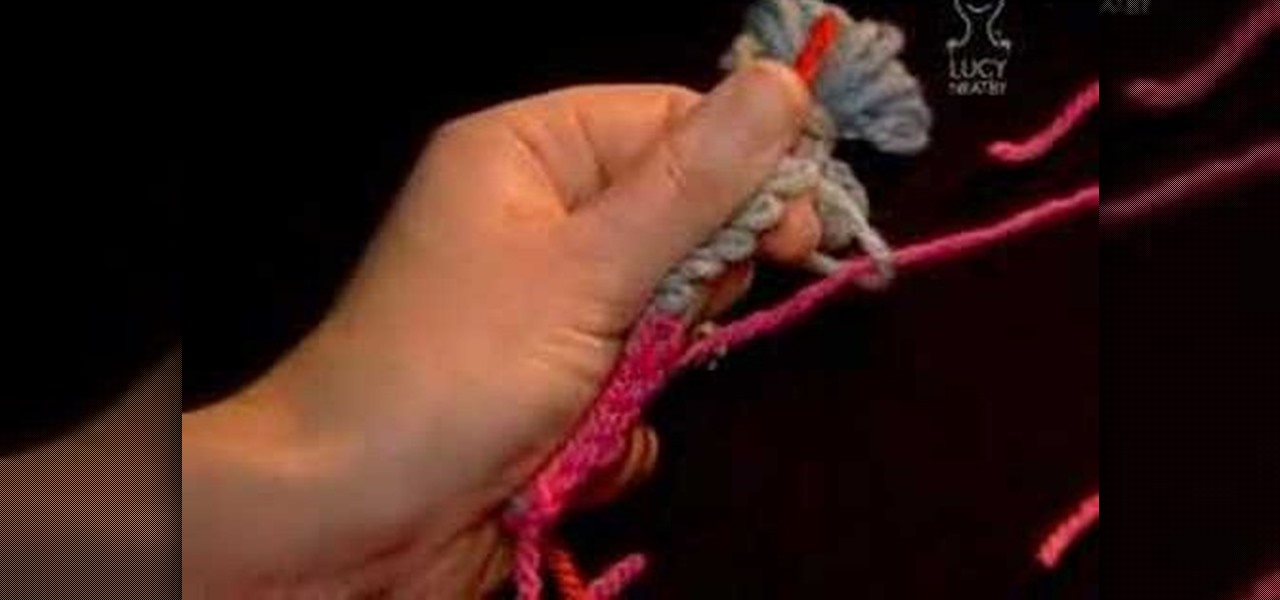
How To: Tie the snakeskin bar knot
If you need to take up a hobby, you could try taking up making cool, decorative knots. This hobby isn't too hard to take up and can result in beautiful looking pieces of art that you can sell or just giveaway.
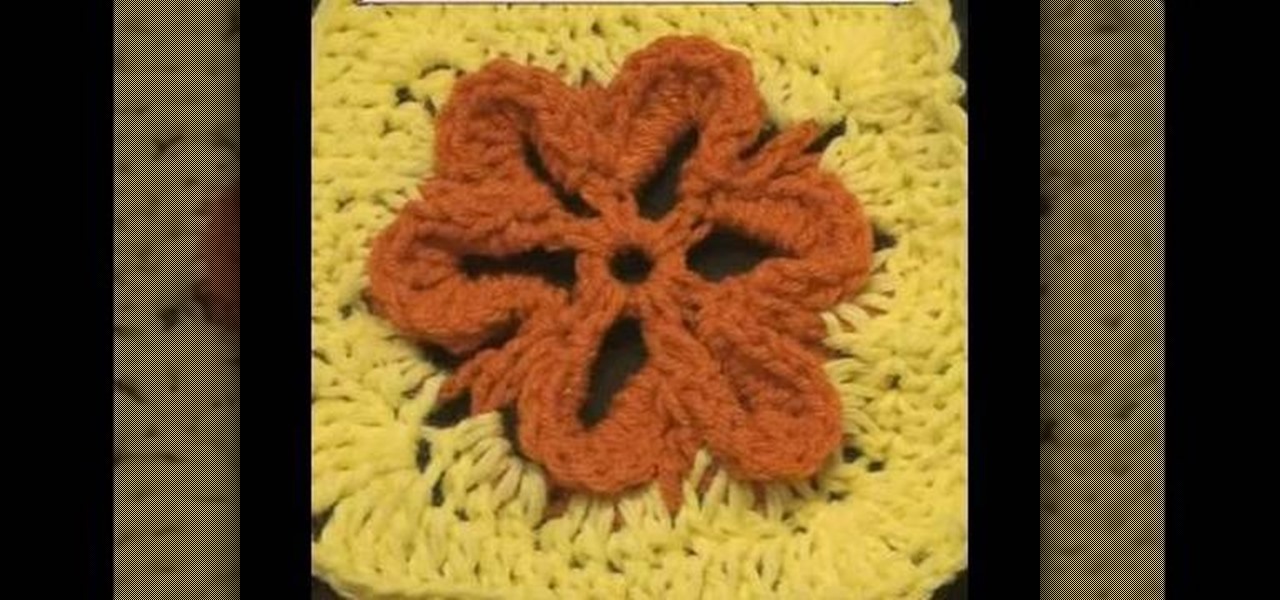
How To: Create an embossed crochet flower using circle to square four
Granny squares are not in fact grannies who can't think out of the box. When it comes to knitting, granny squares is the terminology for a knit square project. They're termed "granny" because they look old and soft and remind us of that stereotypical image of an old cat lady knitting in her home.

How To: Make doily-shaped crochet earrings for left handers
Well this is quite the alternative crochet project. You've probably already knitted a light, hole-y Afghan, and even a long, thick crochet scarf for the winter months, but we can bet you've never even thought of crocheting your own earrings.
How To: Knit delicate, doily patterned crochet earrings
Well this is quite the alternative crochet project. You've probably already knitted a light, hole-y Afghan, and even a long, thick crochet scarf for the winter months, but we can bet you've never even thought of crocheting your own earrings.

How To: Make a swirled crochet Afghan for left handers
For those of you who are knitting beginners, an Afghan may sound difficult but it's actually just a fancy schmancy term for a crochet blanket. The blanket's texture varies according to your choosing, from thick wool yarn to light and airy summertime yarn.
How To: Knit a hat on circular needles
In this video, we learn how to knit a hat on circular needles. First, use a stitch marker to mark the beginning of the round and make sure no stitches are twisted around. Now, join the two ends by knitting your stitch and using both of the loose ends at once. You will now start knitting and going around. You can make as many knits as you want and do any types you would like, making sure you go in the circular motion around the brim of your hat. You can style this as you prefer, then enjoy whe...

How To: Crochet a beanie hat
In this tutorial, we learn how to crochet a beanie hat. First, you must place the yarn around your fingers, then thread through the needle with a slip knot. After you do this, grab the yarn and move the string through the slip knot to make a chain stitch. The next type of stitch you will do is a seam stitch, where you will find a hole and grab the string, then bring the needle through so you have two loops around the needle, then bring it back through the hole. You will continue to do these s...

How To: Keep yarn from tangling when using many colors
In this tutorial, we learn how to keep yarn from tangling when using many colors. A great way to do this is to start the crochet then place your color aside. So even though the colors are crossing each other they are not tangling up. Make sure to keep rotating your project and pay attention to where your yarn strings are located at. This will keep all your things in order so you don't have to deal with large knots and messed up projects. Just make sure to set up properly and you will have a g...

How To: Make looming easier
In this video, we learn how to make looming easier. First, you will want to use a table loomer to help make this much more simple. Start to thread the different colors or one color through the loomer and then grab a plate when you are done. use the side of the plate to run it through the middle of the string. When you are finished, this will help push the thread down into the looming machine and you won't have to do it manually with your hands. When you are finished, you can take out the loom...
How To: Create a crochet plastic bag from upcycled plastic bags
A plastic bag made out of plastic bags that's stronger than its constituent parts and reusuable for shopping trips? How did we not think of this before? While there's been a green movement recently to upcycle "junk" or "trash" into something usable, like old t-shirts into grocery bags, the idea was always to turn something into something else entirely.
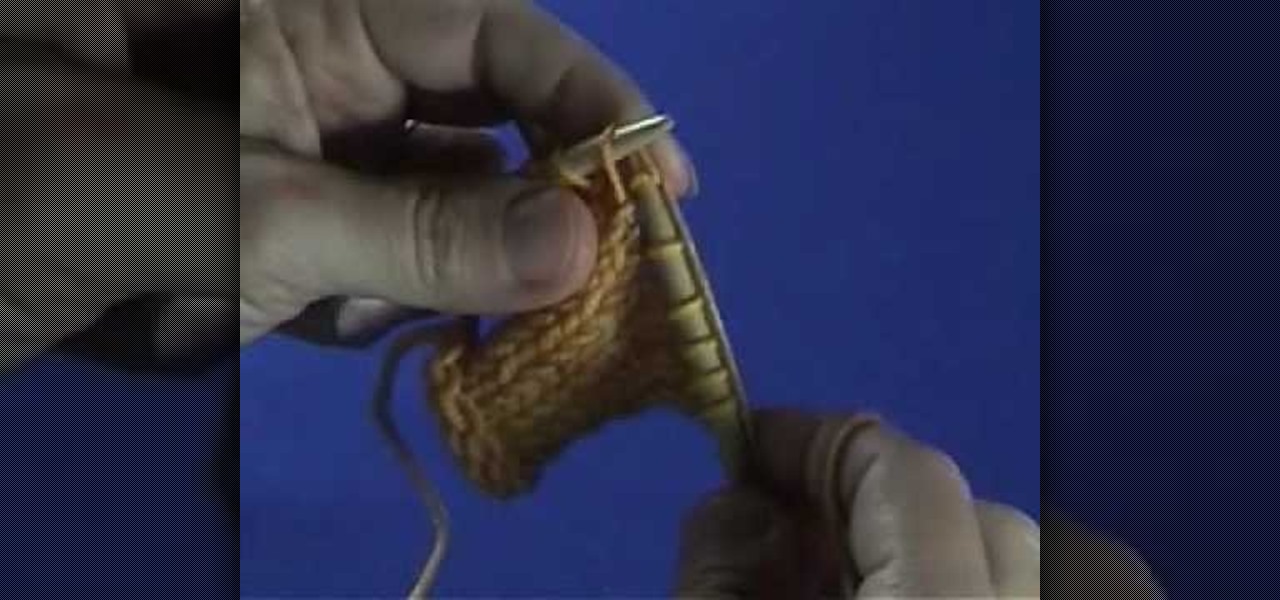
How To: Do a purl increase stitch in knitting
In this video, we learn how to do a purl increase stitch in knitting. First, make sure your yarn is in front, then do a normal purl stitch. Before you take your yarn off the left needle, go into the back of that stitch and pick it up from behind. Then, do a normal purl loop. After this, take the needle off. This is all you have to do to do a purl increase while you are stitching. If you don't understand it at first, then keep practicing and you will eventually learn how to do this. When you l...
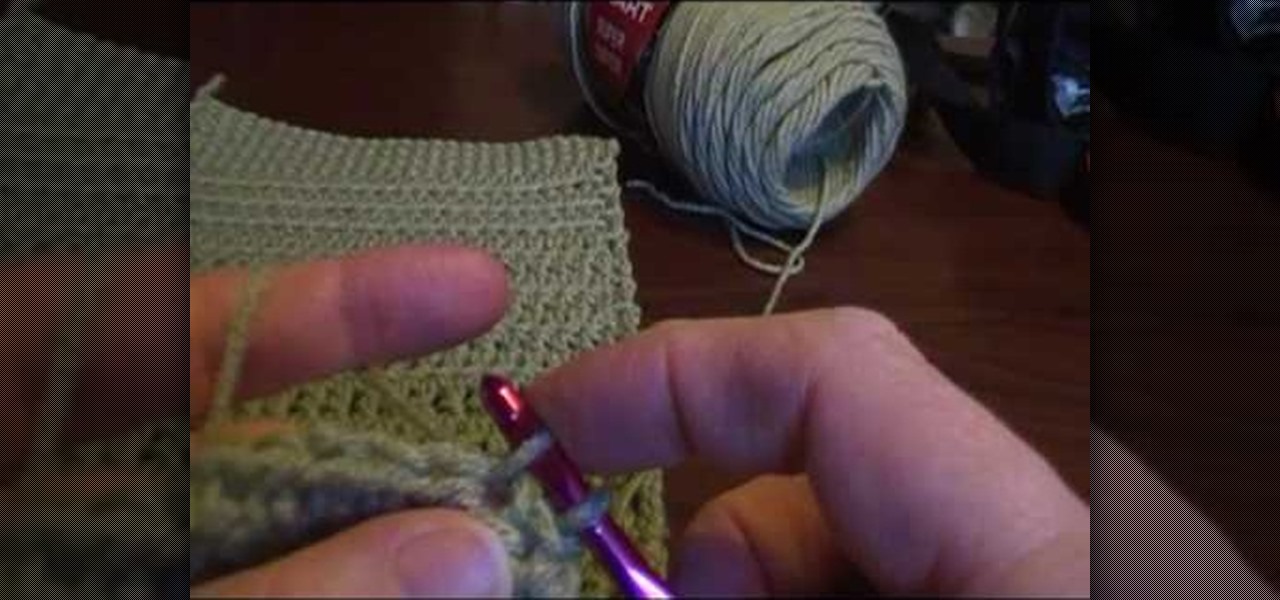
How To: Increase and decrease single crochet
In this tutorial, we learn how to increase and decrease a single crochet. To do this, you will start off with five single crochets, then single crochet in the single crochet from the hook. After this, do an h chain across. After this, increase by doing a chain one and turn and go back into the stitches. If you want to make it wider on both sides, chain one and turn, then put two single crochets in the first stitch. Then, go in each stitch across and go by what the pattern says to go by. Usual...
How To: Crochet an alt turning chain for half double crochet
Crochet an alt turning chain for half double crochet Double crochet leaves a hole in the fabric. The special stitch makes the fabric more dense. You will have to go back and double crochet.
How To: Use a stranded colorwork pattern
In this tutorial, we learn how to use a stranded color work pattern. Start with a basic pattern to help you learn how to do this. Use a chart to help you keep track of where you are and what you have done. Use a sticky not over the rows so you don't get ahead of yourself. Start off with the color that is first, then continue on to do the other colors that are on that row. When finished with this, remove the sticky note and continue onto the other colors that the chart shows. On the first stit...

How To: Crochet a large purple swirled Afghan
For those of you who are knitting beginners, an Afghan may sound difficult but it's actually just a fancy schmancy term for a crochet blanket. The blanket's texture varies according to your choosing, from thick wool yarn to light and airy summertime yarn.

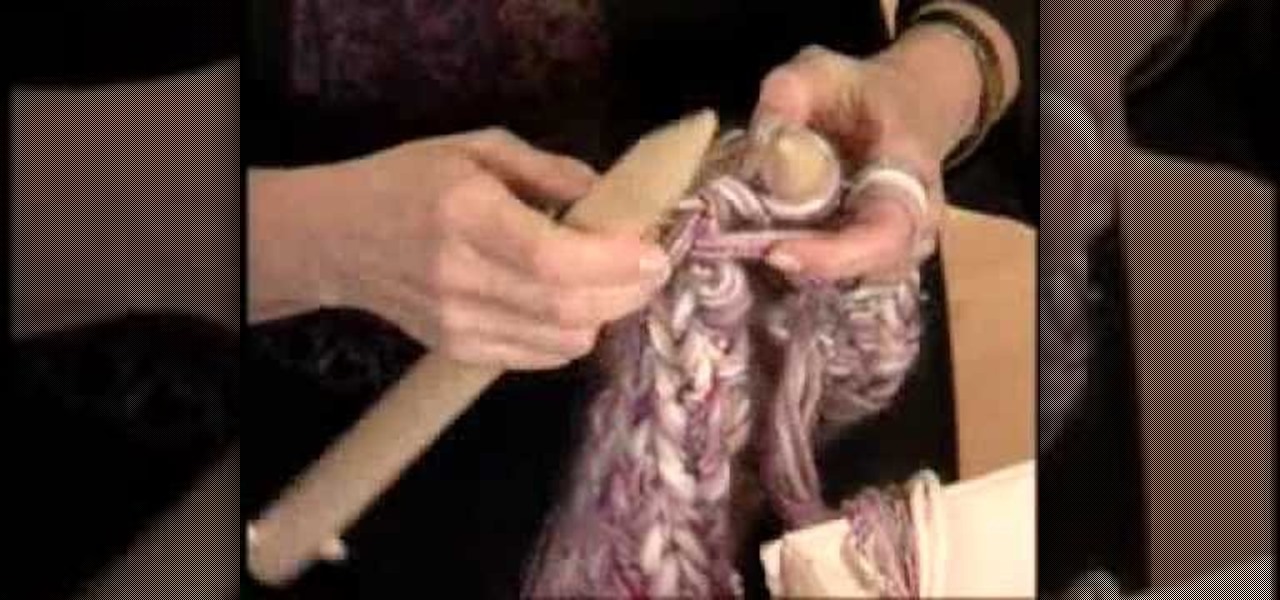
How To: Read yarn to examine its texture and consistency
Have you ever marveled at those knitting doyennes at Michael's who can just run up to the yarn aisle and speedily pick up some yarn because they know exactly what type of of yarn they need for their project without reading the yarn label? Most of us struggle with different yarn consistencies, scanning the label to get a feel for how the yarn would play out if knitted.
How To: Knit an Estonian lace shawl with Eunny Jang
During the summer, lace shawls become uniform for many fashionable women who want to cover up slightly during those nippy summer nights or jaunts out by the chilly ocean but don't want to compromise their style. Lace shawls, which are composed of many delicate patterns with holes interspersed for breathability, fit the bill just right.
How To: Apply provisional cast-ons to your knitting project
Hard edged cast-ons in knitting are difficult to remove, so it's important to also know how to complete loose cast-ons that easily remove themselves from your knitting project. Loose cast-ons allow you to hold a knit in place so you can return to it later (so, for instance, you want to knit the sleeve of a sweater first and want the chest area, which you are currently knitting, to stay in place).
How To: Remove a provisional cast-on from a knitting project
This may be a really short tutorial, but it teaches you a skill that you'll need to use in many future knitting projects: removing provisional cast-ons. Cast-ons are basically the latticework and frame of your knitwork, allowing you to create complex designs without any threads coming loose. These cast-ons are a third hand, if you will.
How To: Knit a pretty tulip buttonhole with Eunny Jang
These tulip buttonholes are both pretty and all-purpose, usable for just about any knitting project that requires buttonholes. Composed of a petal-shaped hole rimmed at the edges with a briaded knit, this tulip buttonhold project is simple and great for knitting beginners.

How To: Knit basic cables with Eunny Jang for beginners
Chances are, if you have some elder relatives who have paid you a visit during the holidays, then you probably have more than your fair share of cable-knit sweaters in various ugly Christmas designs. While we're certainly not a fan of these types of sweaters, the cable-knit technique is one that is used very commonly in knitting and is one of the most basic.
How To: Knit a pretty pillow with large needles and oversized yarns
Here in America, we have this idea that the bigger, the better. Why purchase large fries when you can get them supersized for just $40 extra, for instance, and why not buy the value pack of salsa to save some money when compared to buying individually?
How To: Make a hexagonal illusion cube blanket with Kathy Elkins
Want a knitting project that looks really impressive and complex but is actually much simpler than it appears? Then this hexagonal illusion cube blanket, made with an array of variously colored hexagons. The blanket is made of 100% wool, so it's perfect for covering up and then snuggling with your partner during cold winter nights.
How To: Make a crocheted swirling bag with Kathy Merrick
It's flattering enough to be complemented on your pretty bag. So how awesome would it be to get compliments on a bag you made yourself? Not many people endeavor to craft a homemade bag (for fear of loose ends, things falling out of random holes, etc.), even though it's actually pretty easy.
How To: Knit and easy and cozy wrap sweater (for beginner knitters)
This isn't necessarily a one-size-fits-all sweater, but more like a one-size-fits-"most" sweater, and it's the perfect creation for beginner knitters to try out as they learn the ropes knitting. And this cozy and creative knitted sweater is a great present for anyone! Try it out. Just follow along with the video's step-by-step instructions.
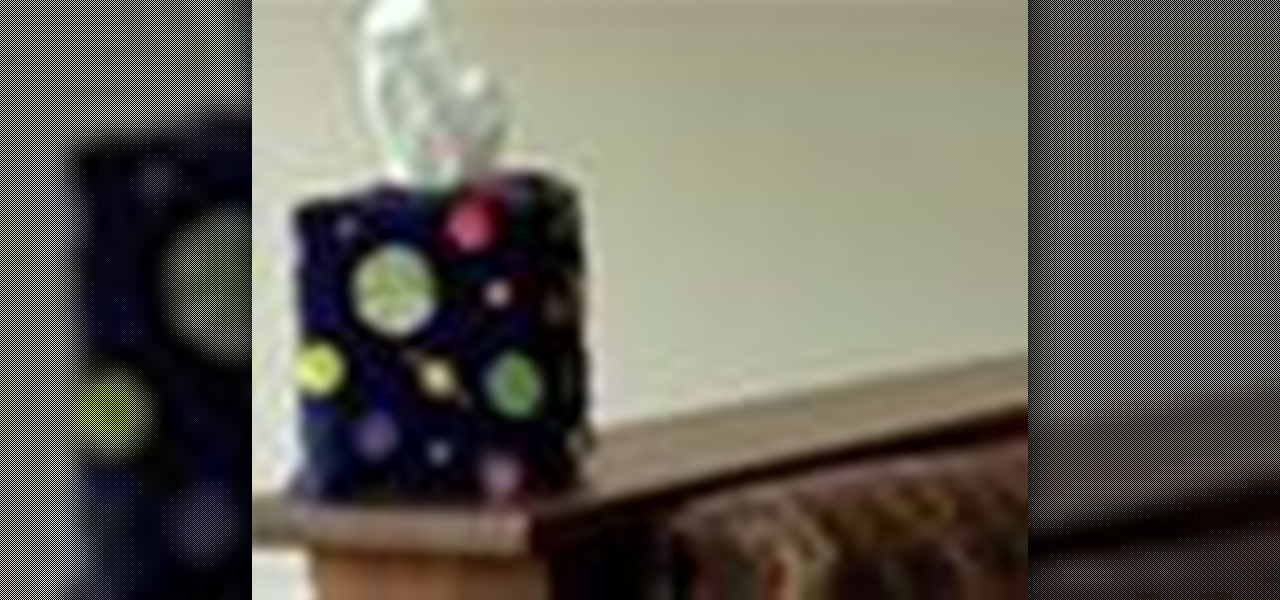
How To: Sew up a tissue box cover
In this video, you'll learn how to sew up a decorative tissue box cover for your standard tissue box. Add some decorative flair to your home. This video will walk you through each step of the way. Pretty soon you'll have a nice and artsy tissue box cover to show off to your family and friends.
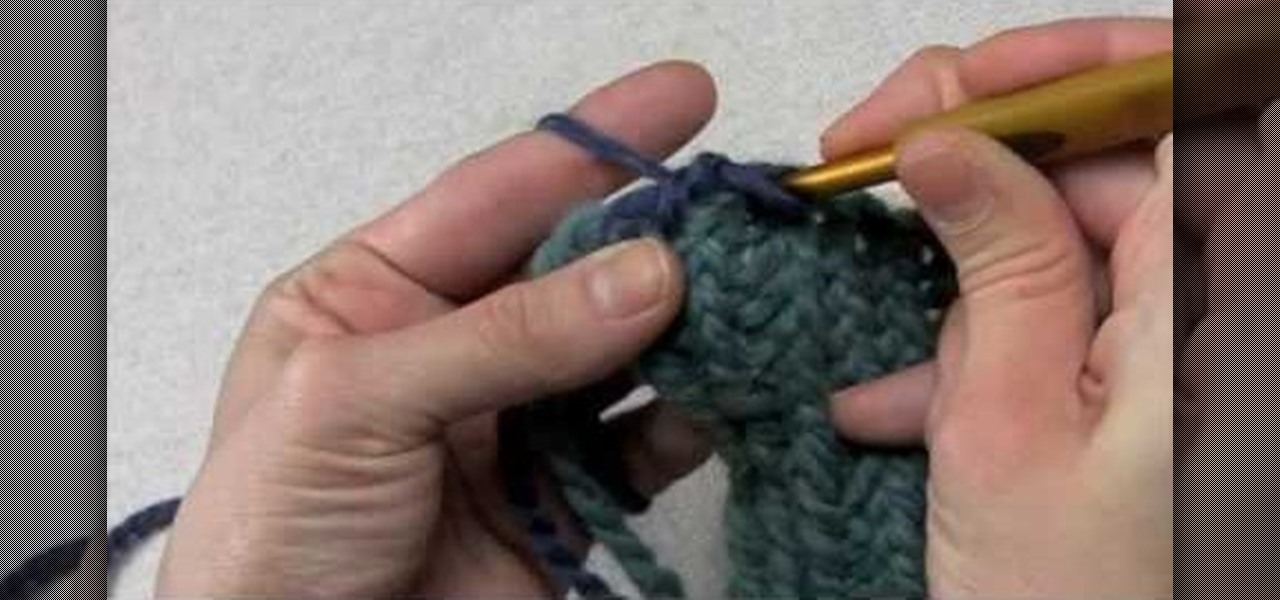
How To: Edge a knitted piece with the crab stitch
In this video, we learn how to edge a knitted piece with a crab stitch. First, attach your yarn to the left edge of your work. After this, work one chain stitch, then go backwards with the hook. Insert it into the fabric and grab the yarn and pull it through the loop. Go around the yarn again and pull it through again. Keep going backwards and grabbing more yarn as you go in reverse. You are working with one loop on the needle while going into the fabric. Make sure you're consistent with the ...

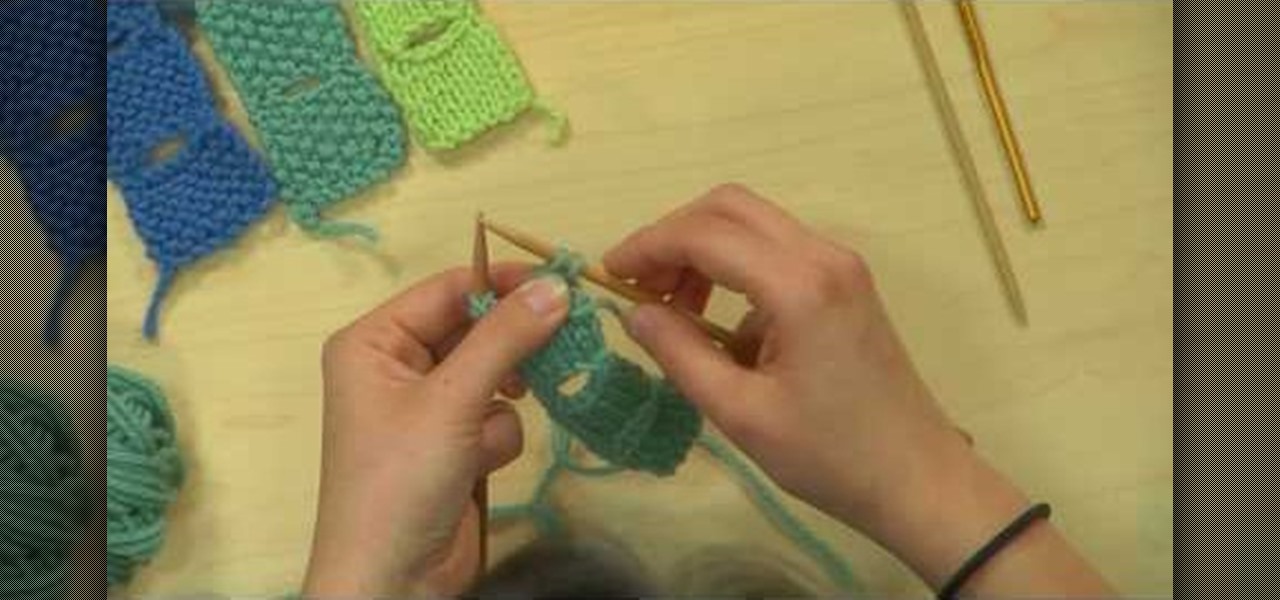
How To: Make knit stitch markers
In this tutorial, we learn how to make knit stitch markers. First, knit to the middle, doing two stitches together, then flip stitch over. When you get to the middle of your item, place your marker on the stitch to keep track of where the loops are at. You can purchase a knit stitch marker from a variety of different craft stores. Use this as often as you'd like, especially if you need help finding the gap when you are creating something. Set this aside when you are finished, and make sure yo...

How To: Fix a dropped stitch in knitting
In this tutorial, we learn how to fix a dropped stitch in knitting. This can be scary if you are a first time knitter, but it can be fixed without having to restart your project and take out all your stitches. First, work back to the place where the stitch first dropped. After this, push the needles back and insert a crochet hook into that dropped stitch. Next, hook the hook into the above stitches and pull it through until it's stitched back up. After this, remove the crochet hook from the y...
How To: Crochet a bellevue granny square
In this tutorial, we learn how to crochet a Bellevue granny square. Start by adding the slipknot to the crochet hook. Work a chain of four and join with the beginning chain. The first two rounds are going to be a traditional granny square. Chain, pull up, then work three double crochets. Continue doing this for all of them. Chain two, then work three more double crochets. Work the last three double crochets and you will have the base of the granny square complete. Continue doing this, but end...